
Embarking on your very first scrapbooking project is a wonderful way to preserve precious memories, celebrate milestones, and express your personal creativity. However, walking into a craft store or browsing online stationery shops can quickly feel overwhelming when you are confronted with rows of vibrant colors, intricate patterns, and varying paper thicknesses. Choosing the right scrapbook paper sheets is the single most important decision you will make at the start of your crafting journey, as the paper serves as both the literal foundation and the artistic backdrop of your memories. To make the best choice, you must balance practical factors like size, structural weight, and archival safety with creative elements like color coordination and thematic alignment. By understanding how these different specifications interact, you can select materials that not only highlight your photographs beautifully but also protect them from aging and environmental damage over time.
Understand Scrapbook Paper Sizes and Core Materials
Before diving into patterns and colors, you need to understand the physical dimensions and material options available. Scrapbook paper sheets are not one-size-fits-all, and selecting the right format depends heavily on your available workspace, storage options, and the number of photos you plan to include.
The most common scrapbook paper sizes include:
Products mentioned in this guide
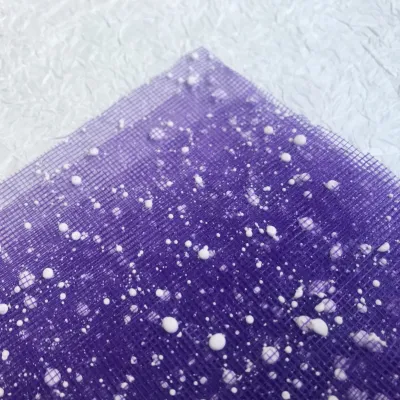
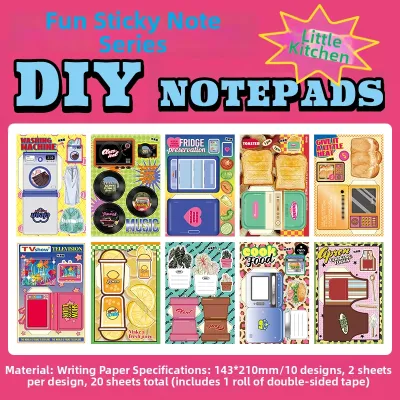
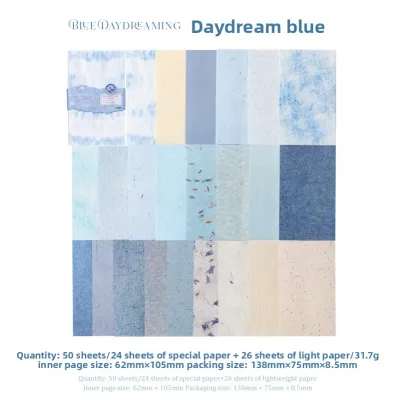
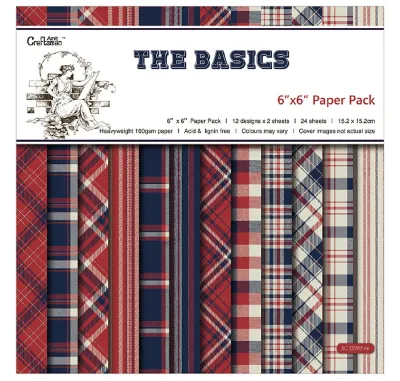
Prices are valid at publication and may change. Please refer to the product page for the latest price.
- 12×12 Inches (approx. 30.5 x 30.5 cm): This is the traditional gold standard for scrapbooking. It offers the maximum amount of space for creative layouts, allowing you to easily fit multiple photos, extensive journaling, and large embellishments on a single page. However, working with 12×12 sheets requires a spacious desk or crafting table, and the finished albums are bulky to store.
- 8×8 Inches (approx. 20.3 x 20.3 cm): A highly popular square format that is incredibly manageable for beginners. Because the canvas is smaller, a single photo can easily dominate the page, reducing the pressure to fill up empty space with complex designs. It is perfect for mini-albums, gifts, and crafting in limited spaces.
- A4 Size (approx. 21 x 29.7 cm): This size is highly accessible and commonly found in local stationery stores across the Philippines. Since A4 is a standard paper size, finding binders, plastic protectors, and storage boxes is incredibly easy and budget-friendly. It is an excellent choice if you prefer a vertical, book-like layout.
Beyond dimensions, you must choose the right material category for each element of your page:
- Solid Cardstock: This is a thick, sturdy paper that serves as the structural backbone of your layout. It comes in smooth or textured finishes (such as canvas or linen) and is used primarily for base pages, photo matting, and structural folds.
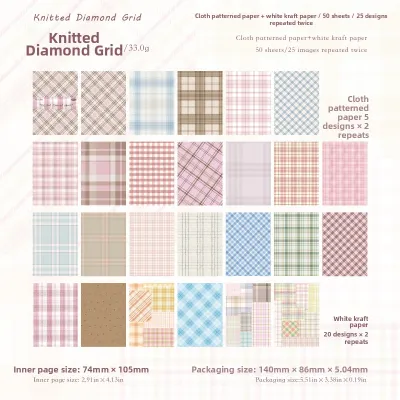
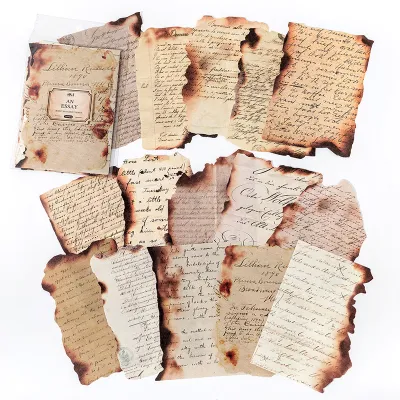
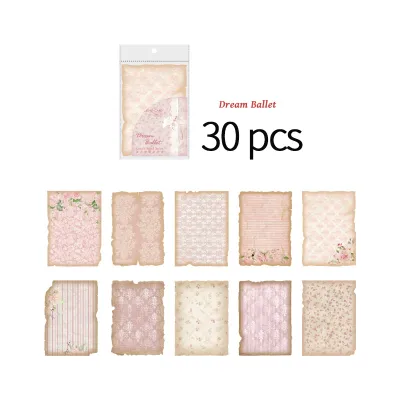
- Patterned Paper: This is lighter than cardstock and features printed designs, motifs, or illustrations on one or both sides. It adds visual interest, establishes the theme, and is used for layering, decorative borders, and die-cuts.
- Vellum or Translucent Paper: A delicate, semi-transparent paper with a smooth, frosted appearance. Vellum is ideal for softening busy backgrounds, creating elegant overlays for text, or making translucent pockets to hold hidden journaling or small keepsakes.
Match Paper Patterns to Your Project Theme
The patterns and colors you choose should act as a frame that enhances the emotional tone and colors of your photographs, rather than competing with them for attention. Establishing a clear theme helps you narrow down your paper choices and ensures your finished album feels cohesive from the first page to the last.

Travel and Adventure Memories
Documenting weekend trips to the beaches of Batangas, hiking adventures in Benguet, or exploring historic streets requires paper designs that reflect the spirit of exploration. Earthy tones like deep terracotta, forest green, warm sand, and slate gray ground your layouts beautifully. Patterns featuring vintage maps, compasses, botanical illustrations, and subtle woodgrain textures add a tactile, rustic feel to your travel pages. When working with highly saturated outdoor photos, use neutral, low-contrast background sheets to let the rich blues of the ocean and the vibrant greens of nature remain the true focal points of your design.
Family Milestones and Baby Records
For documenting growth, weddings, birthdays, and grand family reunions, your paper choices should evoke warmth, nostalgia, and tenderness. Soft pastel shades like blush pink, sage green, cream, and gentle lavender work beautifully alongside classic floral prints, delicate watercolor washes, or timeless geometric patterns like thin stripes and polka dots. When creating a family heirloom, the stories behind the photos are just as important as the images themselves. Choose paper designs that leave ample negative space—clean, unpatterned areas—where you can write down dates, names, and heartfelt journaling without your handwriting becoming lost in a busy background.
Everyday Journaling and Minimalist Themes
If you are scrapbooking daily life, quiet moments at home, café visits, or personal reflections, a clean and minimalist aesthetic is often the most effective approach. Subtle grid lines, dot matrix patterns, muted solid colors (such as olive, slate, or warm cream), and low-contrast textures keep your layouts looking modern and organized. These understated designs ensure that small, everyday ephemera—like movie tickets, handwritten receipts, dried pressed flowers, or small polaroid photos—can take center stage without making the page look cluttered or chaotic.
Decide Between Paper Pads, Kits, and Individual Sheets
When you are ready to purchase your scrapbook paper sheets, you will find them sold in three primary formats: coordinated pads, themed kits, and individual loose sheets. Choosing the right format depends on your budget, creative style, and how much time you want to spend matching materials.
Coordinated Paper Pads Usually sold in stacks of 24 to 48 sheets, paper pads are the ultimate tool for beginners. Professional designers curate these pads to ensure that every single sheet—whether it features a bold floral pattern, a subtle stripe, or a solid coordinating color—harmonizes perfectly with the others. This completely eliminates the guesswork and decision fatigue of trying to match colors yourself. Standard pads are widely available in 6×6, 6×8, and 12×12 sizes, with prices typically ranging from ₱300 to ₱1,200 depending on the size and brand, offering excellent value per sheet.
Themed Scrapbook Kits If you want a highly convenient, all-in-one solution, themed scrapbook kits are an excellent choice. These kits bundle a selection of coordinated papers with matching cardstock stickers, die-cut ephemera, journaling cards, and sometimes even ribbons or stamps. Kits are designed around a specific theme, such as “Summer Vacation” or “Baby’s First Year,” allowing you to complete a highly polished, professional-looking album quickly and with minimal effort. While they offer slightly less room for spontaneous design choices, they are incredibly efficient for beginners who want a guided crafting experience.
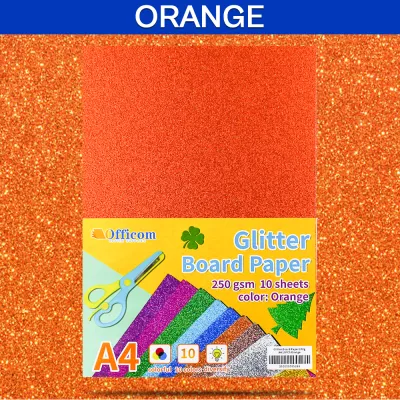
Individual Loose Sheets Buying loose sheets is the most flexible and economical option when you need specific materials rather than a broad collection. Single sheets of heavy cardstock (usually priced between ₱15 and ₱50 per sheet) are perfect for stocking up on your base pages. Loose sheets are also the best way to purchase specialty papers—such as gold foil, glitter cardstock, or handmade textured paper—to use as accents. This approach prevents you from accumulating excess paper that you might never use, keeping your craft space organized and your budget in check.
Verify Archival Quality and Paper Weight Specifications
To ensure your scrapbook safely preserves your photographs and physical memories for decades, you must pay close attention to the technical specifications of the paper you buy. This is especially critical in challenging environmental conditions where paper is prone to rapid degradation.
Archival Safety Standard wood-pulp paper contains natural acids and a compound called lignin, which binds wood fibers together. Over time, exposure to light, air, and moisture causes these compounds to break down, resulting in yellowed, brittle paper. More importantly, these acids will migrate to your printed photographs, causing them to fade, discolor, and slowly deteriorate. In the tropical, high-humidity climate of the Philippines, heat and moisture dramatically accelerate these chemical reactions. To protect your memories, always inspect product packaging and labels for the terms “acid-free” and “lignin-free” before making a purchase.
Paper Weight and Thickness Paper weight is typically measured in grams per square meter (GSM) or pounds (lbs). Understanding these measurements helps you choose the right thickness for each layer of your layout:
- Heavy Cardstock (80 lb to 110 lb / approx. 216 to 300 GSM): This weight is absolutely essential for your base pages. When you apply liquid glues, heavy photos, and multiple layers of paper, thin paper will warp, buckle, and ruin the flat profile of your album. Heavy cardstock provides the rigid foundation needed to support your designs.
- Lightweight Patterned Paper (60 lb to 80 lb / approx. 160 to 216 GSM): This weight is perfect for cutting out shapes, matting photos (creating a thin border around them), folding, and layering. It is easy to cut with scissors or craft punches and does not add excessive bulk to your album, which can cause the spine of your scrapbook to flare open.
Single-Sided vs. Double-Sided Double-sided sheets feature coordinating designs printed on both sides, offering excellent value and design flexibility. They are ideal for creating interactive elements like pockets, fold-out flaps, or tags where both sides of the paper will be visible. However, you must choose which side to hide if you plan to glue the sheet flat down. Single-sided sheets feature a design on one side and a plain white or kraft backing on the other. These are ideal when using heavy wet adhesives, as the plain backing absorbs glue without risking damage to a reverse-side design, and they are often slightly more budget-friendly.
Step-by-Step: Calculate and Plan Your First Layout
Before you head to the register or complete your online checkout, taking a few minutes to calculate your exact paper needs will prevent you from overbuying or running out of materials mid-project. Follow this simple step-by-step workflow to plan your first layout:
Step 1: Count and Group Photos Gather all the photos you want to include in your project. Group them chronologically or by event (for example, three photos from a birthday lunch, five from a beach trip). For a beginner, aiming for one to three photos per page is a safe and manageable layout. Count the total number of pages you will need based on these photo groups.
Step 2: Select the Base Every scrapbook page requires a sturdy foundation. Calculate one sheet of heavy cardstock (80 lb / 216 GSM or higher) for every page. If you are designing a two-page spread (where the left and right pages face each other and share a cohesive design), you will need two matching or highly coordinated base sheets.
Step 3: Choose Coordinating Patterns For each page or spread, select two to three patterned papers that complement your base and the colors in your photos. These papers will be used for matting your photos (creating a thin border around them), cutting out decorative banners, making journaling boxes, or creating small embellishments. Keeping it to two or three patterns prevents the layout from looking chaotic and keeps the focus on your photos.
Step 4: Add a Buffer Even experienced crafters make cutting mistakes. You might cut a sheet to the wrong dimensions, apply adhesive to the wrong side, or simply change your mind about a layout halfway through. Always add a 10% to 20% buffer to your final paper count. If your plan requires 10 base sheets and 15 patterned sheets, purchase 12 bases and 18 patterned sheets. This small extra investment provides a stress-free creative safety net.
Frequently Asked Questions (FAQ)
Can I use regular printer paper for scrapbooking?
Standard copy or printer paper is not suitable for archival scrapbooking. It is typically thin (around 70 to 80 GSM), meaning it will warp, wrinkle, and bleed through when exposed to adhesives, inks, or markers. More importantly, standard printer paper is rarely acid-free or lignin-free. Over time, the acidic compounds in the paper will migrate to your printed photographs, causing them to turn yellow, fade, and degrade. Reserve printer paper strictly for sketching out drafts, planning layouts, or practicing your hand-lettering before applying it to your final, archival-safe scrapbook sheets.
How should I store leftover scrapbook paper in a humid climate?
Managing humidity is crucial for paper preservation in tropical environments like the Philippines. Excess moisture in the air causes paper to absorb dampness, leading to curling, warping, and the growth of mold or mildew. To protect your investment, store your paper sheets completely flat in airtight plastic storage bins or heavy-duty zip-top bags. Place several silica gel packets inside the containers to actively absorb ambient moisture. Keep your storage bins in a cool, dark place away from direct sunlight, which can fade vibrant printed patterns over time.
Community discussion
Share your experience or ask a question. Comments are reviewed before publication.