
Quick Answer: What Is an Acrylic Marker?
Acrylic markers are specialized writing and drawing instruments filled with water-based acrylic paint instead of traditional dye-based ink. This paint consists of pigment suspended in an acrylic polymer emulsion. When applied, the liquid dries to form a highly opaque, water-resistant, and flexible plastic film that sits on top of the material rather than soaking into it. Because of this unique composition, these markers deliver vibrant, solid coverage on almost any surface, making them a versatile tool for custom crafts, illustrations, and DIY home decor projects.
Acrylic Markers vs. Regular Markers: Key Differences
Understanding the structural differences between acrylic markers and standard markers is essential for choosing the right tool for your project. Traditional markers—whether water-based school markers or alcohol-based illustration pens—rely on liquid dyes or pigments dissolved in a solvent. When you write with a regular marker, the liquid is designed to sink into the fibers of the medium, essentially staining the material. This makes them excellent for smooth blending and gradient work on paper, but it also means they are highly prone to bleeding through thin sheets and cannot easily layer light colors over dark ones.

In contrast, acrylic markers behave like paint in a pen format. The acrylic emulsion does not rely on absorption; instead, it dries through evaporation, leaving behind a solid, cohesive layer of plasticized pigment. This physical film sits directly on top of the surface. Because of this surface-level adhesion, you can easily paint a bright yellow or white stroke directly over a dark black background once the base layer is dry, without any of the underlying color bleeding through.
Products mentioned in this guide
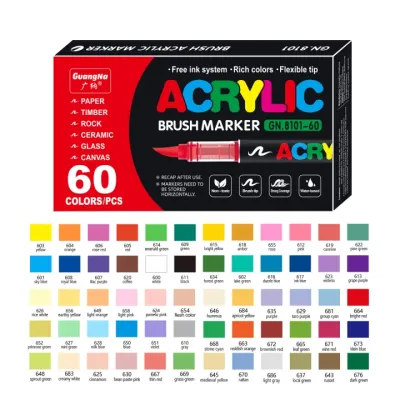

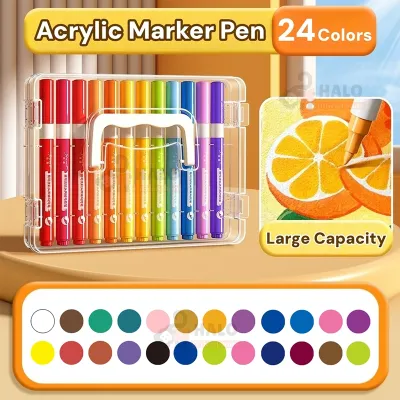
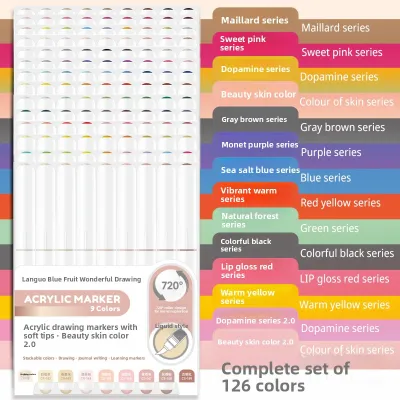
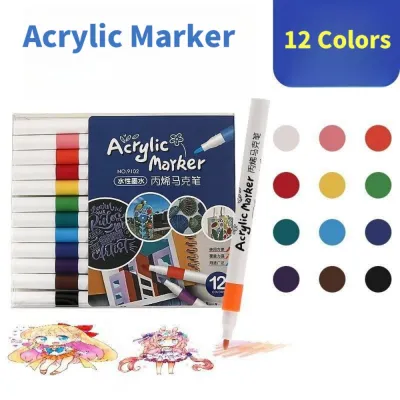
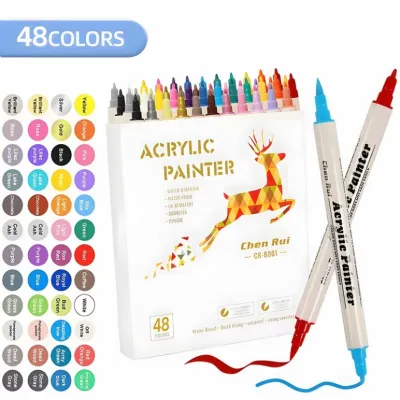
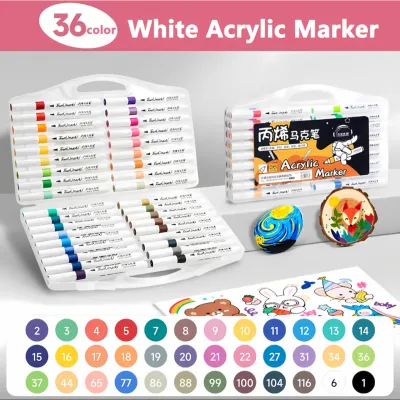

Prices are valid at publication and may change. Please refer to the product page for the latest price.
The final finish and durability also differ significantly. Regular dye-based markers often fade over time when exposed to sunlight and can easily bleed if they come into contact with water. Dried acrylic paint, however, cures into a matte or satin finish that is naturally more resistant to light and light moisture.
To help you decide which instrument fits your current project, consider this comparison of typical characteristics:
- Surface Versatility: Regular markers are generally limited to paper and cardboard. Acrylic markers can adhere to wood, metal, glass, stone, and plastic.
- Opacity and Layering: Regular markers are translucent and blend together. Acrylic markers are highly opaque, allowing you to layer light colors over dark colors.
- Bleed-Through: Regular markers frequently bleed through standard paper. Acrylic markers sit on top of the paper, though very heavy application can warp thin sheets.
- Permanence: Regular markers are easily smudged or washed away by water (unless they are permanent alcohol inks). Acrylic markers dry to a water-resistant, durable film.
Compatible Surfaces: Where Can You Use Acrylic Markers?
One of the greatest advantages of acrylic markers is their ability to adhere to both porous and non-porous materials. As a general rule, the acrylic polymer emulsion can cling to almost any surface that is clean, dry, and free of oils or wax. However, because formulations vary widely between different stationery brands, you should always check the manufacturer’s packaging to verify if a specific marker set is rated for specialized surfaces like outdoor plastics or glazed ceramics.
Achieving a long-lasting finish depends heavily on how you prepare the surface before you begin drawing. Dust, grease, and moisture act as barriers that prevent the acrylic film from bonding properly, which can lead to premature peeling or cracking. Because smoothness, bleed resistance, and drying speed depend entirely on the exact combination of marker brand and surface material, always perform a small trial on a scrap piece of the same material to verify compatibility before starting your final piece. For valuable items or unfamiliar materials, it is highly recommended to perform a small patch test on an inconspicuous area. This simple check allows you to observe how the paint flows, how quickly it dries under local humidity conditions, and whether it adheres securely without scratching off.
Porous Surfaces (Paper, Canvas, Wood)
Porous materials are highly receptive to acrylic markers because their open fibers allow the acrylic emulsion to grip the surface mechanically. When working on heavy paper, artist canvas, or raw wood, the paint settles smoothly, resulting in rich, vibrant colors. However, because these materials are absorbent, they can draw in the liquid portion of the paint quickly. On thin or unprimed paper, this absorption can cause the fibers to warp, pill, or allow the paint to bleed through to the other side.
To prevent these issues, it is best to use heavy-weight paper, such as mixed-media or watercolor paper, which is designed to handle wet mediums. For canvas and raw wood, applying a base coat of acrylic primer (such as gesso) seals the porous fibers. This preparation prevents the wood or fabric from drinking up too much paint, ensuring your marker colors remain bright and your lines stay sharp without spreading.
Non-Porous Surfaces (Glass, Plastic, Metal, Ceramics)
On non-porous surfaces like glass, plastic, metal, and glazed ceramics, the acrylic paint cannot sink in at all. Instead, it relies entirely on surface adhesion to form a dry film. While this allows for incredibly clean lines and bright designs, it also means the dried paint is much more vulnerable to scratching, scraping, or peeling if it is subjected to friction or moisture.
To maximize adhesion on these smooth surfaces, thorough preparation is essential. Start by wiping the object down with rubbing alcohol to remove any invisible oils left behind by your hands. Once dry, apply the marker in thin, even layers, allowing each layer to dry completely before adding the next. Keep in mind that standard acrylic paint is not naturally dishwasher-safe or weatherproof. If you plan to use your decorated items outdoors or wash them, you must verify the product packaging for specific instructions. Some formulations require heat-curing in a home oven, while others may need a specialized clear sealant spray to protect the design from wear and tear.
How to Choose the Right Acrylic Marker for Your Project
Selecting the right acrylic marker involves matching the physical characteristics of the pen to the scale and detail of your creative project. The most critical factor to consider is the nib type, which dictates how the paint is delivered to your surface:
- Fine and Extra-Fine Nibs: Typically made of plastic or hard felt, these tips are designed for precise linework, detailing, outlining, and writing. They are ideal for small crafts, rock painting, or adding highlights to existing artwork.
- Bullet Nibs: These rounded, versatile tips are the standard for general coloring and drawing. They allow you to transition easily from medium-width lines to filling in moderate-sized shapes.
- Brush Nibs: Flexible and responsive, brush tips mimic the feel of a traditional paintbrush. They are excellent for hand lettering, organic shapes, and smooth color transitions, though they require a gentle hand to avoid damaging the fibers.
- Chisel and Broad Nibs: These wide, angled tips are built for covering large surface areas quickly, such as wooden signs or large canvas backgrounds.
Beyond the nib shape, consider the overall size of the marker and its ink capacity. If you are working on a large-scale DIY project, purchasing individual broad markers in your primary colors is often more practical than buying a multi-pack of fine-tip pens. Conversely, if you are exploring the medium for the first time, a curated set of basic colors offers a cost-effective way to experiment with different color combinations. Whether you are looking for a budget-friendly set around ₱300 or investing in professional-grade markers, matching the set size to your needs prevents unnecessary spending.
Finally, always inspect the product packaging to verify safety and environmental claims. If you are purchasing markers for school projects or for use by children, look for clear non-toxicity certifications on the label. Checking these details beforehand ensures your creative process remains safe and enjoyable.
Application and Care Tips for Best Results
Because acrylic markers contain actual paint, they require slightly more maintenance than standard felt-tip pens to keep them flowing smoothly. When you first open a new marker, you will notice the nib is dry and white. To prime the marker, shake it vigorously with the cap securely on to mix the pigment and the acrylic emulsion inside. Next, gently press the nib down vertically onto a scrap piece of paper several times. This pumping action opens the internal valve, allowing the paint to flow down and saturate the tip. Avoid pressing too hard or pumping repeatedly without waiting, as this can cause a sudden flood of paint that ruins your work surface.
Proper storage is vital to prevent the acrylic emulsion from curing and clogging the nib. Always store your acrylic markers horizontally when not in use; this keeps the pigment evenly distributed and prevents the paint from settling entirely at the back or flooding the tip. Ensure the caps are clicked on tightly immediately after use. In warm, tropical climates like the Philippines, high humidity can sometimes cause condensation inside the cap, while dry air can quickly cure any paint left exposed on the nib.
If a nib does become dry or clogged with dried paint, do not force it. Many high-quality acrylic markers feature removable, reversible, or replaceable nibs. You can often pull the nib out and rinse it under warm water to dissolve the dried acrylic, drying it thoroughly before reinserting it. If the nib is frayed or completely hardened, stop using it and replace it with a fresh tip to avoid damaging your artwork.
Frequently Asked Questions (FAQ)
Are acrylic markers waterproof when dry?
Once fully cured, acrylic paint naturally forms a water-resistant plastic film. This means that light exposure to moisture or a damp cloth will generally not smudge or dissolve your design. However, the exact degree of waterproofing varies significantly depending on the marker’s formulation and the surface it is applied to. For items that will be exposed to heavy rain, outdoor elements, or frequent washing, you must check the manufacturer’s label for specific weather-proof or waterproof ratings, and consider applying a compatible protective clear coat.
Can you use acrylic markers on fabric or skin?
Standard acrylic markers can be used on fabric, but the paint may stiffen the material and can wash out over time unless it is heat-set with an iron. For wearable garments, it is best to look for markers specifically formulated for textiles. When it comes to skin, standard acrylic markers should never be used as body paint. Acrylic paint is designed for crafts and contains polymers that can cause irritation or allergic reactions on the skin. Only use markers that are explicitly certified and labeled as skin-safe by the manufacturer for body art.
Community discussion
Share your experience or ask a question. Comments are reviewed before publication.