
Achieving a realistic metallic sheen on your Gundam plastic models is one of the most rewarding milestones in the hobby. Whether you want to replicate the inner frame’s raw steel, the gleaming gold of a mobile suit’s vents, or a custom titanium armor finish, the type of paint you choose dictates your entire workflow. The three primary paint chemistries available to builders—acrylic, enamel, and lacquer—each behave differently on polystyrene and ABS plastics. Selecting the right one is not about finding a single universal winner, but rather matching the paint’s unique properties to your workspace, tools, and experience level.
Quick Answer: Which Metallic Paint is Best for Gundam Kits?
The optimal metallic paint for your Gundam kit depends on your workspace ventilation, your application method, and your tolerance for chemical fumes.
If you are working indoors without a dedicated spray booth or are hand-brushing your model, water-based acrylics are the safest and most accessible option. They offer low odor, easy water cleanup, and decent metallic finishes, though they require careful handling to avoid brush marks.
Products mentioned in this guide
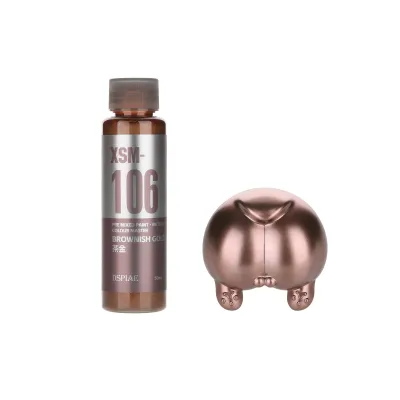
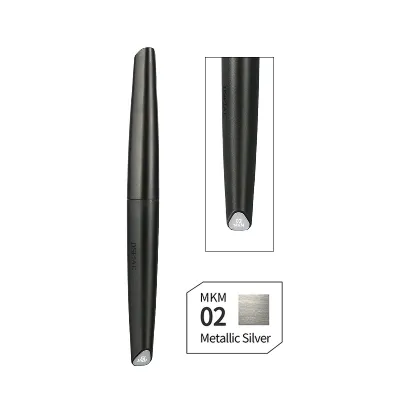
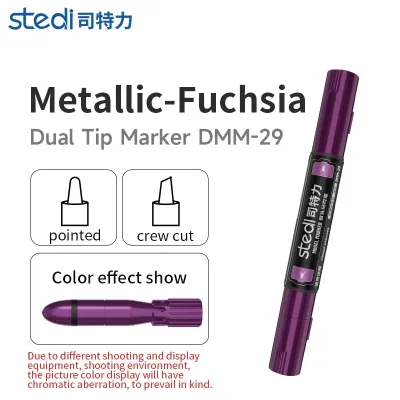
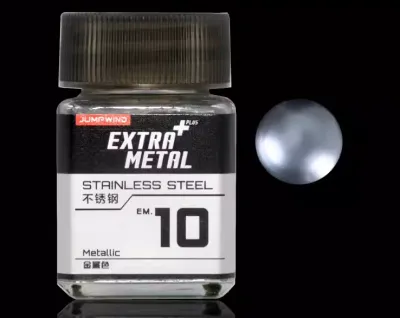
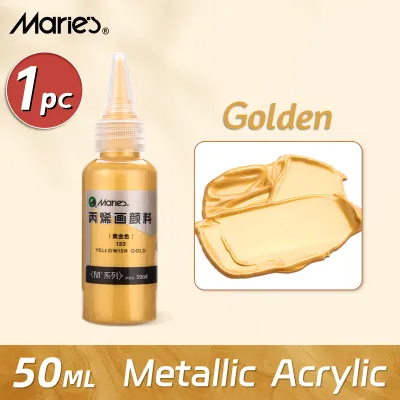
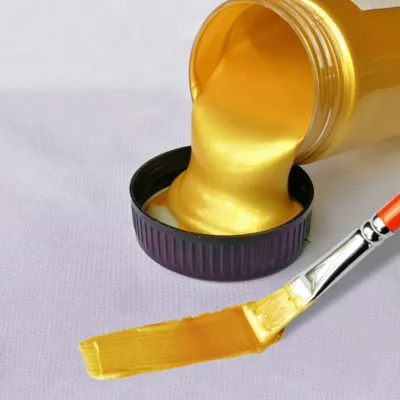
Prices are valid at publication and may change. Please refer to the product page for the latest price.
For builders seeking the brightest, most durable, and highly reflective metallic finish, lacquer paints are the industry standard. However, they require an airbrush, a dedicated spray booth, and a proper respirator due to their strong solvent fumes.
Enamel paints sit comfortably in the middle. They are rarely used for painting entire model kits due to slow drying times, but their excellent self-leveling properties make them the premier choice for hand-brushing small metallic details, panel lining, and weathering.
Understanding Acrylic, Enamel, and Lacquer Metallic Paints
To make an informed decision, you must understand how these three paint types are formulated and how they carry metallic pigments like aluminum, brass, or copper flakes.

Acrylic Metallic Paints Acrylics are typically water- or alcohol-based, with metallic pigments suspended in an acrylic polymer emulsion. Because the solvent is mostly water or mild alcohol, these paints have very low odor and can be thinned with water or brand-specific acrylic thinners. When applied, the water evaporates, leaving behind a flexible plastic film. However, because acrylics dry relatively quickly on the surface, the metallic flakes do not always have time to lay completely flat. This can sometimes result in a slightly textured or satin metallic finish rather than a mirror-like shine. Agitation is key; you must shake acrylic metallic paints thoroughly to prevent the heavy metallic particles from clumping at the bottom of the bottle.
Enamel Metallic Paints Enamels are oil-based paints that dry slowly through solvent evaporation and chemical oxidation. This slow drying time is a major advantage for metallic finishes, as it gives the paint film ample time to level out, allowing the metallic pigments to settle evenly across the surface. The result is a very smooth, brush-stroke-free finish even when applied by hand. However, because the metallic particles are suspended in a heavy oil medium, they settle quickly in the bottle or airbrush cup, requiring continuous stirring during your painting session to maintain a consistent color.
Lacquer Metallic Paints Lacquers are solvent-based paints that dry purely by rapid solvent evaporation. The solvents used in lacquers are highly volatile and chemically aggressive, which allows the paint to dry almost instantly upon contact with the surface. This rapid drying, combined with a very thin binder, allows the metallic flakes to lay down incredibly tight and flat against the surface. This tight alignment is what gives lacquer metallics their unmatched reflectivity, depth, and durability. The aggressive solvent also “bites” slightly into the plastic surface, creating an incredibly strong bond. The trade-off is the release of strong, toxic volatile organic compounds (VOCs) that require strict safety precautions.
Key Comparison Dimensions for Gundam Builders
When choosing a metallic paint for your Gunpla projects, you must evaluate how each chemistry performs across several practical dimensions.
Plastic Compatibility and Surface Bite Gundam kits are primarily made of polystyrene (PS) and acrylonitrile butadiene styrene (ABS). Lacquer solvents are highly aggressive and can easily melt or craze bare plastic if applied too heavily. ABS plastic, often used for joint parts due to its strength, is particularly susceptible to cracking when exposed to lacquer or enamel thinners. Acrylics, being water-based, are completely safe on all types of model plastic and will not cause structural damage. To safely use lacquers or enamels, applying a dedicated primer coat is highly recommended. The primer acts as a protective barrier, preventing the harsh solvents from directly contacting and weakening the underlying plastic.
Finish Quality and Reflectivity The visual quality of a metallic finish is determined by how flat the metallic flakes lie. Lacquer paints have a very thin binder, allowing the metallic particles to align perfectly parallel to the surface, resulting in a brilliant, mirror-like reflectivity. Acrylic binders are thicker and more viscous, which can trap the metallic flakes at random angles, leading to a more diffuse, sparkly, or grainy appearance. Enamels offer a middle ground; while they do not achieve the extreme chrome-like shine of high-end lacquers, their self-leveling nature produces a very smooth, convincing metallic sheen that looks excellent on small mechanical details.
Ease of Use and Cleanup Acrylics are by far the easiest to use and clean. You can thin them with water or acrylic thinner, and clean your brushes and airbrush in the sink with soap and water or mild cleaners. Enamels require mineral spirits or specialized enamel thinners for both thinning and cleanup, which carry a mild odor and require proper disposal. Lacquers are the most demanding, requiring strong lacquer thinners that can quickly dissolve dried paint but are highly toxic and highly flammable. If you are airbrushing, lacquers are actually less prone to clogging the nozzle than acrylics because the solvent constantly dissolves any dried paint buildup, whereas acrylics can suffer from “tip dry” in hot or humid climates.
Safety and Workspace Requirements In tropical climates like the Philippines, high humidity can severely affect paint behavior, causing lacquers to “blush” (trap moisture and turn cloudy) and acrylics to dry unpredictably. More importantly, safety must be your top priority. Lacquer paints emit strong, toxic fumes containing toluene, xylene, and ketones. You must never spray lacquers indoors without a spray booth vented to the outside and a dual-cartridge respirator rated for organic vapors. Enamels also emit noticeable fumes and require good ventilation. Acrylics are much safer for indoor use in shared family spaces, requiring only basic ventilation, though a simple dust mask is still recommended when airbrushing to avoid inhaling paint mist.
Decision Framework: Which Paint Fits Your Setup?
To help you choose the right metallic paint for your next Gundam project, use this practical decision framework based on your specific workspace and tools.
Choose Acrylic if:
- You paint in a shared living space, bedroom, or a room without outdoor ventilation.
- You prefer hand-brushing over airbrushing.
- You want a quick, hassle-free cleanup process using non-toxic cleaners.
- You are a beginner or intermediate builder looking to experiment with metallic accents without investing in expensive safety gear.
Choose Enamel if:
- You want to hand-brush small, intricate details like rivets, pipes, or inner frame joints.
- You are performing panel lining using pre-thinned washes over a protective gloss coat.
- You need a paint that naturally levels out to erase brush strokes on small surfaces.
- You have moderate ventilation, such as an open window or a fan.
Choose Lacquer if:
- You own an airbrush and a dedicated spray booth that vents fumes outside.
- You wear a properly fitted respirator with organic vapor cartridges.
- You demand the highest possible reflectivity, such as a mirror-chrome, candy coat, or polished gold finish.
- You require an extremely durable paint layer that can withstand posing, transforming, and handling without chipping.
Verify First if:
- You are layering different paint types. A golden rule of model painting is "acrylic over enamel over lacquer." Because lacquer is the strongest solvent, spraying lacquer over an acrylic or enamel layer will instantly melt and ruin the underlying paint. Always test your paint layering on a piece of scrap plastic or a plastic spoon before committing to your expensive Gundam kit.
Essential Application Steps for Metallic Finishes on Plastic
Achieving a flawless metallic finish requires meticulous preparation and execution, regardless of the paint chemistry you select.
Surface Preparation Metallic paints are incredibly unforgiving; they act like a magnifying glass for surface imperfections. Any scratches, nub marks, or mold lines will stand out prominently once the metallic coat is applied. Begin by sanding your parts progressively up to a fine grit (at least 1000 to 1500 grit). Wash the plastic parts in warm, soapy water to remove any residual mold release agents or finger oils, then let them dry completely. Next, apply a primer. For metallic paints, a glossy black primer is highly recommended. The dark, smooth base absorbs light, making the metallic layer applied on top appear much deeper, richer, and more reflective.
Application Technique If you are airbrushing, maintain a consistent distance of about 10 to 15 centimeters from the part. Spraying too close can cause the paint to pool and run, while spraying too far can cause the paint to dry in the air, resulting in a rough, dusty texture that ruins the metallic sheen. Keep your air pressure moderate, typically between 12 and 18 PSI, depending on your paint’s viscosity. If you are hand-brushing acrylics or enamels, use a soft, flat brush and apply thin, even coats in one direction. Avoid going over a partially dried area, as this will tear the paint film and disrupt the alignment of the metallic pigments.
Protection and Clear Coating Metallic paints can oxidize over time or rub off from frequent handling. To protect your hard work, you must apply a clear topcoat. However, you must choose your clear coat carefully. A flat or matte clear coat will completely destroy the metallic shine, turning your brilliant gold or silver into a dull grey or mustard yellow. Always use a high-gloss clear coat. Additionally, ensure the clear coat chemistry is compatible with your metallic paint. For example, spraying a heavy lacquer clear coat over an acrylic metallic paint can dissolve the metallic layer and cause the pigments to run. A water-based gloss clear coat is generally the safest option for protecting delicate metallic finishes.
Frequently Asked Questions (FAQ)
Can I mix different brands or types of metallic paints?
You should never mix different paint chemistries—such as mixing an acrylic paint with a lacquer paint—in the same mixing cup or airbrush color cup. Doing so will cause the binders to clash, resulting in a clumpy, unusable sludge that can ruin your airbrush. However, you can generally mix metallic paints of the same chemistry from different brands, such as mixing two different brands of acrylics. Even then, it is highly recommended to perform a small test mix on a palette first to ensure the formulas are fully compatible and do not separate or curdle.
Why does my metallic paint look dull or grainy after drying?
A dull or grainy metallic finish is usually caused by the paint drying too quickly before the metallic flakes can lay flat, a phenomenon often exacerbated by high humidity or heat. If you are airbrushing, you may be spraying from too far away, causing the paint to dry mid-air. Alternatively, the paint may not be thinned sufficiently. To fix this, try adding a small amount of paint retarder (which slows drying time) or using a leveling thinner. For hand-brushing, ensure you are not working the paint too much as it begins to cure, and always apply a gloss clear coat afterward to restore the depth and shine.
Do I need a special primer for metallic paints on Gundam kits?
While you do not need a primer labeled specifically for metallics, using a high-gloss black primer is the industry-standard method for achieving the best results. The gloss black base provides an ultra-smooth surface that allows the metallic pigments to align perfectly, while the black color prevents light from scattering beneath the paint, dramatically enhancing the depth and reflectivity of the metallic coat. If you apply metallic paint directly onto bare grey plastic, the finish will often look flat, toy-like, and lack the realistic metallic weight required for a high-quality Gundam model.

Community discussion
Share your experience or ask a question. Comments are reviewed before publication.