
Quick Answer: Which Clay Should You Choose?
Choosing between air-dry clay and polymer clay depends on your project’s final application, your desired level of detail, and the tools you have at home. Because these two modeling mediums cure through entirely different physical processes, they serve distinct creative purposes.
Select air-dry clay if you are building large-scale sculptures, crafting earthy home decor, working with children, or if you do not have access to a baking oven. This material is highly accessible, requires no specialized curing equipment, and is easy to smooth with water.
Select polymer clay if you are creating delicate jewelry, highly detailed miniatures, or functional items that require water resistance and structural resilience. Polymer clay is a synthetic material that must be baked to harden, yielding a durable, slightly flexible plastic finish that holds intricate textures without shrinking.
Products mentioned in this guide
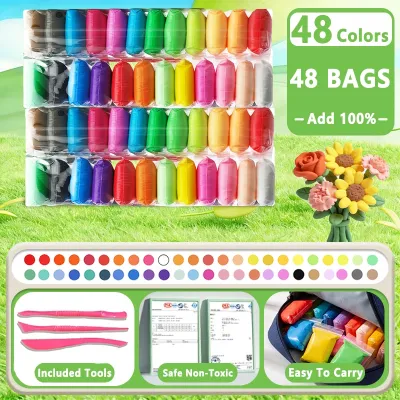
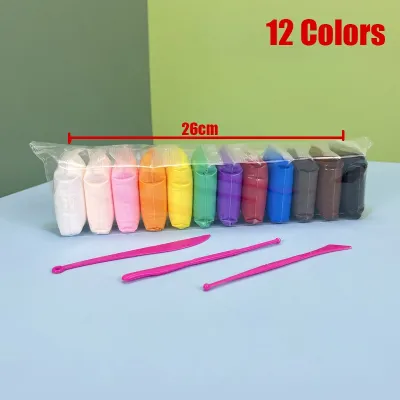
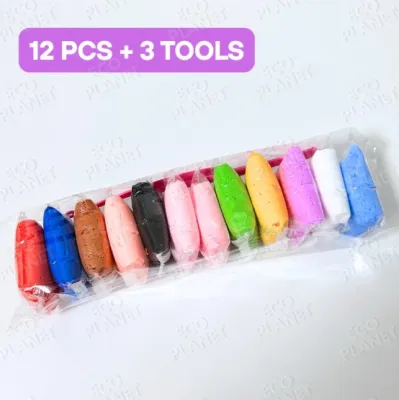
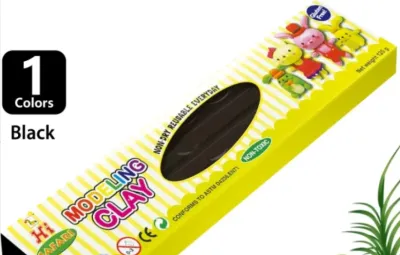
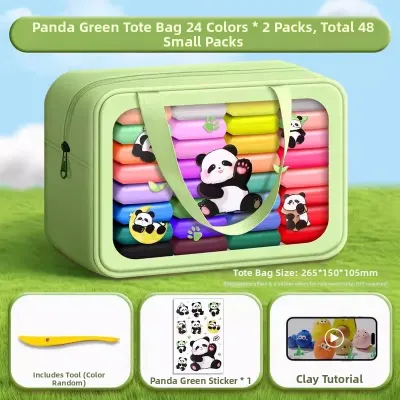
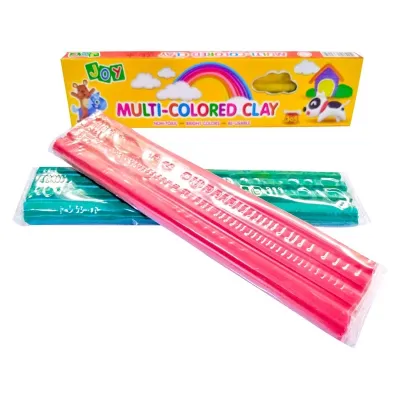
Prices are valid at publication and may change. Please refer to the product page for the latest price.
Core Differences: Drying Methods and Curing Processes
The fundamental distinction between air-dry clay and polymer clay lies in how they transition from a pliable state to a hardened solid. Understanding these mechanical processes is essential for planning your crafting timeline, managing your workspace, and ensuring your finished pieces do not crack or degrade over time.

How Air-Dry Clay Cures
Air-dry clay is a water-based medium containing natural clays, paper fibers, or starch binders. It hardens solely through evaporation, meaning that as the water content within the clay escapes into the surrounding air, the solid particles pack together and bind.
Because evaporation dictates the curing speed, environmental conditions play a massive role in your project’s success. In tropical, high-humidity environments like the Philippines, where relative humidity levels frequently exceed 80%, the drying process slows down significantly. A standard sculptural piece that might dry in 24 hours in a dry climate can easily take 48 to 72 hours to cure completely in a humid setting.
To manage this evaporation process successfully, you must implement a few structural safeguards:
- Rotate and Flip: Turn your sculpting projects regularly during the drying phase to expose all sides to airflow, preventing uneven drying that leads to warping.
- Avoid Forced Heat: Do not use hair dryers or place pieces under direct, intense sunlight to speed up the process. Rapid surface drying causes the outer layer to shrink and contract while the core remains wet, resulting in deep surface cracks.
- The Coolness Test: To verify if your piece is fully dry, touch it to your cheek or the back of your hand. If the clay feels cool, water is still actively evaporating from the core, and the piece is not yet ready for sanding or painting.
How Polymer Clay Cures
Polymer clay is a synthetic modeling material composed of polyvinyl chloride (PVC) resin particles suspended in a liquid plasticizer. Unlike water-based clays, polymer clay does not dry out when exposed to air, remaining completely workable for days, weeks, or even months if kept free of dust.
To cure polymer clay, you must subject it to thermal polymerization. This process requires a domestic oven or a dedicated countertop toaster oven capable of maintaining stable temperatures between 110°C and 130°C, depending on the manufacturer’s exact specifications. When heated, the PVC particles absorb the plasticizer and fuse together into a solid, durable plastic.
Achieving a successful cure requires precise temperature control and adherence to safety protocols:
- Calibrate Your Oven: Built-in oven dials are notoriously inaccurate. Always place an independent oven thermometer directly next to your clay to monitor the actual temperature throughout the baking process.
- Under-Baking Risks: If the oven temperature is too low or the baking time is too short, the plasticizer will not fully fuse with the PVC. This leaves the final product incredibly brittle, causing it to crumble or snap under the slightest pressure.
- Over-Baking Hazards: Baking polymer clay at excessively high temperatures will scorch the material, causing discoloration, bubbling, and the release of irritating hydrochloric acid fumes. If burning occurs, immediately turn off the oven, open all windows, and leave the room to allow the space to ventilate.
Durability and Structural Integrity
Before selecting your sculpting medium, consider how the finished item will be handled, stored, and exposed to the elements. The physical properties of cured polymer clay and dried air-dry clay differ dramatically in terms of moisture resistance and impact strength.
Water Resistance and Longevity
Once fully baked, polymer clay is chemically transformed into a non-porous plastic. This synthetic composition makes it inherently water-resistant. While it should not be subjected to prolonged submersion or dishwashers, a cured polymer clay item can easily withstand splashes, high humidity, and occasional washing with mild soap and water without losing its structural integrity.
In stark contrast, cured air-dry clay remains highly porous and water-soluble. Because the binding process relies entirely on dried natural binders, exposure to moisture will reactivate the clay, causing it to soften, swell, warp, or completely dissolve. Even in humid tropical rooms, unprotected air-dry clay can absorb atmospheric moisture over time, leading to structural softening and mold growth.
To protect air-dry clay from moisture degradation, applying a high-quality sealant is mandatory. However, you should check product labels carefully; many commercial air-dry clays that claim to be “water-resistant” only achieve this state after being coated with specific proprietary synthetic sealants. Never assume an air-dry clay piece is safe for damp environments without a dedicated protective barrier.
Flexibility and Fragility
The molecular structure of cured polymer clay retains a degree of flexibility, especially when rolled into thin sheets or sculpted into delicate components. If a thin polymer clay earring or figurine accessory is dropped on a hard tile floor, it will typically bend or bounce rather than shatter. This slight give makes polymer clay the superior choice for wearable art and functional objects.
Air-dry clay cures to a hard, dense, ceramic-like finish that lacks any molecular flexibility. This makes the material highly brittle. If an air-dry clay sculpture is dropped or subjected to lateral stress, it is highly prone to chipping, snapping, or shattering completely. Thin, unsupported protrusions like fingers, ears, or delicate flower petals are particularly vulnerable.
To mitigate fragility in both materials, incorporating internal armatures is highly recommended:
- For Air-Dry Clay: Use rigid armatures made of aluminum wire, wood dowels, or tightly crumpled aluminum foil to provide a strong internal skeleton. This reduces the overall thickness of the clay, preventing cracking and adding structural support to delicate areas.
- For Polymer Clay: Use wire armatures to support thin, projecting elements. Additionally, bulk out larger sculptures with crumpled aluminum foil; this not only saves clay but also ensures the piece has a uniform thickness, allowing for even heat distribution during baking.
Finishing, Painting, and Sealing Requirements
Both air-dry and polymer clays can be decorated and sealed to achieve a professional, polished look. However, their contrasting surfaces—one highly porous and the other completely non-porous—require different chemical treatments and finishing techniques.
Painting and Sealing Air-Dry Clay
Because air-dry clay is highly absorbent, it acts like a sponge when paint is applied. Acrylic paints are the industry standard for coloring air-dry clay. Their high pigment load, opacity, and water-resistant drying properties allow them to sit beautifully on the porous surface without soaking in so deeply that the colors become dull.
Sealing is a non-negotiable step for air-dry clay if you want your project to last. A proper sealer locks out moisture, prevents dust from embedding in the porous surface, and protects painted designs from UV fading. Compatible sealants include water-based polyurethane varnishes, acrylic spray sealers, and liquid gloss or matte varnishes.
Before coating your entire project, always perform a compatibility test. Apply your chosen paint and sealant to a small, dried scrap piece of clay first. Observe it for 24 hours to ensure the sealant does not reactivate the clay’s surface, cause the paint to bleed, or dry to an undesirable, cloudy finish.
Painting and Sealing Polymer Clay
Polymer clay features a smooth, non-porous plastic surface that does not absorb liquids. You can paint cured polymer clay with acrylic paints, but you must prepare the surface first. Wipe the baked clay with rubbing alcohol to remove any residual skin oils or mold release agents that could prevent the paint from adhering properly.
When sealing polymer clay, you must exercise extreme caution regarding chemical compatibility. Many common aerosol spray cans and standard nail polishes contain solvent propellants and plasticizers that react chemically with the PVC in polymer clay. Using these incompatible products will initiate a chemical reaction that turns the clay’s surface permanently sticky, tacky, or gooey over time—a ruinous state that cannot be easily reversed.
To safely seal polymer clay, stick to water-based polyurethane varnishes specifically labeled as safe for polymer clay, or use high-quality UV-curable or two-part epoxy resins. These sealants cure to a hard, crystal-clear protective shell without compromising the chemical stability of the underlying plastic.
Ease of Use, Tools, and Workspace Setup
Your crafting environment and budget will heavily influence which clay is more practical for you to adopt. Each material demands a different set of tools, preparation steps, and cleanup routines.
Air-dry clay has a very low barrier to entry. The basic tools required are highly accessible: a smooth work surface, basic wooden or plastic sculpting tools, a small bowl of water to smooth out surface cracks, and airtight storage containers. It can be quite messy, leaving a powdery residue on your hands and work surfaces that requires thorough washing with soap and water.
Because air-dry clay begins drying the moment it is exposed to the air, you must work relatively quickly. If you need to pause your sculpting session, you must wrap the unfinished piece in damp paper towels and seal it tightly inside a plastic bag to preserve its moisture.
Polymer clay requires a slightly more specialized tool kit to achieve professional results. Because the clay is dense and firm out of the package, it must undergo “conditioning”—a process of kneading and rolling to warm up the clay and distribute the plasticizers evenly. Useful tools include acrylic rollers, dedicated clay pasta machines for rolling uniform sheets, tissue blades for clean cuts, and a smooth, non-porous work surface like glass or ceramic tile.
An outstanding advantage of polymer clay is its workability. Because it does not dry in the air, you can leave a half-finished sculpture on your work table for days, returning to refine intricate details without any rush or fear of the material hardening prematurely.
Proper storage is critical for preserving both materials:
- Air-Dry Clay Storage: Must be kept strictly airtight. Wrap unused clay tightly in plastic wrap, place it inside a heavy-duty zip-top bag with a damp sponge or paper towel, and store it in a lockable plastic container. Entry-level air-dry clay is highly economical, typically costing around ₱50 to ₱150 per pack, making it excellent for high-volume crafting.
- Polymer Clay Storage: Must be stored away from direct sunlight and high heat sources to prevent partial curing. Keep unused clay in polypropylene (PP) plastic bags or glass containers. Avoid storing raw polymer clay in contact with polystyrene or other cheap plastics, as the plasticizers will migrate and melt the container. Premium imported polymer clay brands generally range from ₱150 to ₱400 per small block, reflecting its specialized nature.
Safety and Storage Considerations
When introducing modeling clays into your home, especially if crafting with children or working in shared living spaces, prioritizing health and safety is essential.
Both air-dry and polymer clays sold by reputable manufacturers are formulated to be non-toxic. However, you should always inspect the product packaging for recognized safety certifications, such as the Art and Creative Materials Institute’s AP (Approved Product) seal. This seal ensures the material has been toxicologically evaluated and contains no materials in sufficient quantities to be toxic or injurious to humans.
When baking polymer clay, safety requires strict adherence to ventilation and containment protocols. Never bake polymer clay in the same oven cavity alongside exposed food preparation. To prevent gaseous plasticizer residues from coating your oven walls, bake your clay inside a dedicated, covered baking vessel—such as two disposable aluminum roasting pans clamped together with binder clips. Always work in a well-ventilated room, keeping windows open or using exhaust fans to draw air outside.
Additionally, be prepared for physical changes during the curing process. Air-dry clay undergoes volumetric shrinkage of approximately 5% to 15% as its water content evaporates. This shrinkage can cause the clay to crack if it is sculpted too tightly around a rigid, unyielding internal armature. Polymer clay, on the other hand, experiences negligible shrinkage (typically under 1%) during baking, allowing you to sculpt highly precise dimensions with confidence.
Decision Framework: When to Choose Which Clay
To finalize your project planning and material purchasing, use this straightforward decision framework to match your creative goals with the correct medium.
Choose Air-Dry Clay if:
- You want to create large home decor items: It is ideal for large vases, bowls, wall hangings, and organic sculptures where weight and material cost are major factors.
- You are crafting with young children: The soft texture, easy water-cleanup, and lack of baking requirements make it a safe, stress-free choice for classrooms and family craft days.
- You do not own a dedicated baking oven: It allows you to sculpt freely without worrying about temperature calibration, baking times, or oven fumes.
- You prefer an earthy, organic aesthetic: Cured air-dry clay can be easily sanded, carved with woodcarving tools, and painted to mimic stone, earthenware, or plaster.
Choose Polymer Clay if:
- You are making wearable jewelry: It is the gold standard for earrings, pendants, and beads that must be lightweight, highly durable, slightly flexible, and completely water-resistant.
- You are sculpting intricate miniatures: It holds extremely fine details, sharp edges, and complex textures without smudging or shrinking during the curing process.
- You need an unlimited working window: It allows you to take your time over several days to perfect a complex sculpture without the material drying out or cracking mid-session.
- You want vibrant, built-in colors: Polymer clay comes in an enormous array of pre-pigmented colors, metallics, and translucent properties that can be blended like paint, eliminating the need for post-cure painting.
Verify first if:
- Your project requires food safety: Neither air-dry clay nor polymer clay is safe for direct contact with food or beverages. Do not use them to craft functional plates, cups, or utensils.
- The item will be placed outdoors: Extreme heat, heavy rainfall, and UV exposure will rapidly degrade both materials. For outdoor applications, traditional kiln-fired ceramics or concrete casting are required.
- The item will be exposed to high heat: Neither material can withstand high temperatures after curing. Keep them away from open flames, hot stove burners, and direct contact with high-wattage light bulbs.
Frequently Asked Questions (FAQ)
Can you mix air-dry clay and polymer clay in the same project?
No, you cannot blend air-dry clay and polymer clay together into a single, homogeneous mixture. Because they rely on completely incompatible curing mechanisms—evaporation versus heat polymerization—a blended mixture will fail to cure properly, resulting in a cracked, structurally weak, and uncured mess.
However, you can combine them as separate elements in a mixed-media project. To do this safely, you must cure the polymer clay components completely in the oven first. Once the polymer elements are baked and cooled, you can attach them to your wet air-dry clay structure. As the air-dry clay shrinks during its drying phase, it may pull away slightly, so you must secure the joint afterward using a high-strength adhesive like epoxy or cyanoacrylate (super glue).
Is polymer clay safe for food-contact items like mugs or plates?
No, polymer clay is strictly not food-safe and should never come into direct contact with food or beverages. Even when fully cured and sealed, polymer clay remains a synthetic plastic that contains chemical plasticizers. Furthermore, the surface of cured polymer clay contains microscopic pores and crevices that can easily harbor harmful bacteria, which cannot be sanitized safely since the material cannot withstand the high heat of a dishwasher.
If you wish to use polymer clay to decorate kitchenware, restrict your designs entirely to the exterior surfaces of the items. For example, you can sculpt a decorative handle or outer sleeve for a ceramic mug, ensuring that the clay is kept well away from the rim where lips would touch, and ensuring the interior of the vessel remains pure, food-grade ceramic or glass.
Community discussion
Share your experience or ask a question. Comments are reviewed before publication.