
Starting your very first memory-keeping project is an exciting milestone, but walking into a craft store or browsing an online marketplace can quickly feel overwhelming. Row after row of glittering stickers, heavy die-cutting machines, and hundreds of patterned paper pads can make it seem like you need a massive budget just to preserve a few memories. Fortunately, the secret to a beautiful page does not lie in expensive gadgets or endless embellishments.
To begin, you only need a small selection of functional, high-quality materials that protect your photos and help you tell your story. When choosing a scrapbook for project materials, focusing on a few reliable essentials ensures you complete your first layout successfully without cluttering your home or overspending. By understanding how paper, adhesives, and cutting tools interact, you can build a solid foundation for a hobby that lasts a lifetime.
The Absolute Essentials for Your First Scrapbook Project
To complete your very first scrapbook layout, you do not need to purchase every specialized tool on the market. In fact, keeping your initial kit small allows you to focus on the core elements of scrapbooking: your photographs, your written memories, and a clean layout. A minimal, highly effective starter kit consists of five core items:
Products mentioned in this guide
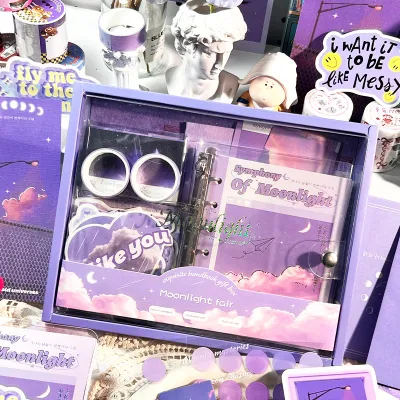
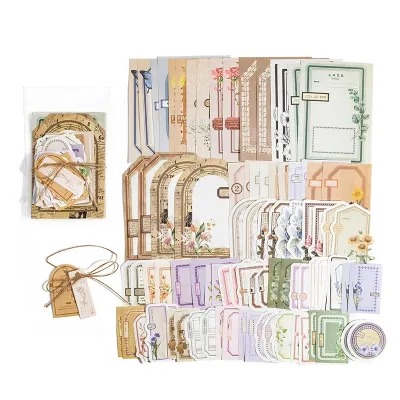
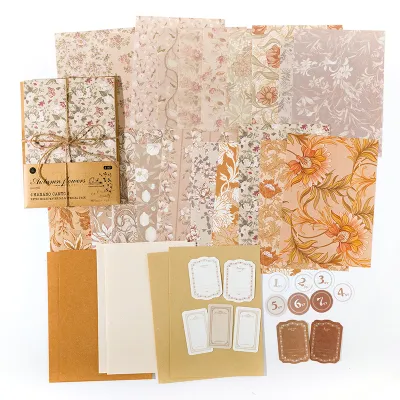
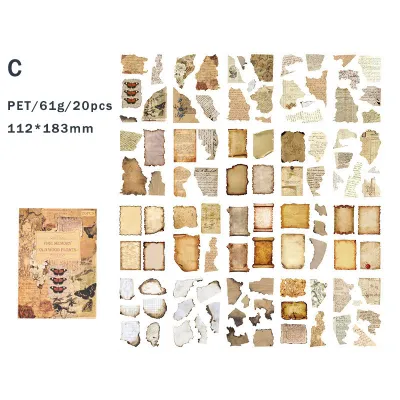
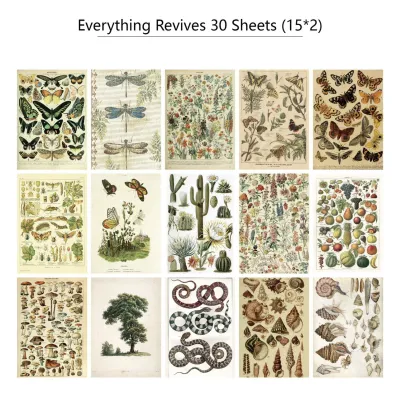
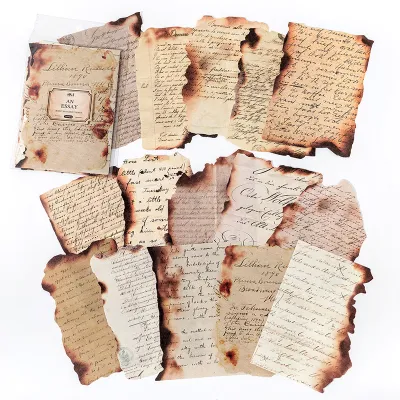
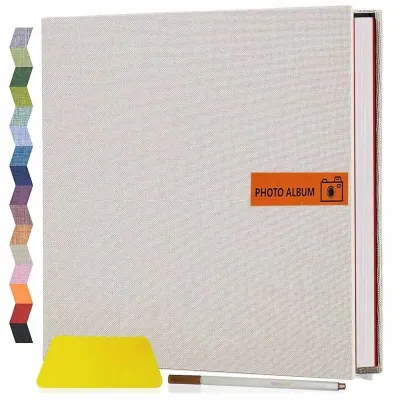
Prices are valid at publication and may change. Please refer to the product page for the latest price.
- A blank album or cardstock base: This serves as the canvas for your entire layout.
- Coordinating patterned paper: Used to create backgrounds, borders, and frames for your photos.
- Photo-safe adhesive: Crucial for securing your elements permanently without damaging your prints.
- A reliable cutting tool: A basic paper trimmer or a sharp pair of scissors for clean edges.
- A high-quality journaling pen: Specifically, a fine-tip pigment ink pen with waterproof, fade-resistant, and fast-drying properties to prevent smearing on your layouts.
This “less is more” philosophy is highly beneficial for beginners. When you limit your options, you avoid the creative paralysis that often comes with having too many decorative elements. Instead of worrying about where to place dozens of stickers or ribbons, you can focus on the balance of your photos and the words that accompany them. A successful layout is defined by the memories it preserves, not the price tag of the decorations surrounding them.
Before you head out to purchase a complete set of scrapbooking tools, take a look around your home. Many standard household items can temporarily substitute for specialized crafting gear. For example, a sturdy metal ruler from a school pencil case is excellent for guiding straight lines, and a pair of sharp household utility scissors can easily handle basic paper cutting. You can also use a clean plastic card, like an old gift card, to smooth down paper and prevent air bubbles when applying adhesives. By starting with what you already have and only purchasing the absolute necessities, you keep your entry into the craft affordable and stress-free.
How to Choose Safe Paper and Bases for Your Photos
The paper you select serves as the physical foundation for your entire project, making it one of the most critical decisions you will make. When preserving physical photographs, you must pay close attention to the chemical composition of the paper you buy. Standard paper often contains natural compounds that degrade over time, releasing harmful acids. To protect your memories, always look for paper labeled as “acid-free” and “lignin-free.”

Lignin is a natural organic polymer found in wood pulp that gives plants their structural strength. While useful in nature, lignin breaks down over time when exposed to light and air, producing acidic byproducts. This acidity causes paper to turn yellow and brittle, and more importantly, it can migrate to your physical photographs, causing them to fade, discolor, or develop ugly brown spots. Checking product labels for archival-safe certifications ensures that your paper will remain pristine and your photos will stay protected for decades.
Beyond chemical safety, you must consider the weight of the paper. Paper weight is typically measured in grams per square meter (gsm) or pounds (lbs). Standard office printer paper is usually around 70 to 80 gsm, which is far too thin to support a scrapbook layout. When you apply adhesives, heavy photographs, and decorative layers to thin paper, the moisture and weight will cause the base to warp, buckle, and tear.
For a reliable scrapbook base, look for heavy cardstock with a weight of at least 176 gsm (65 lb) to 270 gsm (100 lb). This thickness provides the structural integrity needed to support multiple layers of paper, thick photo prints, and embellishments without bending or sagging. If you are using patterned paper for background layers or decorative borders, a medium weight of around 120 gsm to 150 gsm is ideal, as it is easy to cut and layer without adding excessive bulk to your album.
Picking the Right Adhesives and Cutting Tools
Choosing the right tools to cut and secure your materials is just as important as selecting the paper itself. Using the wrong adhesive can ruin a photograph instantly, while a dull or inappropriate cutting tool can leave you with jagged, uneven edges that detract from your layout.
Safe Adhesives for Photos
When it comes to securing your photographs, dry adhesives are highly recommended over liquid glues. Liquid school glues, white craft glues, and hot glue guns contain a high water content that causes paper fibers to swell and expand, leading to unsightly wrinkles and warping on both your photos and your background cardstock.
Instead, look for dry adhesive options such as double-sided tape, glue runners, or photo corners. Glue runners are incredibly popular because they allow you to apply a thin, even strip of dry adhesive quickly and cleanly. Double-sided tape rolls are also highly effective and budget-friendly, especially for securing larger background papers.
If you are working with highly valuable, vintage, or irreplaceable photographs, consider using photo corners. These are small, triangular pockets that stick to the scrapbook page, holding the corners of the photo in place without actually applying adhesive to the image itself. This allows you to slide the photo out of the page safely at any time.
Avoid standard office glue sticks or rubber cement. These adhesives are not formulated for archival preservation; they often dry out and lose their grip after a few years, causing your photos to fall off the page. Furthermore, rubber cement contains solvents that can chemically react with photo paper, leaving permanent dark stains on your images. Always check the packaging of any adhesive to verify that it is explicitly labeled as photo-safe, acid-free, and non-toxic.
Basic Cutting Tools
Clean, straight cuts are essential for a polished, professional-looking scrapbook page. While a pair of standard household scissors is useful for rough cuts, achieving perfectly straight lines on large sheets of cardstock can be difficult.
For precise straight lines, a manual paper trimmer is an excellent investment. A basic trimmer features a built-in ruler and a sliding blade that guides your cuts perfectly every time. If you prefer a more versatile and budget-friendly setup, you can use a sturdy metal-edged ruler paired with a sharp utility craft knife. The metal edge of the ruler guides the blade, preventing it from slipping and cutting into your fingers or your project.
For detailed work, such as cutting out intricate patterns from patterned paper (often called “fussy cutting”), a dedicated pair of small, sharp detail scissors with a fine tip is invaluable. These scissors allow you to navigate tight curves and small corners with ease.
When using any craft knife or sharp blade, safety must be your top priority. Always work on a self-healing cutting mat. These mats are made from a specialized material that absorbs the cut of the blade without dulling the edge, protecting your dining table or desk from deep scratches. Additionally, always pull the knife toward you in a slow, controlled motion, keeping your non-dominant hand well away from the path of the blade. Check the manufacturer’s safety instructions for your specific cutting tools, and store them out of reach of children.
Scrapbook Supplies You Can Skip as a Beginner
When you are first starting out, it is easy to fall into the trap of thinking you need every gadget available. However, buying too many specialized tools early on can lead to buyer’s remorse, especially if you find that your crafting style changes as you gain experience.
As a beginner, you can comfortably skip electronic die-cutting machines. These devices are expensive, often costing thousands of pesos, and require a steep learning curve with specialized software. Similarly, avoid buying massive, highly specific themed sticker collections. While a pack of themed stickers might look cute, you may only use one or two before the rest of the sheet sits in your storage bin forever.
You should also hold off on purchasing expensive custom hole punches in various shapes, as well as complex ink pad sets and stamps. These items take up significant physical space and can quickly drain your budget before you have even completed your first page.
Instead of spending a fortune, look for budget-friendly, creative alternatives. You can print digital templates or decorative frames at home using standard acid-free paper. Hand-drawn borders made with your journaling pen add a charming, personal touch that commercial stickers cannot replicate. You can also repurpose clean magazine clippings, travel ticket stubs, and affordable rolls of colorful washi tape to add texture and visual interest to your pages without spending a lot of money.
Step-by-Step: Assembling Your First Scrapbook Layout
Once you have gathered your basic materials, it is time to put them together. Following a logical sequence prevents mistakes and ensures that you do not accidentally glue something down in the wrong spot.
- Step 1: Plan the Layout (Dry Fitting): Before you touch your adhesive, place your photos, background paper, and any decorative elements onto your cardstock base. This process allows you to experiment with different arrangements, overlap elements, and decide on the best composition. Take your time to move things around until the page feels visually balanced.
- Step 2: Trim Your Elements: Once you have settled on a layout, determine if any of your photos or patterned papers need to be resized. Use your paper trimmer or your metal ruler and craft knife to trim away excess space. Remember the old crafting rule: measure twice and cut once. If you are unsure, trim a small amount first; you can always cut more off later, but you cannot put paper back together once it is cut.
- Step 3: Secure the Background and Photos: Start gluing from the bottom layer up. Apply your photo-safe double-sided tape or glue runner to the back of your patterned background paper and secure it to your cardstock base. Once the background is in place, apply adhesive to the back of your photos and gently press them down onto the page. Use a clean, dry cloth or a plastic card to smooth out any air bubbles, working from the center of the photo outward.
- Step 4: Add Journaling and Embellishments: With your photos secured, use your journaling pen to write down dates, names, locations, and the stories behind the photos. If you are nervous about writing directly on the page, you can draft your text on a scrap piece of paper first, or write on a separate piece of cardstock and glue it down. Finally, add your minimal embellishments, such as a strip of washi tape or a hand-drawn border.
Before making any permanent adhesive bonds in the future, make it a habit to step back from your workspace. Looking at your layout from a distance of a few feet helps you spot uneven spacing, crooked lines, or areas that feel too crowded or too empty, allowing you to make adjustments before the glue sets.
Frequently Asked Questions (FAQ)
Can I use regular printer paper for scrapbooking?
No, you should avoid using regular office printer paper for permanent scrapbooks. Standard copy paper is thin, prone to warping when adhesive is applied, and contains acids and lignin that will cause your physical photographs to yellow, fade, and degrade over time. You should only use regular printer paper for practicing your layouts, sketching out drafts, or short-term school projects. For long-lasting, archival-safe memory albums, always choose acid-free, heavy cardstock.
How do I store my scrapbook supplies in a humid climate?
In tropical, high-humidity environments like the Philippines, moisture can quickly damage your crafting materials. Excessive humidity causes cardstock to warp, stickers to lose their adhesive backing, and liquid glues or inks to mold. To protect your supplies, store your paper, albums, and adhesives inside airtight plastic storage bins. Place several silica gel desiccant packets inside each bin to absorb any trapped moisture, and keep the bins in a cool, dry area away from direct sunlight.
Community discussion
Share your experience or ask a question. Comments are reviewed before publication.