
Choosing between a beginner and an advanced sewing machine is rarely about finding a universally “better” model; it is about matching mechanical capabilities to your current project complexity and sewing frequency. Beginner machines prioritize straightforward operation, essential stitch functions, and forgiving manual tension systems, making them ideal for basic garment construction, light repairs, and learning the fundamentals of fabric handling. Advanced machines introduce computerized automation, higher torque motors, and specialized feed systems designed for heavy fabrics, high-speed quilting, or intricate decorative work. In tropical climates like the Philippines, where lightweight cottons, linens, and breezy rayons are staple fabrics for daily wear, a beginner machine often handles daily sewing tasks beautifully. However, if you plan to work with heavy canvas for bags or dense upholstery fabrics that resist humidity, the structural differences between these machine tiers become critical.
Before investing, evaluate whether the premium features of an advanced tier solve a specific limitation you currently face, or if a well-chosen beginner model fully supports your creative goals. Overbuying can lead to frustration if a complex interface discourages you from sewing, while underbuying can cause mechanical strain when a lightweight machine is pushed beyond its physical limits. By understanding what happens beneath the plastic casing and how different features interact with your fabric, you can make an informed decision that supports your sewing journey for years to come.
Core Mechanical Differences to Check on the Spec Sheet
When comparing sewing machines, the most critical differences are often hidden beneath the outer shell. Beginner machines typically feature lightweight plastic exterior casings and partial plastic internal frames, which makes them highly portable and easy to store in small spaces. However, this lighter weight can lead to significant vibration when sewing at high speeds, causing the machine to “walk” across your table and leading to uneven stitches. Advanced machines are built around heavy-duty metal internal skeletons, often cast from aluminum alloys. This added weight anchors the machine to your workspace, dampening vibrations and ensuring stitch precision even when running the motor at its maximum speed.
Products mentioned in this guide
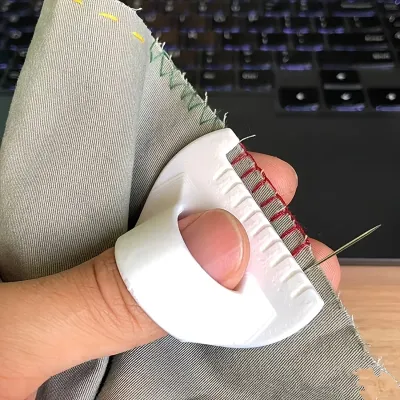
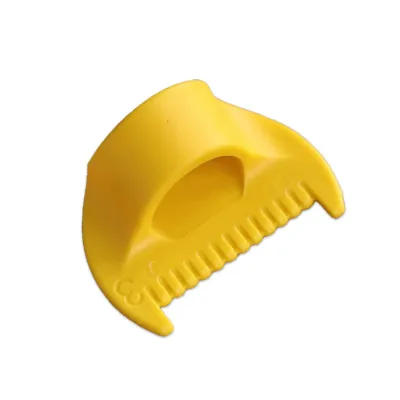
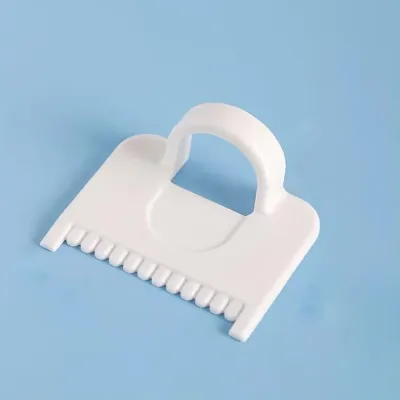
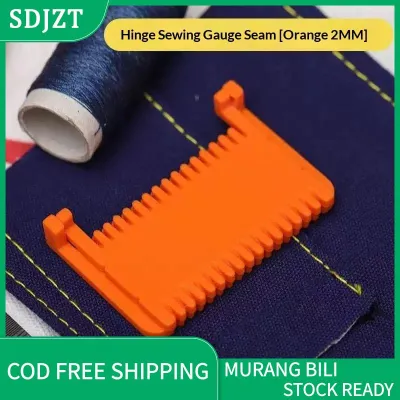
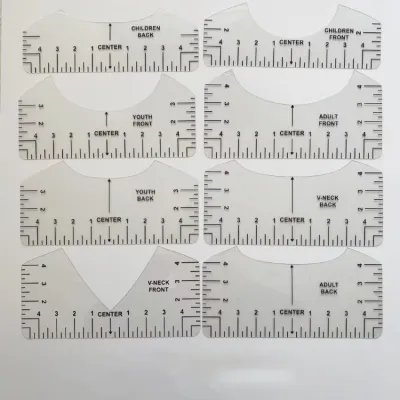
Prices are valid at publication and may change. Please refer to the product page for the latest price.
Motor type and power output directly dictate what materials your machine can penetrate. On the specification sheet, look for the motor’s wattage or amperage rating. Beginner machines generally feature smaller AC motors (around 50 to 60 watts) that rely on speed to build up penetration momentum; this means they can easily stall when you try to sew slowly through thick seams. Advanced machines often utilize high-torque DC motors or more powerful AC motors (80 watts or higher) that deliver consistent needle-piercing force regardless of how slowly you press the foot pedal. This high torque is essential for stitching through dense layers of denim, canvas, or synthetic webbing without overheating the motor.
Fabric control is determined by the throat space and the design of the feed dogs. Throat space—the physical distance between the needle and the inside vertical column of the machine—determines how much fabric you can roll up and fit inside the machine arm. While a standard beginner machine offers a modest 5 to 6 inches of throat space, advanced quilting and heavy-duty machines expand this area to 8, 10, or even 11 inches to accommodate bulky quilts and large home decor projects. Additionally, check the feed dog configuration: beginner models usually feature a 3-point or 5-point feed dog system, whereas advanced models utilize a 7-point feed dog system or a specialized box-feed mechanism. These extra contact points ensure that slippery fabrics like silk chiffon or heavy, textured fabrics are pulled through evenly without slipping or bunching.
Essential Features That Actually Help Beginners
For those starting out, a machine with too many options can actually hinder progress. The most effective beginner machines focus on a streamlined selection of utility stitches rather than hundreds of decorative patterns. You only need a few core stitches to complete almost any garment or home decor project: a straight stitch for seams, a zigzag stitch for finishing raw edges and sewing stretchy fabrics, a multi-stitch zigzag for elastic insertion, and a blind hem stitch. A manual tension dial with clear, high-contrast numbers is also highly beneficial; it forces you to learn how thread tension interacts with different fabric weights, building a foundational skill that computerized machines often automate away.

Usability and setup designs can make the difference between a frustrating afternoon and a successful sewing session. Look for a machine featuring a top-drop, horizontal rotary bobbin system with a clear plastic cover plate. Unlike traditional front-loading vertical metal bobbin cases, a top-drop bobbin allows you to visually monitor your remaining thread supply at a glance and is significantly less prone to jamming or “bird-nesting” under the needle plate. An automatic needle threader, a clearly marked thread path printed directly on the machine body, and a robust, easily accessible one-touch reverse lever are also essential features that streamline the setup process and reduce eye strain.
Finally, pay close attention to the included presser feet and accessory package. A solid beginner machine should include a universal or zigzag foot, a zipper foot, and a buttonhole foot—ideally a one-step automatic buttonhole foot that matches the button size automatically. Verify the shank type of the machine; most entry-level models use standard low-shank snap-on presser feet. This standard design ensures that if you need to expand your capabilities later, you can easily find affordable, compatible aftermarket feet at local sewing shops or online marketplaces without worrying about proprietary attachment systems.
Advanced Upgrades: When Are They Worth the Investment?
As your skills progress, certain advanced upgrades transition from luxury conveniences to essential tools that justify a higher price point. Computerized automation and digital controls are the most prominent upgrades in this tier. Features like an automatic thread cutter—which snips both the top and bobbin threads flush against the fabric at the touch of a button—save hours of labor and yards of thread over a large project. Programmable needle up/down buttons allow you to set the needle to always stop in the down position, acting as a pivot point when turning sharp corners on collars, pockets, or applique. LCD screens make stitch selection foolproof by automatically setting the optimal stitch length and width for your chosen pattern.
Specialized presser feet and physical workspace expansions also define the advanced tier. Many advanced packages include a walking foot (or even-feed foot), which mechanically feeds the top layer of fabric at the exact same speed as the bottom layer, preventing shifting in plaids, stripes, and slippery synthetics. A wide extension table is another invaluable accessory; it supports the weight of heavy garments, curtains, or quilts, preventing the fabric from hanging off the edge of the table and pulling against the needle, which often causes crooked seams or skipped stitches.
Speed and precision controls are vital for advanced sewists who work on diverse materials. Advanced machines often feature a speed control slider that allows you to limit the maximum speed of the foot pedal, giving you ultimate control when performing intricate detail work or sewing around tight curves. Furthermore, the ability to adjust presser foot pressure manually or electronically is a game-changer. Reducing the pressure prevents delicate knits from stretching out of shape, while increasing it ensures that thick, stubborn materials are held firmly against the feed dogs for consistent stitch length.
Matching Machine Tiers to Your Specific Projects
To make the right choice, you must translate abstract machine specifications into the practical demands of your preferred projects. If your primary goals are everyday clothing repairs, simple home decor like throw pillows, and basic garment construction using lightweight tropical fabrics like linen, cotton lawn, or rayon, a high-quality mechanical beginner machine is more than sufficient. These projects require straight-stitch stability and basic edge finishing, both of which are easily handled by entry-level models. Investing in a highly complex computerized machine for these tasks often results in paying for decorative stitches and automated programs that will sit unused.
If you are drawn to quilting, patchwork, and textile art, your needs shift toward advanced capabilities. Quilting involves handling multiple thick layers of fabric and batting, requiring a machine with a walking foot, drop-feed capability (which lowers the feed dogs to allow for free-motion quilting), and a wider throat space. A knee lifter—a lever extending below the machine table that you push with your knee to raise the presser foot—is also highly beneficial for quilters, as it keeps both hands free to guide and manipulate large fabric blocks under the needle.
For those working with heavy-duty fabrics, denim, canvas, or outdoor upholstery, mechanical strength is paramount. Sewing a canvas tote bag or hemming thick denim jeans requires a machine that can handle heavy-duty needles (sizes 100/16 to 110/18) and thick polyester threads without timing issues or motor strain. In this scenario, look for a machine specifically labeled “heavy duty,” which indicates a reinforced metal frame, a high-wattage motor, and metal gears. Using a standard lightweight beginner machine for these dense materials can bend the needle bar, throw the machine out of time, or permanently damage the motor.
Final Decision Framework: Beginner or Advanced?
To finalize your decision, evaluate your current skills, budget, and long-term sewing goals against this practical framework:
- Choose a beginner machine if: You are new to sewing or sew occasionally; your budget is modest (with reliable entry-level models often positioned under ₱10,000); you primarily work with light to medium-weight woven fabrics; and you prefer a straightforward, mechanical interface where you can easily master the basics of thread tension, bobbin winding, and manual fabric guiding.
- Choose an advanced machine if: You sew daily or run a small home-based sewing business; you frequently work with challenging materials like thick denim, leather, or delicate silks; you require high-speed precision for large-scale quilting or home decor; and your budget allows for a premium investment (typically ranging from ₱20,000 to ₱40,000 or more) to gain time-saving automated features.
Before making a final purchase, always verify the long-term support options for your chosen model. If you are considering a second-hand advanced machine, check if replacement parts, extra bobbins, and specialized presser feet are still actively manufactured and easily sourced. Ensure there is a local service center or a qualified technician in your area who can calibrate and repair computerized models, as these machines require professional diagnostic tools that differ significantly from simple mechanical adjustments. Taking the time to verify these details ensures your machine remains a reliable creative partner for years to come.
Frequently Asked Questions (FAQ)
Can I use an advanced sewing machine as a beginner?
Yes, you can certainly use an advanced sewing machine as a beginner, but you should be prepared for a steeper initial learning curve. Computerized features like automatic tension adjustment, auto-threading, and digital stitch optimization are highly convenient, but they can sometimes mask foundational mistakes. For example, if you thread the machine incorrectly, an automatic tension system might attempt to compensate, preventing you from learning how to diagnose tension issues manually. If you choose an advanced machine, take the time to read the manual thoroughly and practice using the manual overrides to build a strong understanding of basic sewing mechanics before relying entirely on automated presets.
How do I test a sewing machine's fabric handling before buying?
When testing a sewing machine at a local dealer or upon unboxing a new delivery, bring a variety of fabric scraps that represent your planned projects. Prepare a piece of thin, slippery synthetic fabric, a piece of stretchy knit, and a thick sample such as a folded denim seam. First, sew a straight line on the thin fabric to check for puckering or gathered seams, which indicates excessive tension or poor feed dog contact. Next, test the stretch fabric with a zigzag stitch to ensure the machine does not skip stitches, which is a common sign of timing or needle compatibility issues. Finally, sew slowly over the thick denim seam, listening closely to the motor; any loud straining, thumping, or needle deflection indicates that the machine’s motor power or internal frame stability may be insufficient for heavy-duty tasks.
Community discussion
Share your experience or ask a question. Comments are reviewed before publication.