
Selecting the perfect acrylic markers depends on matching the chemical formulation of the ink and the physical design of the tip to the specific characteristics of your canvas. A marker that produces a vibrant, permanent design on rough river rocks can easily slide, pool, or peel off a smooth glass jar. Similarly, standard acrylic paint that dries to a rigid finish on wood will crack and flake when applied to a flexible cotton t-shirt. To achieve professional, long-lasting results, you must look beyond generic “multi-surface” claims and understand how different acrylic inks interact with non-porous, porous, and flexible materials.
How Acrylic Ink and Tip Styles Interact with Surfaces
Acrylic markers utilize distinct ink formulations that dictate how they flow, dry, and adhere. Standard water-based acrylic ink is highly fluid, relying on a thin polymer emulsion to carry pigments smoothly through a valve-action system. This makes it excellent for general paper crafts, but it lacks the grip needed for non-porous bases. In contrast, heavy-body paint pen formulations contain a higher concentration of solids and a thicker binder, creating a dense, opaque layer that sits on top of the material rather than soaking in. For wearable crafts, textile-specific acrylics are engineered with elastomeric binders that allow the dried paint to stretch and bend alongside fabric fibers without rupturing.
The physical tip—or nib—of the marker plays an equally vital role in controlling ink delivery and determining your precision. Fine bullet tips (usually 0.7mm to 1mm) restrict ink flow to allow for precise line work, detailed outlines, and intricate patterns on hard surfaces. Medium bullet tips (around 2mm to 3mm) act as the versatile workhorses of the crafting world, offering a balanced flow that handles both lettering and medium-sized filling tasks. Brush tips, made of flexible synthetic fibers, respond to hand pressure to create variable line widths, making them ideal for organic shapes, shading, and working ink into uneven textures. Chisel tips feature a flat, angled edge that allows artists to lay down broad blocks of color quickly or execute sharp, calligraphic strokes.
Products mentioned in this guide
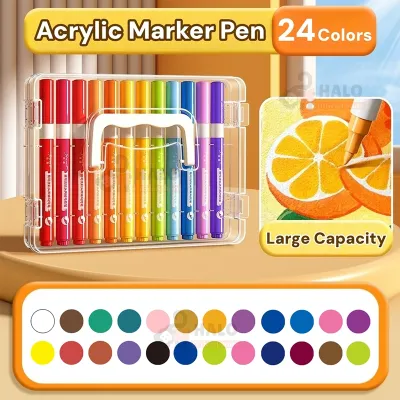
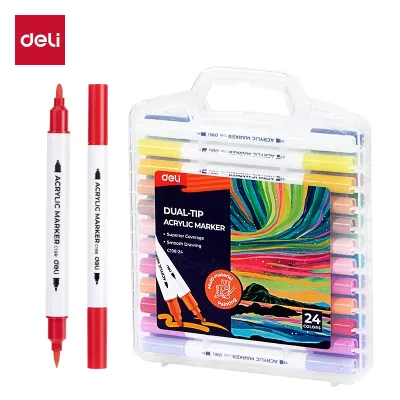
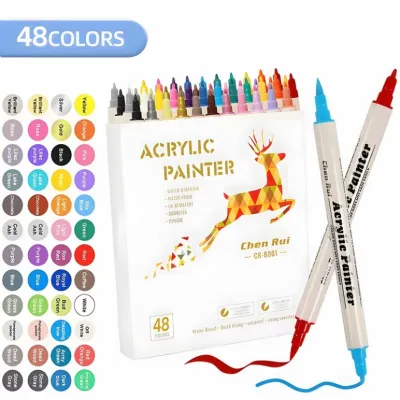

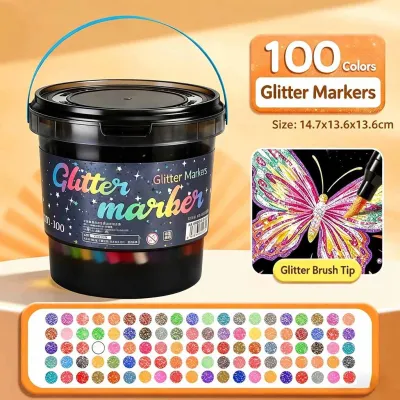
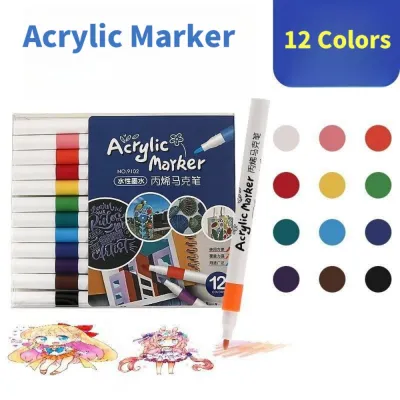

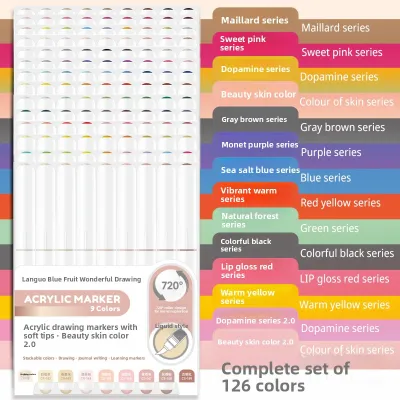
Prices are valid at publication and may change. Please refer to the product page for the latest price.
To choose the right tool, you must evaluate the porosity and flexibility of your target surface. Porous surfaces, such as unglazed ceramics, raw wood, and natural stone, feature microscopic cavities that readily absorb liquid binders, drawing the pigment deep into the material. This creates excellent mechanical adhesion but can dull the colors if the ink is too thin. Non-porous surfaces, including glass, glazed porcelain, and polished metals, offer no physical pores for the ink to grip, meaning the paint must rely entirely on chemical adhesion to stay in place. Flexing surfaces, such as canvas shoes, denim jackets, and cotton tote bags, subject the dried paint film to constant bending, requiring an elastic binder that prevents the design from fracturing under physical stress.
Choosing Acrylic Markers for Smooth, Non-Porous Surfaces Like Glass
Decorating smooth, non-porous materials like glass windows, ceramic mugs, and acrylic sheets presents a unique set of challenges, primarily centered around ink pooling, smudging, and weak adhesion. Standard water-based acrylic markers applied to these surfaces tend to bead up because the surface tension of the glass is higher than that of the liquid paint. Once dry, standard formulas remain highly susceptible to scratching, peeling, or lifting off entirely when exposed to moisture or friction. Because there are no physical pores for the paint to lock into, a simple fingernail scrape or a splash of water can ruin hours of detailed handiwork.

To overcome these limitations, look for high-gloss, enamel-based, or specialized glass acrylic formulations. Enamel-based paint markers utilize oil or specialized solvent carriers that chemically bond with smooth surfaces as they cure, creating a hard, scratch-resistant shell. Specialized glass markers feature advanced acrylic-copolymer binders engineered specifically to adhere to silicate structures, resulting in a finish that resists water and light handling even before any heat treatment. These formulations ensure that the pigment lays down in a flat, uniform sheet without the unsightly pooling or streaking common with cheaper multi-surface pens.
Tip selection is critical when working on slick, curved, or vertical glass objects where excess paint can easily run or drip. Fine or medium bullet tips are the optimal choices here, as they provide a controlled, metered flow of ink that minimizes the risk of flooding your design. These rigid nibs allow you to maintain steady pressure, which is essential for creating clean mandalas, precise geometric patterns, or crisp lettering on wine glasses and decorative jars. Avoid using heavy-pressure brush tips on glass, as the flexing motion can release a sudden surge of ink that quickly pools on the non-absorbent surface.
Achieving a durable, long-lasting finish on glass requires careful post-application curing and sealing. After completing your design, allow the item to air-dry in a dust-free environment for at least 24 to 72 hours; in humid tropical climates like the Philippines, extending this air-drying time ensures that all solvent or water carriers have fully evaporated from the core of the paint layer. If the glass or ceramic item is labeled as heat-safe, you can oven-bake it according to the marker manufacturer’s exact specifications—typically placing the cold item in a cold oven, heating it to around 150°C (300°F) for 30 minutes, and letting it cool completely inside the oven to prevent thermal shock. Finally, for items that will be handled regularly or hand-washed, applying a clear, food-safe topcoat or a specialized glass sealant is critical to shield the delicate edges of the paint from physical wear.
Selecting Markers for Rough, Porous Materials Like Rocks and Wood
Rough, highly absorbent materials such as river stones, raw pine boards, and terracotta pots present the opposite challenge of glass: they drink up liquid ink rapidly, which can lead to dull colors, dry brushing, and damaged marker tips. When you use a low-pigment or highly diluted acrylic marker on raw wood, the capillary action of the wood grain pulls the liquid binder outward, causing the pigment to feather and bleed along the fibers. On rough stones, the abrasive surface acts like sandpaper, quickly fraying delicate felt nibs and clogging the ink flow with microscopic rock dust.
To combat these issues, select high-pigment, highly opaque acrylic markers that can establish a bold, solid layer over dark or naturally textured backgrounds. Professional-grade paint pens with heavy-body formulations are ideal because they contain a high ratio of premium solid pigments to liquid binder, ensuring that the colors remain vibrant and do not sink entirely into the pores of the material. This high opacity allows you to paint bright white, pastel yellow, or metallic gold directly onto dark grey river rocks or deep brown wood without needing to apply five or six tedious layers of paint.
Navigating the microscopic bumps, pits, and ridges of natural stones requires durable, versatile marker tips. Broader tips, such as chisel shapes or large 4mm to 8mm bullet nibs, are superior for filling in large background areas because they distribute a generous volume of ink that fills the surface depressions without requiring repetitive, tip-wearing strokes. Alternatively, flexible brush tips made of durable synthetic elastomers can glide over uneven textures, bending into the natural crevices of the rock or wood grain to deliver a continuous, unbroken line of color. If you are using felt tips, keep a damp cloth nearby to gently wipe away any accumulated wood fibers or stone dust that might clog the nib during long crafting sessions.
Proper surface preparation is the key to preventing your porous materials from absorbing excessive amounts of expensive ink. Begin by thoroughly washing your rocks or wood pieces with water and a stiff brush to remove dirt, moss, or loose bark, then allow them to dry completely under the sun. To save your marker ink and ensure maximum color vibrancy, apply a thin base coat of white acrylic paint or a dedicated gesso primer to seal the pores before you begin drawing. When choosing your markers, consider how the final finish will interact with the natural material; matte or satin formulations often complement the earthy, organic aesthetic of wood and stone beautifully, whereas high-gloss finishes can sometimes look artificial against a rustic background.
Picking the Right Markers for Flexible, Washable Fabrics
Decorating fabrics like cotton t-shirts, denim jackets, and canvas tote bags requires a marker that can adapt to the natural movement of woven fibers. Standard acrylic markers are designed to dry into a rigid, plastic-like film, which behaves poorly on flexible textiles. When the fabric bends, folds, or stretches during wear, this stiff paint layer cannot deform with the threads, causing the design to crack, flake off in tiny pieces, or peel away entirely. Furthermore, standard acrylic formulas lack the specialized binders needed to lock onto organic fibers, meaning a single run through a standard washing machine can easily fade or wash out your hard work.
To ensure your wearable art survives the test of time, you must choose between dedicated fabric acrylic markers or mixing standard acrylics with a specialized textile medium. Dedicated fabric paint pens are formulated with highly flexible elastomeric binders that remain soft and pliable even after curing, allowing the design to stretch and move without cracking. If you prefer to use your existing set of standard acrylic markers, you must apply a liquid textile medium over the fabric first or blend it with the ink; this medium alters the chemical structure of the standard acrylic, lowering its glass transition temperature and giving it the flexibility needed to bond permanently with cloth fibers.
When working on woven fabrics, your choice of marker tip determines how smoothly the ink integrates with the material. Brush tips are highly recommended for fabric painting because their soft, sweeping motion allows you to work the ink deep into the weave of the fabric rather than letting it sit loosely on the surface fuzz. Medium bullet tips are also highly effective for drawing clean outlines and filling in block colors, provided you apply steady, even pressure to push the pigment into the fibers. Avoid using ultra-fine, rigid plastic nibs on textured fabrics like canvas or denim, as they tend to snag on the threads, causing splatters and uneven ink distribution.
No matter which marker type you select, heat-setting is a mandatory step to cure the ink and ensure long-term washability. Once your fabric design is completely dry—ideally after waiting 24 hours—you must apply dry heat to lock the pigment into the fibers. To do this, place a clean pressing cloth or a piece of parchment paper over the design to protect it, then press a hot, dry iron (set to the appropriate temperature for the fabric, such as the cotton setting) over the area for three to five minutes, moving the iron constantly to prevent scorching. Alternatively, you can use a professional heat press; this heat-setting process fully cross-links the acrylic polymers, ensuring the design can withstand gentle, cold-water wash cycles inside out without fading.
Cross-Surface Compatibility and Protecting Your Finished Crafts
Many manufacturers market their acrylic pens as “multi-surface” or “all-in-one” markers, claiming they can transition seamlessly from glass to fabric to stone. While these markers are highly convenient and cost-effective for casual, low-wear crafts—such as decorating a temporary cardboard sign or a decorative indoor rock—they always involve chemical compromises. A multi-surface marker must balance flexibility with hardness, meaning it is rarely as flexible as a dedicated fabric marker, nor is it as scratch-resistant on glass as a specialized enamel pen. For professional projects, gifts, or items that will face daily handling, choosing a surface-specific marker is always the superior path.
To elevate your designs and protect them from environmental wear, applying a high-quality clear sealant is highly recommended for glass, wood, and rock projects. Clear acrylic sealers, spray varnishes, and brush-on polyurethane topcoats act as a sacrificial barrier that shields your delicate paint layers from UV fading, humidity, moisture, and physical abrasions. In the tropical climate of the Philippines, where high humidity can sometimes cause cured acrylic paint to become slightly tacky, a high-quality sealant is essential to prevent painted items from sticking to shelves or attracting dust.
When selecting a sealer, it is crucial to match the topcoat’s finish with the underlying marker and your desired final aesthetic. A gloss sealant will enhance color saturation and give your painted rocks or glass a vibrant, wet look, while a matte or satin sealer will preserve the natural, low-reflection texture of wood and stone. Always ensure that the chemical base of your sealer is compatible with your markers; for instance, water-based acrylic markers should be sealed with a water-based or mild solvent-based spray, as harsh, acetone-heavy aerosol varnishes can dissolve your dried design upon contact.
Applying these sealants safely requires a careful technique to avoid ruining your finished piece. Always work in a well-ventilated outdoor area or a space with active cross-drafts, and wear protective eyewear and a mask to avoid inhaling fumes. Instead of spraying one thick, heavy coat—which can cause the sealant to run, drip, or dissolve the underlying marker ink—apply two to three extremely thin, mist-like coats, allowing each layer to dry completely according to the manufacturer’s instructions before applying the next. This disciplined approach builds a durable, uniform protective shield that preserves your artwork for years to come.
Surface Preparation and Safe Testing Before You Draw
The secret to professional-grade acrylic marker projects lies in the preparation work completed before the pen ever touches the final canvas. For non-porous surfaces like glass and glazed ceramics, use a lint-free cloth soaked in rubbing alcohol or glass cleaner to wipe down the entire surface, effectively removing invisible finger oils, dust, and manufacturing residues that prevent paint adhesion. For porous surfaces like river rocks and raw wood, use a stiff dry brush to sweep away loose dirt, bark, and dust, followed by a quick rinse with clean water if necessary. For fabrics, always pre-wash the garment in cold water without fabric softener; this process removes the chemical “sizing” agents added during manufacturing, which can block the ink from penetrating the fibers.
Before committing to your final design, always conduct a thorough patch test on a hidden area of your object, the backside of a rock, or a scrap piece of identical material. This simple trial allows you to verify the exact drying time, color accuracy, and smoothness of the ink flow under your current environmental conditions. Pay close attention to how the ink behaves during this test: check for any signs of bleeding or feathering along wood grain, observe whether the paint scratches off easily from glass after drying, and test the flexibility of the paint on a scrap fabric swatch to ensure it does not crack when folded. Taking five minutes to verify these performance characteristics will save you from ruining a valuable piece of material or a cherished craft project.
Frequently Asked Questions (FAQ)
Do I need to seal acrylic marker designs on glass and rocks?
Whether you need to seal your designs depends entirely on how the finished item will be used and where it will be displayed. For purely decorative items that will remain indoors, sit safely on a shelf, and stay out of direct sunlight, sealing is generally optional. However, if your painted glassware or rocks will be handled frequently, exposed to outdoor weather, subjected to moisture, or hand-washed, applying a clear protective sealant is mandatory to prevent the acrylic paint from chipping, scratching, or washing away over time.
Can I wash fabric painted with standard acrylic markers?
Standard acrylic markers are not formulated with the flexible binders required for textiles, meaning they are not inherently washable and will likely crack, fade, or wash out during laundering. If you must use standard acrylic markers on fabric, you can improve their durability by mixing them with a specialized liquid textile medium and thoroughly heat-setting the completely dry design with a dry iron. Once properly heat-set, the fabric should only be washed in cold water on a gentle cycle, turned inside out, and hung to dry to maximize the lifespan of the design.
Community discussion
Share your experience or ask a question. Comments are reviewed before publication.