
Finding the best acrylic markers for your crafting projects depends entirely on matching the marker’s ink formulation, tip material, and size to your specific working surface. While these versatile tools offer the vibrant, opaque coverage of traditional acrylic paint in a convenient pen format, a single set may not perform identically on a smooth glass jar, a rough river rock, a flexible canvas tote, or a primed canvas board. To get professional, long-lasting results, you must understand how different surfaces interact with acrylic pigments, how to prepare each material, and how to properly cure or seal your finished work.
Because acrylic markers are available in a wide array of tip sizes—ranging from 0.7mm extra-fine tips for intricate detailing to 15mm broad chisel tips for large-scale coverage—selecting the right tool requires evaluating both the scale of your project and the physical texture of your medium. Moreover, characteristics like smoothness, bleed resistance, drying speed, water resistance, and erasability are not universal; they depend heavily on the exact material combination you use. By learning how to test and verify these factors on your chosen surface, you can avoid ruined projects and achieve vibrant, durable designs that stand the test of time.
Understanding Acrylic Markers and Surface Compatibility
Unlike standard dye-based ink markers that stain a surface by soaking into it, acrylic markers contain actual acrylic paint—a suspension of high-quality pigment particles in an acrylic polymer emulsion. When the paint dries, the water or solvent carrier evaporates, leaving behind a flexible, water-resistant plastic film of color. This unique composition allows acrylic markers to sit on top of the surface, providing exceptional opacity and the ability to layer light colors over dark colors.
Products mentioned in this guide
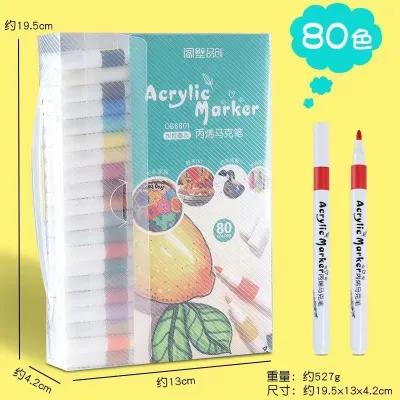
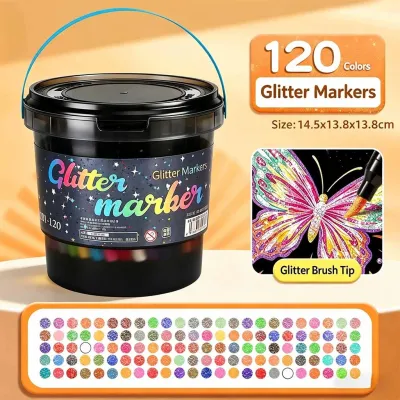

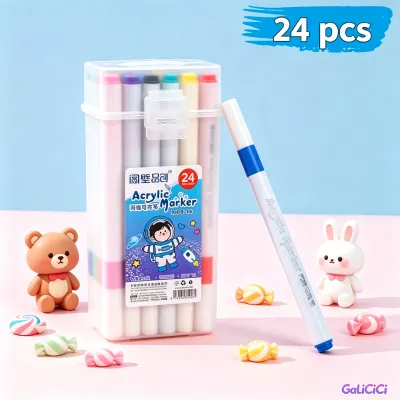
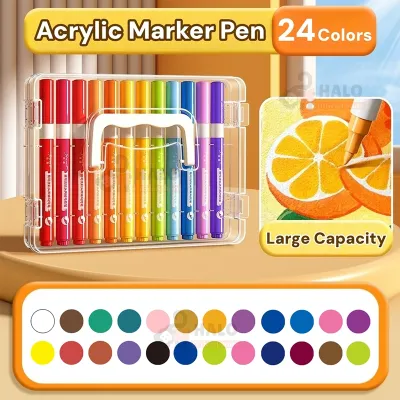
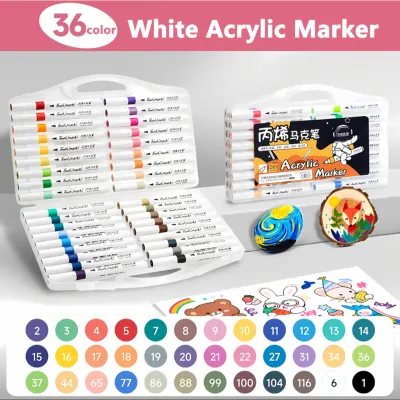
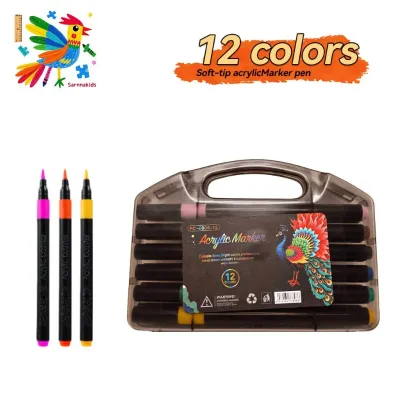
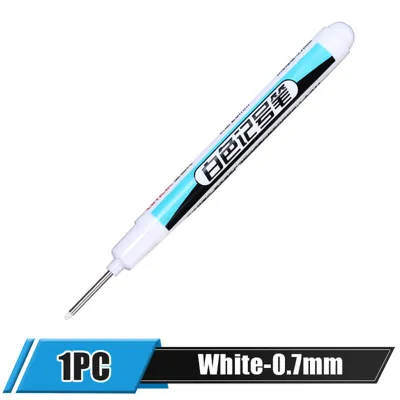
Prices are valid at publication and may change. Please refer to the product page for the latest price.
To select the right marker, you must understand the distinction between water-based and oil-based acrylic formulations:
- Water-Based Acrylic Markers: These are the most common and versatile markers available on the market. They are low-odor, non-toxic, and easy to blend with water while still wet. Once dry, they are water-resistant but remain highly susceptible to scratching on non-porous surfaces if not sealed.
- Oil-Based Acrylic Markers: These markers use a solvent-based carrier, resulting in faster drying times and superior initial adhesion to slick, non-porous surfaces. However, they carry a stronger odor, are much harder to correct or clean up once dry, and are generally not compatible with certain plastics or delicate synthetic fabrics.
The physical structure of your surface dictates how the paint behaves. Porous surfaces, such as raw wood, unglazed terracotta, river rocks, canvas, and natural fabrics, absorb the liquid binder. This absorption pulls the pigment deep into the material’s fibers or pores, creating a strong mechanical bond. Non-porous surfaces, such as glass, glazed ceramic tiles, metal, and smooth plastics, do not absorb the paint. On these slick materials, the acrylic film must rely entirely on surface adhesion. Consequently, an “acrylic” label on a pen does not guarantee universal permanence. Without meticulous surface preparation, adequate curing time, or a protective sealant, the paint can easily scratch, peel, or slide off non-porous items.
Choosing Acrylic Markers for Glass and Smooth Surfaces
Decorating non-porous, slick surfaces like glass jars, windows, mirrors, and glazed ceramic tiles requires a careful balance of ink flow and tip selection. Because there are no pores for the paint to grip, any inconsistency in the paint formula or the applicator tip will be immediately visible.

Key Requirements: For glass, you need highly opaque, high-pigment-density formulas that deliver solid, streak-free lines without requiring multiple heavy passes. Fine or extra-fine tips (such as 0.7mm to 1mm) made of rigid plastic or dense fiber are ideal because they allow for precise control and clean outlines without scratching the slick surface. Reversible tips are highly beneficial, allowing you to switch between bullet and chisel shapes. Quick-drying formulas are essential, particularly in high-humidity environments where slow-drying paint is highly prone to accidental smudging, running, or pooling on vertical glass surfaces.
Preparation: Proper surface preparation is the single most important factor for paint adhesion on glass. Wash the item thoroughly with warm water and dish soap, dry it completely, and then wipe the entire surface with rubbing alcohol (isopropyl or ethyl alcohol) using a clean, lint-free microfiber cloth. This step removes invisible finger oils, dust, and manufacturing residues that prevent the acrylic polymer from bonding to the glass. Once cleaned, handle the object only by its unpainted edges or wear clean cotton gloves to avoid reintroducing oils.
Durability and Sealing: Standard water-based acrylic paint dries to a delicate film on glass that can easily scratch off with a fingernail or peel when exposed to condensation. To ensure longevity, check manufacturer labels for “glass-specific,” “multi-surface,” or “bakeable” designations. For decorative glassware, you can cure the paint by baking the piece in a home oven according to the manufacturer’s precise temperature instructions (typically around 150°C for 30 minutes, placing the item in a cold oven and letting it cool down inside to prevent thermal shock). For items that cannot be baked, apply a compatible clear gloss spray varnish to protect the design. Keep in mind that even cured or sealed acrylic designs on glass should be hand-washed gently; they are rarely dishwasher-safe.
Selecting Acrylic Markers for Rocks and Porous Stones
Rock painting has become an incredibly popular craft, but the rough, abrasive, and highly absorbent nature of natural stones requires rugged markers with high paint output.
Key Requirements: Because river stones and landscaping rocks are often dark, grey, or textured, you must use markers with exceptional pigment density to ensure the colors remain bright and opaque. Look for valve-action or pump-action markers. These pens feature an internal valve system that allows you to control the ink flow by gently pressing the nib down on a scrap surface, flooding the tip with fresh paint. Avoid delicate, soft nylon brush tips on rough stones, as the abrasive texture will quickly fray the fibers and ruin the tip. Instead, opt for durable, replaceable polyester or acrylic bullet tips (around 2mm to 3mm) that can withstand rough handling.
Preparation: Never paint directly on dirty or damp rocks. Collect your stones and scrub them thoroughly with a stiff brush under running water to remove mud, algae, and loose debris, then let them dry completely in the sun. Because dark or highly porous stones will absorb the liquid binder and dull your colors, apply a base coat of white gesso or flat white acrylic paint first. This primer seals the pores, prevents the marker ink from bleeding into the stone, and provides a bright, high-contrast background that makes your colors pop.
Outdoor Use: Standard acrylic paint markers are not inherently weatherproof or UV-resistant. When placed in a garden or on a porch, exposure to intense tropical sunlight and heavy seasonal rains in the Philippines will cause the pigments to fade and the paint to crack. To ensure your rock art lasts, check the product specifications for lightfastness ratings. Always plan to seal your finished stones with an outdoor-rated, UV-resistant polyurethane or clear acrylic sealant.
Best Acrylic Markers for Fabric and Canvas
Textile-based surfaces range from highly flexible, wearable fabrics to rigid, stretched canvases. The choice of acrylic marker depends heavily on whether the finished item needs to bend and undergo washing, or remain static on a wall.
Painting on Fabric and Wearables
When painting on soft, flexible textiles like cotton T-shirts, canvas tote bags, denim jackets, or sneakers, your main goal is to prevent the paint from cracking or peeling when the fabric stretches and bends. Standard craft acrylic markers dry to a rigid, plastic-like finish. If applied directly to clothing without modification, the design will quickly crack, peel, or wash out in the laundry.
To achieve professional, washable results, look for specialized fabric acrylic markers or mix standard acrylic marker paint with a liquid fabric medium. These formulations are engineered to penetrate the textile fibers and remain flexible after drying.
- Heat-Setting: Once your design is completely dry (allow at least 24 hours), you must heat-set the paint to lock it into the fibers. Place a clean pressing cloth or parchment paper over the artwork and iron it on a medium-to-high dry setting (no steam) for three to five minutes.
- Washing Care: After heat-setting, wait at least 72 hours before washing. Always wash the decorated garment inside out on a gentle cycle using cold water, and air dry it to maximize the life of the design.
Painting on Canvas and Rigid Textiles
Stretched canvases, canvas boards, and heavy-duty primed textiles are the ideal playground for standard acrylic paint markers. Because these surfaces are rigid and typically pre-primed with gesso, they offer excellent adhesion, smooth ink laydown, and minimal bleeding.
When working on canvas, you can easily layer light colors over dark colors once the base layer is completely dry. To achieve smooth gradients or blended backgrounds, work quickly while the paint is still wet, using a damp paintbrush or a blending marker to soften the transitions. Be mindful of ink saturation: over-pumping the marker or applying too much wet paint in one spot can over-saturate unprimed canvas fibers, causing the paint to bleed or feather into the surrounding weave. Work in thin, controlled layers, letting each layer dry before adding fine details.
Cross-Surface Compatibility and Multi-Purpose Options
For crafters who enjoy jumping between different projects—from glass jars to river stones and canvas bags—purchasing a specialized marker set for every single surface can be impractical and expensive. Multi-surface acrylic markers offer a convenient, cost-effective alternative.
What Makes a Marker “Multi-Surface”: Multi-surface formulations are engineered with balanced binders that adhere reasonably well to both porous and non-porous materials out of the box. They typically feature a highly pigmented, water-based acrylic formula that clings to smooth glass while remaining flexible enough not to crack immediately on semi-rigid surfaces. In the Philippines, budget-friendly multi-surface marker sets generally range from ₱200 to ₱500, making them highly accessible for casual hobbyists, while professional-grade, refillable systems range from ₱1,500 to ₱3,500 or more.
Trade-offs: While multi-surface markers offer incredible versatility, they represent a compromise. They may not be as wash-resistant on fabric as dedicated fabric markers, nor as scratch-resistant on glass as specialized glass-specific paints. You will still need to perform the necessary surface preparation (like cleaning glass with alcohol or priming dark rocks) and apply the appropriate finishing steps (such as heat-setting fabric or sealing glass) to achieve maximum durability.
Verification: Because formulations vary widely between brands, always verify compatibility. Read the manufacturer’s surface compatibility list on the packaging carefully. Before starting a major project, perform a quick test on a hidden area of your object or a scrap piece of the same material. Check for ink flow, opacity, drying speed, and how easily the paint scratches off once dry to ensure it meets your expectations.
Sealing and Maintaining Your Acrylic Marker Projects
Even the highest-quality acrylic markers require proper finishing and maintenance to ensure your artwork stands the test of time, particularly on high-wear or outdoor items.
When to Seal: Sealing is highly recommended for non-porous surfaces like glass and glazed ceramics, outdoor items like garden rocks, and high-wear items such as painted shoes, bags, or custom coasters. It creates a protective barrier against moisture, physical abrasion, and UV rays.
Choosing a Sealant: You can choose between spray sealants and brush-on varnishes, available in matte, satin, or gloss finishes. Spray sealants are ideal for acrylic marker drawings because they apply a fine, even mist without physically touching the paint, minimizing the risk of smudging the design. Brush-on varnishes provide a thicker, highly durable coat but must be applied gently with a soft brush to avoid reactivating or smearing the dried marker lines. Always verify that your chosen sealant is chemically compatible with both acrylic paint and the base material.
Curing Time: Do not rush the sealing process. While acrylic paint may feel dry to the touch within minutes, it takes time to fully cure—a chemical process where the water evaporates completely and the polymer chains lock together. Allow your finished artwork to cure for at least 24 to 72 hours (depending on local humidity levels, which can prolong drying times in tropical environments) before applying any sealant. Sealing too early can trap moisture, leading to cloudiness, bubbling, or a sticky, incomplete cure.
Frequently Asked Questions (FAQ)
Can I use regular acrylic paint markers on skin or face?
No, standard craft acrylic markers are not cosmetic-grade products. They are formulated with industrial binders, pigments, and preservatives that can cause severe skin irritation, allergic reactions, or chemical burns, especially on sensitive facial skin. Some pigments used in craft paints contain heavy metals or toxic compounds. If you want to paint on skin, always purchase specifically labeled, cosmetic-grade, skin-safe face and body paint markers that comply with local consumer safety regulations.
How do I fix a dried-out acrylic paint marker?
For water-based acrylic markers, you can often revive a dried-out tip by removing the nib and soaking it in warm water for a few minutes to dissolve any hardened paint. Once clean, dry the nib thoroughly with a paper towel, reinsert it into the marker, shake the pen well, and gently pump the tip on a scrap piece of paper to restart the paint flow. If the paint inside the barrel has completely dried or if you are using an oil-based marker, the pen is likely unrecoverable and will need to be replaced.
Do acrylic markers bleed through paper or canvas?
Whether acrylic markers bleed depends on the thickness, density, and sizing of the material, as well as the marker’s ink flow. On thin or highly absorbent paper (like standard notebook paper), the wet binder can saturate the fibers and bleed through to the other side. On primed canvas or heavy mixed-media paper, bleeding is rarely an issue. To prevent bleed-through, use a protective backing board or sheet of scrap paper underneath your work, and apply lighter, multiple coats rather than one heavy, saturated layer of paint.
Community discussion
Share your experience or ask a question. Comments are reviewed before publication.