
To choose the best acrylic marker for your DIY projects, you must match the marker’s ink formulation and tip style to the specific surface you are painting. While a highly flexible, water-based acrylic paint marker works beautifully on canvas and leather shoes, non-porous glass requires specialized oil-based or heat-cured enamel formulations to prevent peeling. Meanwhile, porous river rocks demand highly opaque, highly pigmented inks that will not sink into the stone’s natural pores. Selecting the correct marker ensures your designs remain vibrant, durable, and resistant to wear.
Before starting any custom project, it is essential to understand that ink performance—including smoothness, bleed resistance, drying speed, water resistance, and erasability—depends entirely on the exact material combination you use. Conducting a small trial test on a hidden area of your shoe, rock, or glass item allows you to verify these characteristics before committing to your final design.
Understanding Acrylic Ink Formulations for Different Craft Surfaces
Water-based acrylic markers are highly popular because they are low-odor, dry relatively quickly, and clean up easily with water while wet. However, once dry, they form a plastic-like film that is water-resistant but can still be scraped off slick surfaces. Oil-based or solvent-based paint markers, on the other hand, offer superior adhesion to non-porous surfaces, drying to a tough, enamel-like finish that resists scratching and moisture without requiring immediate sealing.
Products mentioned in this guide
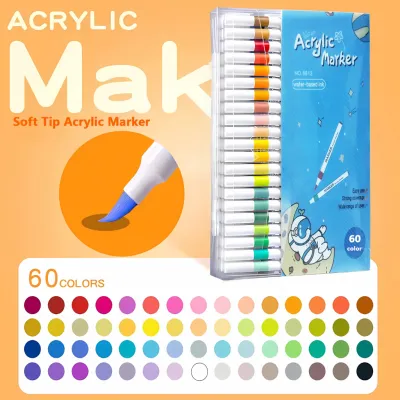
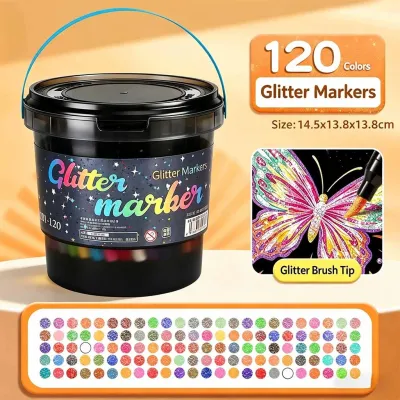
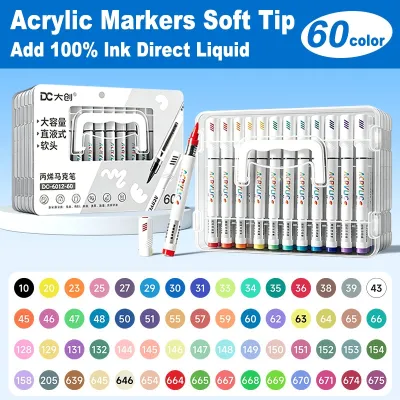
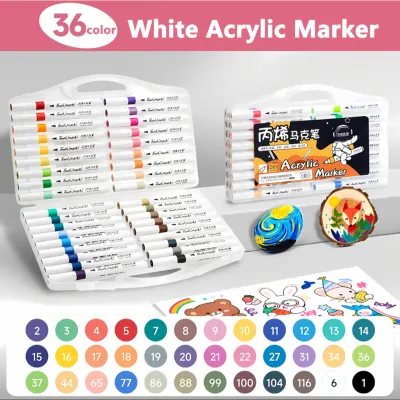
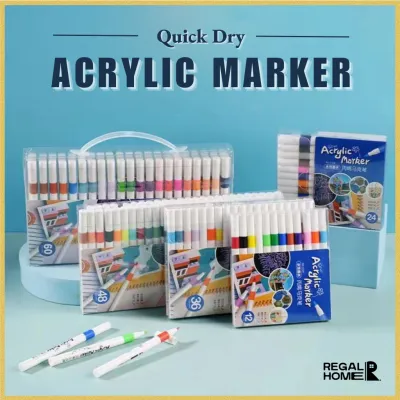
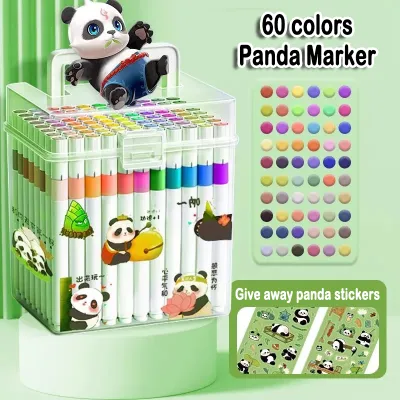

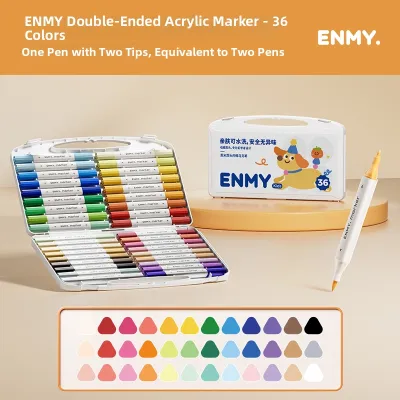
Prices are valid at publication and may change. Please refer to the product page for the latest price.
Most acrylic markers utilize a valve-action ink delivery system. To activate these markers, you must shake them thoroughly with the cap securely on to mix the pigment and binder, then gently press the tip down on a scrap surface several times until the ink flows into the nib. This mechanism ensures a consistent flow of highly concentrated ink, but it also means you must regularly monitor the saturation of the tip to prevent pooling or dry-out during a session.
Porous materials, such as unsealed river stones, raw wood, terracotta, and cotton canvas, have microscopic openings that absorb liquid. When you use an acrylic marker on these surfaces, the ink penetrates the fibers or pores, providing excellent mechanical adhesion but sometimes requiring multiple coats to achieve full opacity. Non-porous materials like glass, glazed ceramics, polished metal, and smooth plastics lack these microscopic pores. The ink must rely entirely on chemical adhesion to cling to the surface, making it highly susceptible to scratching, peeling, or washing away if the wrong formulation is used.
When shopping at local craft stores or browsing online marketplaces, do not rely solely on the generic word “acrylic” on the packaging. Check the product label for specific indicators:
- Multi-Surface: Indicates a versatile water-based formula designed to adhere to both paper and semi-porous crafts, though it may still require a sealant on slick materials.
- Enamel or Glass-Specific: Formulated with specialized resins that bond permanently to glass, porcelain, and glazed ceramics, often requiring a heat-curing step to become dishwasher-safe.
- Fabric or Textile: Formulated with highly flexible binders that allow the paint to stretch and bend without cracking, making them ideal for wearables.
- Waterproof/Weatherproof: Essential for outdoor displays, ensuring the dried pigment will not degrade or wash away when exposed to rain or intense sunlight.
Choosing the Right Acrylic Markers for Shoes and Fabric
Customizing footwear has become a major DIY trend, but success depends on identifying the base material of your shoes. Canvas sneakers are highly porous and absorb ink readily, requiring a highly saturated water-based acrylic marker to achieve solid colors. Leather and synthetic leather shoes, however, have smooth, treated surfaces that repel liquids. Painting directly onto unprimed leather will result in the ink pooling, streaking, or peeling off almost immediately once the shoe is worn.

When working on canvas or fabric shoes, ink bleeding can be a major issue if the paint is too watery. Before applying your design, test the marker on a small, inconspicuous area—such as the inner tongue of the shoe—to observe how the ink spreads. If you notice excessive bleeding, apply a thin layer of fabric primer or gesso first to seal the fibers. Additionally, rough canvas can quickly fray delicate marker nibs. Opt for markers equipped with durable, tightly bound synthetic fiber or nylon tips that resist friction, and avoid pressing down too hard on the fabric surface.
Navigating the contours of a shoe requires a mix of marker tips. Flexible brush tips are invaluable for painting along curved seams, blending colors, and drawing organic shapes on the toe box. For laying down flat base coats on larger panels, a medium bullet tip (around 2mm to 3mm) provides consistent ink flow without flooding the surface. Always check that the marker’s valve-action mechanism is working smoothly on a scrap piece of paper before touching the shoe, as sudden ink blots can ruin your progress.
The physical movement of walking places immense stress on painted designs. As the shoe creases at the toe box, standard rigid acrylic paints will crack and flake. To prevent this, look for acrylic paint markers specifically labeled for leather or fabric, which feature highly flexible acrylic polymer binders. These binders allow the dried pigment to stretch and flex in harmony with the shoe’s movement.
Proper preparation is non-negotiable for leather and synthetic shoes. Before painting, use a leather preparer or deglazer (or a mild solvent like isopropyl alcohol on a cotton pad) to strip away the factory finish and protective waxes. For canvas shoes, a quick brush-down to remove dust is sufficient. Once your design is complete and fully dry, apply a thin, even coat of a compatible, flexible acrylic finisher or sealant. This protective layer shields your custom artwork from scuffs, dirt, and the frequent friction of daily wear.
Painting on Rocks: Managing Porous and Textured Surfaces
Rock painting is a tactile and rewarding craft, but the natural texture of stones presents unique challenges. Rough, unsealed rocks absorb liquid rapidly, which can cause thin or low-quality inks to look dull and faded once dry. To overcome this natural absorption, you need highly opaque acrylic markers containing premium pigments. These markers deposit a thick, solid layer of color that sits on top of the stone’s surface rather than sinking into it.
Before you even touch a marker to a rock, proper surface preparation is essential. River stones, while smooth, often carry a layer of fine dust, dirt, or microscopic moss from their natural environment. Wash your selected rocks thoroughly with a stiff brush and plain water, then let them dry completely in the sun. Any remaining moisture or debris on the rock’s surface will clog your marker’s nib, contaminate the ink reservoir, and ruin the paint’s ability to bond with the stone.
When working on stones, match your marker tips to the scale of your design. Broad chisel tips (ranging from 5mm to 8mm) are excellent for quickly blocking in base colors or painting large background areas. For drawing fine outlines, lettering, or intricate mandala patterns, switch to extra-fine plastic or metal-clad tips (0.7mm to 1mm). Keep in mind that rough stone surfaces can quickly wear down soft fiber tips, so look for markers with durable synthetic tips or those that offer replaceable nibs.
Achieving vibrant colors on dark or highly textured rocks requires a methodical layering approach. Start by applying a light base coat—often a solid white—to neutralize the rock’s natural color. Allow this initial layer to dry completely before applying your colored markers on top. If you apply wet paint over semi-dry layers, the colors will bleed and muddy. In the high humidity of the Philippines, drying times can be significantly longer than what is printed on the marker packaging, so patience is key.
If you plan to place your painted rocks in a garden, along a pathway, or as outdoor decorations, they must be protected from the elements. The tropical climate in the Philippines brings heavy monsoon rains, intense afternoon heat, and high humidity, all of which can degrade unprotected acrylic paint over time. Apply a clear, UV-resistant, waterproof outdoor sealant—either spray-on or brush-on—to lock in the colors and prevent the design from fading or peeling under the tropical sun.
Painting on Glass: Ensuring Adhesion on Smooth Surfaces
Glass is one of the most challenging surfaces for acrylic paint because it is completely non-porous and incredibly smooth. Standard water-based acrylic markers do not form a chemical bond with glass; instead, they simply dry on top of it. Without proper treatment, even a light scratch from a fingernail or a splash of water can cause the entire design to peel away like a thin sheet of plastic.
To ensure your designs remain permanent on glassware, windows, or upcycled bottles, opt for oil-based acrylic markers or specialized glass paint pens. Oil-based formulations dry to a highly durable, water-resistant finish that clings tightly to smooth surfaces. Glass-formulated markers often contain specialized acrylic resins or enamel binders that are designed to cure fully under heat, making the finished item exceptionally durable.
Any trace of oil, dust, or fingerprints on the glass will prevent the ink from adhering properly. Before you begin painting, wash the glass thoroughly with warm, soapy water and dry it with a lint-free cloth. Next, wipe down the entire painting area with rubbing alcohol (isopropyl alcohol) and let it air dry completely. Avoid touching the cleaned areas with your bare hands, as skin oils can create invisible barriers that repel the paint.
Because glass is transparent, painting on it offers a unique advantage: you can easily transfer intricate designs without freehand drawing. Simply print out your desired pattern or template, tape it securely to the inside of the glass jar or frame, and trace the lines directly on the outside surface using a fine-tipped acrylic marker. This tracing technique is highly effective for creating precise outlines before filling in larger areas with broader tips or specialized glass paints.
To make your painted glassware water-resistant or safe for light hand-washing, you must follow the correct curing process. Some specialized glass markers require a simple air-curing period of several days, while others require heat-setting in a home oven. When heat-setting, always place the painted glass in a cold oven, heat it to the manufacturer’s specified temperature, and allow the oven to cool down completely before removing the item to prevent thermal shock. Strictly follow the marker manufacturer’s safety instructions, and remember that painted glass should generally not be used on surfaces that come into direct contact with food or lips.
Matching Tip Sizes, Finishes, and Acrylic Marker Compatibility
To build a versatile crafting toolkit, you need to understand how different tip sizes, ink finishes, and marker compatibilities align with your project goals. Selecting the right combination ensures smooth application and professional results across different materials.
Tip Sizes Quick-Reference
- Extra-Fine (0.7mm – 1mm): Best for fine details, outlines, and lettering on glass and rocks. Too delicate for rough fabrics.
- Medium Bullet (2mm – 3mm): The most versatile size. Ideal for filling in medium shapes on shoes, outlining rocks, and general glass painting.
- Broad/Chisel (5mm – 8mm): Best for base coats, large backgrounds, and blocking out solid colors on rocks or canvas.
Finishes on Backgrounds
- Matte: Provides a clean, modern, non-reflective finish. Performs exceptionally well on porous surfaces like rocks and canvas, creating a smooth, velvety look.
- Glossy: Offers a shiny, reflective surface that enhances the natural look of polished glass and glazed ceramics.
- Metallic (Gold, Silver, Bronze): Contains reflective particles that stand out beautifully on dark backgrounds, making them perfect for adding accents to dark river stones or black leather shoes.
- Neon/Fluorescent: Highly vibrant on light backgrounds, but often translucent. They require a solid white base coat to pop on dark surfaces.
Cross-Surface Compatibility
If you are a versatile crafter who wants a single set of markers to handle multiple projects, look for premium, water-based “multi-surface” acrylic paint markers. These markers can easily transition from unsealed rocks to canvas shoes, provided you prepare the surfaces correctly and apply the appropriate sealants. However, keep in mind that specialized projects demand specialized tools. If you are painting leather shoes that will undergo constant flexing, or glass jars that will be washed frequently, using a generic multi-surface marker is a recipe for cracking or peeling. In these scenarios, dedicated leather paint markers or heat-cured glass enamel markers are strictly necessary to ensure your hard work lasts.
Frequently Asked Questions (FAQ)
Do acrylic markers need a sealant on glass and shoes?
Yes, sealants are highly recommended for both surfaces, but for different reasons. Shoes undergo constant flexing, friction, and exposure to dirt and moisture, making a flexible, protective topcoat mandatory to prevent the paint from cracking or rubbing off. For glass, a sealant is only necessary if you are using standard water-based markers that cannot be heat-cured. If you use specialized glass or enamel markers and follow the manufacturer’s heat-setting instructions, the design will cure to a permanent, water-resistant finish without requiring an additional clear coat.
How do you fix mistakes when painting on non-porous surfaces?
Fixing mistakes on non-porous surfaces like glass or sealed rocks is relatively easy because the ink does not immediately penetrate the material. If the paint is still wet, you can easily wipe it away using a damp cloth or a cotton swab dipped in rubbing alcohol. For dried mistakes on glass, you can carefully scrape the unwanted paint away using a plastic scraper, a fingernail, or a precision razor blade held at a shallow angle. Avoid using harsh chemical solvents like acetone on plastics or painted surfaces, as they can etch, cloud, or permanently damage the base material.
Community discussion
Share your experience or ask a question. Comments are reviewed before publication.