
Choosing your first calligraphy marker can be the difference between falling in love with lettering and giving up out of sheer frustration. For beginners starting their lettering journey, the most forgiving markers are those that provide built-in control over line variation, resist tip damage from uneven pressure, and feature consistent ink flow. In the Philippines, where high humidity can affect how ink dries and how paper behaves, selecting the right combination of tip firmness and ink chemistry is essential for a smooth, smudge-free practice session.
While advanced artists often prefer soft, highly flexible brush pens that create dramatic sweeps, these tools require precise muscle memory that takes months to develop. Beginners will find much faster success by starting with firm elastomer brush pens or rigid chisel-tip markers. These forgiving options allow you to focus on learning basic stroke structures and pressure transitions without fighting a floppy, unpredictable nib.
How to Choose Forgiving Calligraphy Markers for Beginners
Understanding the physical anatomy of a calligraphy marker is the first step toward making an informed purchase. The most critical component is the tip, which generally falls into two categories: brush tips and chisel tips. Brush tips are flexible and designed for modern, flowing calligraphy styles where line weight varies dynamically. Chisel tips, on the other hand, are rigid and cut at a precise angle, making them the standard choice for structured, traditional scripts like Gothic, Italic, and Uncial.
Products mentioned in this guide
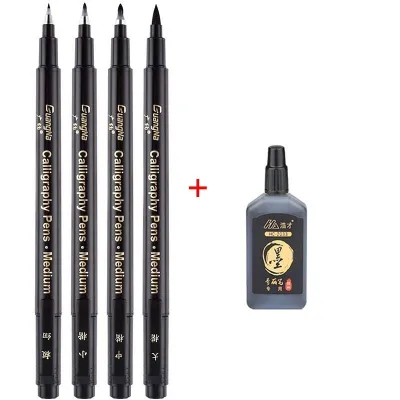
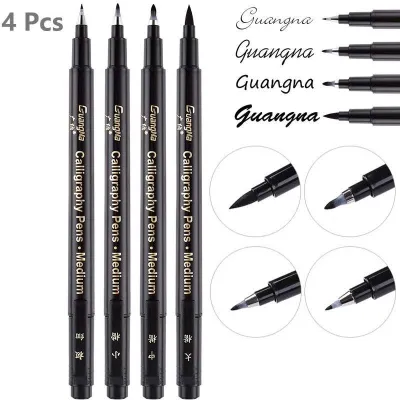
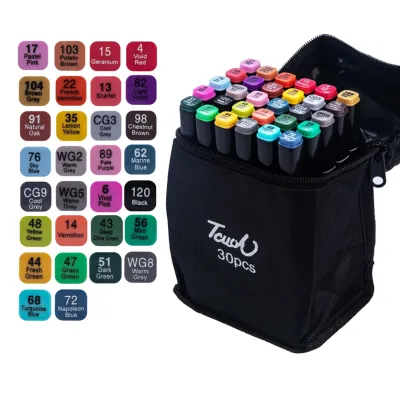
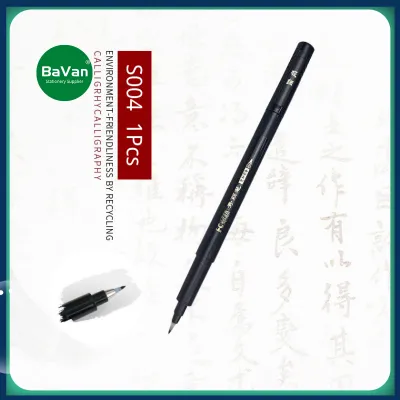
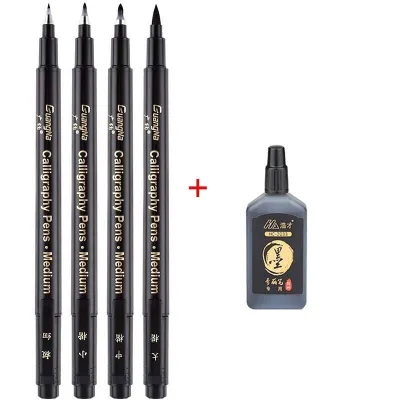
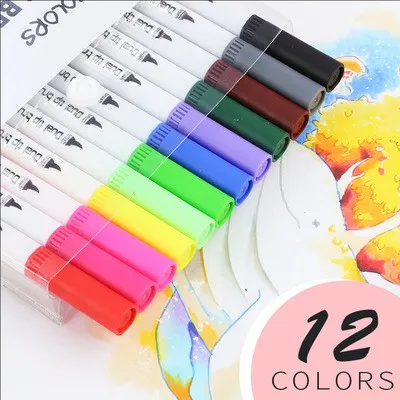
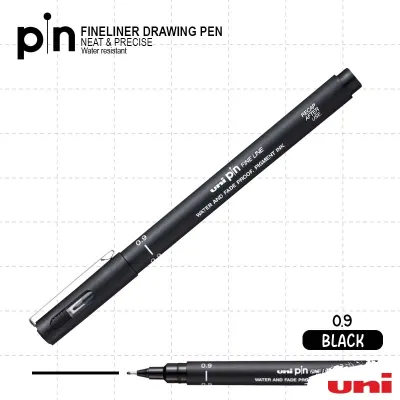
Prices are valid at publication and may change. Please refer to the product page for the latest price.
For those pursuing modern brush lettering, the material of the brush tip dictates how easy it is to use. Beginners should look for elastomer (rubber-like) tips rather than soft felt or synthetic hair. Elastomer tips possess a natural “snap-back” quality, meaning they quickly return to their original pointed shape when you release pressure. Felt tips, especially on cheaper markers, tend to soften and splay rapidly under the heavy, uncoordinated pressure common to new learners, making clean upstrokes nearly impossible to achieve.
Ink flow and chemistry also play a massive role in your learning curve. Calligraphy markers typically use either water-based dye inks or water-based pigment inks. Water-based dye inks are highly vibrant and blend beautifully, but they are highly soluble and can bleed heavily on low-quality paper. Pigment-based inks contain fine solid particles that sit on top of the paper fibers; once dry, they are highly water-resistant and fade-proof. In the humid climate of the Philippines, water-based inks can take slightly longer to dry on coated papers, which can lead to accidental smudging. Selecting an ink that flows smoothly without oversaturating the page is key to maintaining clean guidelines and sharp letter edges.
Ergonomics should not be overlooked when you are spending hours practicing basic drills. A marker with a slim, pen-like barrel is often the most comfortable for beginners because it mimics the grip of a standard pen, allowing for immediate control. Thicker or triangular barrels can also be beneficial, as they encourage a proper tripod grip and reduce hand fatigue during long practice sessions.
Finally, balancing quality and cost is vital when building your starter kit. It is highly common for beginners to ruin their first few pens by applying too much downward force at the wrong angles. Investing in highly expensive, professional-grade tools right away often leads to frustration when a delicate nib frays within a week. Starting with budget-friendly, durable markers allows you to make mistakes, refine your pressure control, and explore different styles without financial stress.
Top Calligraphy Marker Picks for New Lettering Artists
To help you avoid the trial-and-error of buying sub-par pens, we have curated a selection of the most forgiving and accessible calligraphy markers available in the Philippines. These options have been chosen specifically for their tip durability, ink consistency, and overall value for those who are just beginning to build their muscle memory.

Best Brush Pen for Absolute Beginners
For anyone looking to master modern brush calligraphy, a small, hard-tipped elastomer brush pen is the absolute best starting point. Pens like the Tombow Fudenosuke Hard Tip or the Pentel Fude Touch Sign Pen are highly recommended because their nibs are incredibly resilient. The firm elastomer tip acts like training wheels for your hand; it resists heavy downward pressure, allowing you to create distinct, thick downstrokes while still snapping back instantly to produce clean, hairline upstrokes.
These pens are ideal for small-scale lettering, bullet journaling, daily planners, and envelope addressing. Because the tip is relatively small, you do not need to move your entire arm to form letters, which makes it much easier to control your strokes using just your fingers and wrist. The water-based ink in these pens is formulated to glide smoothly across the page without flooding, reducing the risk of feathering on standard paper.
The primary limitation of these hard-tipped pens is their scale. Because the nib is small and firm, you cannot produce the large, sweeping, dramatic brush strokes required for poster-sized designs or large signage. Attempting to force a hard-tip pen to create ultra-thick lines by pressing excessively hard will eventually damage the internal support of the elastomer, leading to a split tip.
Best Chisel Tip Marker for Traditional Styles
If you prefer the structured, geometric elegance of traditional Old English, Gothic, or Italic scripts, a rigid chisel-tip marker is your ideal tool. Markers such as the Zig Memory System Calligraphy or the Artline Calligraphy Pen feature sharp, flat-edged polyester nibs that do not flex under pressure. This rigidity completely removes the variable of physical pressure from your writing; the contrast between thin and thick lines is determined entirely by the angle at which you hold the pen relative to your guidelines.
This lack of flexibility makes chisel markers incredibly forgiving for beginners. Once you lock your wrist at the correct angle (usually 45 degrees for Italic scripts), the pen does all the work of creating clean, sharp angles and uniform line widths. The durable polyester nibs are designed to hold their sharp edges over time, preventing the rounded, mushy corners that occur with low-quality felt markers. Many of these traditional markers feature water-based pigment inks that are acid-free and archival, ensuring your practice pieces and finished projects will not fade over time.
However, these markers are strictly limited to structured, broad-edge calligraphy styles. They cannot be used for modern, bouncy scripts that rely on flexible, tapered brush strokes. Attempting to mimic brush lettering with a chisel tip requires a complex technique known as “faux calligraphy,” where you manually draw and fill in the thick downstrokes.
Best Budget-Friendly Marker Set for Practice
When you are in the phase of repeating basic strokes hundreds of times to build muscle memory, you need a high volume of ink at a low price point. Conical-tipped markers, such as Crayola Broad Line markers, are a legendary budget-friendly secret among calligraphy instructors, often referred to as “Crayoligraphy.” A single pack of these markers is highly affordable, typically costing under ₱200, and provides a wide array of vibrant colors to keep your practice sessions engaging.
The unique conical shape of the tip allows it to function as a pseudo-brush pen. By holding the marker at an angle and pressing the broad side of the cone against the paper, you can create thick downstrokes. By lifting the pen and using only the very point of the cone, you can achieve thin upstrokes. The thick, fibrous nibs are virtually indestructible, making them perfect for beginners who have not yet mastered a light touch.
The trade-off for this extreme affordability is precision. The transition between thick and thin lines is not as sharp or seamless as it is with a dedicated brush pen, and the water-based dye ink can easily saturate and warp thin paper if you write slowly. Nevertheless, for casual practice, experimenting with color blending, and low-stakes learning, a budget-friendly conical set is an invaluable addition to any beginner’s desk.
Best Dual-Tip Marker for Versatility
For learners who want to explore multiple lettering styles and techniques without buying separate pen sets, a dual-tip water-based marker is an excellent investment. Markers like the Tombow Dual Brush Pen or the Sakura Koi Dual Brush feature a flexible nylon brush tip on one end and a fine bullet or plastic monoline tip on the other. This design allows you to handle large, expressive modern calligraphy with the brush end, and switch to the fine tip for sketching guidelines, drawing outlines, correcting rough edges, or practicing monoline print styles.
The nylon brush tip on these markers is larger and softer than the elastomer tips found on small pocket brush pens. This allows for bold, dramatic line variation, but it does require a bit more hand control to master. The water-based ink is highly blendable, allowing you to create beautiful gradient and watercolor effects by rubbing two tips together or using a plastic blending palette.
Because these markers feature ink reservoirs feeding two different tips, they have strict storage requirements. To keep both ends properly primed and functional, dual-tip markers must always be stored horizontally. Storing them vertically causes gravity to pull the ink down to one end, leaving the upper tip dry and prone to fraying, while the lower tip becomes oversaturated, leading to heavy bleeding and ink blobs when you write.
Quick Comparison of Beginner Calligraphy Markers
To help you quickly identify which marker type aligns with your specific goals, the table below summarizes the key differences in design, forgiveness, and limitations.
| Marker Category | Nib Configuration | Tip Forgiveness | Best Lettering Styles | Key Limitation |
|---|---|---|---|---|
| Hard Elastomer Brush Pen | Single tip (fine elastomer) | High | Modern calligraphy, small scripts, journaling | Limited maximum line width |
| Rigid Chisel Tip Marker | Single or dual chisel (polyester) | High | Gothic, Italic, Old English, Roman | No flexibility for bouncy scripts |
| Conical Tip Marker | Single conical tip (fiber) | Medium | Crayoligraphy, large block letters, color fills | Less crisp transitions between strokes |
| Dual-Tip Nylon Brush Pen | Brush & fine bullet tip (nylon/fiber) | Medium | Large modern calligraphy, blending, detailing | Requires horizontal storage; tips fray on rough paper |
Essential Tips for Practicing with Your New Markers
Once you have selected your beginner calligraphy markers, how you use and care for them will determine how quickly you progress and how long your tools last. The tropical environment of the Philippines and the specific paper you use play major roles in your overall experience.
First, paper texture is the single most critical factor in pen longevity. Standard 70gsm or 80gsm copy paper, as well as cheap school notebooks, may feel smooth to your fingers, but under a microscope, they have a rough, highly absorbent texture. This texture acts like sandpaper on delicate brush tips, causing them to fray and split within just a few hours of practice. Furthermore, these papers absorb ink like a sponge, causing your lines to feather (spread sideways) and bleed through to the next page. Beginners should always practice on ultra-smooth, low-tooth papers. Tracing paper, marker paper, and smooth layout pads (such as Rhodia or Clairefontaine) are ideal. Tracing paper is especially practical because you can place printed guideline sheets directly underneath it, saving you from having to draw lines by hand.
Because paper and ink formulations vary widely, you should always perform a simple “scratch-and-bleed” trial on any new paper stock before starting a project. Draw a grid of thick downstrokes and thin upstrokes, then observe the results:
- Observe Bleeding: Check if the ink spreads outward into the paper fibers, creating fuzzy edges.
- Check Ghosting: Flip the page over to see if the ink seeps through or is highly visible from the back.
- Verify Drying Speed: In high-humidity conditions, smudge a stroke with a dry finger after 3, 5, and 10 seconds to determine exactly how long the ink takes to set on that specific paper surface.
Proper storage and climate care are also essential for maintaining consistent ink flow. The warm climate in the Philippines can accelerate the drying of water-based inks if pens are left uncapped. Always recap your markers immediately after use; listen for a distinct “click” to ensure the cap is airtight. If a dual-tip marker is left uncapped and begins to dry out, you can sometimes revive it by capping it tightly and storing it horizontally for 24 hours to let the ink redistribute naturally.
Finally, pay close attention to your writing angle and grip pressure. Beginners often hold calligraphy markers vertically, at a 90-degree angle to the paper, which puts direct pressure on the very point of the nib. This angle quickly crushes and ruins both brush and chisel tips. Instead, hold your pen at a 45-degree angle to the page. This position allows the side of the brush or chisel edge to do the heavy lifting during downstrokes, protecting the delicate tip from splitting and ensuring smooth, consistent ink delivery.
Frequently Asked Questions (FAQ)
Can I use regular highlighters for calligraphy practice?
Yes, standard chisel-tip highlighters are a highly accessible, budget-friendly option for practicing broad-edge calligraphy styles like Gothic or Italic. However, because they are designed for highlighting text rather than dense writing, their ink flow can be inconsistent on long strokes, and their felt nibs are softer than dedicated calligraphy markers, meaning they may lose their sharp edge quickly under heavy use.
How do I prevent my brush pen tips from fraying?
To prevent brush pen tips from fraying, always practice on ultra-smooth paper such as tracing paper, layout paper, or specialized marker pads. Avoid rough copy paper or standard sketchbooks. Additionally, maintain a 45-degree writing angle to use the side of the nib for thick strokes, avoid applying excessive downward force, and always cap your pens securely immediately after use to protect the delicate fibers from drying out.
Community discussion
Share your experience or ask a question. Comments are reviewed before publication.