
Choosing your first calligraphy markers can feel overwhelming when standing in front of a crowded stationery aisle. The market is filled with an array of options, from flexible brush tips to rigid wedges. To find the right starting point, you must first identify the specific lettering style you want to learn and understand how much time you can dedicate to mastering pen control.
Calligraphy markers are broadly categorized into three distinct tip designs: brush tips, chisel tips, and felt or round nibs. Each of these designs serves a completely different style of writing and requires a unique physical approach.
If your goal is to create the flowing, organic, and modern scripts popular on social media, a brush tip is your ultimate tool, though it comes with a steeper learning curve. If you prefer structured, historical, and geometric letterforms like Gothic or Italic scripts, a chisel tip is the most forgiving and immediate option. If you simply want to learn the basic anatomy of letters and practice spacing without struggling with pen mechanics, starting with a felt or round nib to practice “faux calligraphy” is the most practical entry point.
Products mentioned in this guide
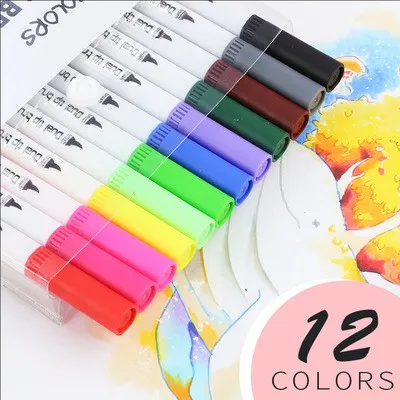
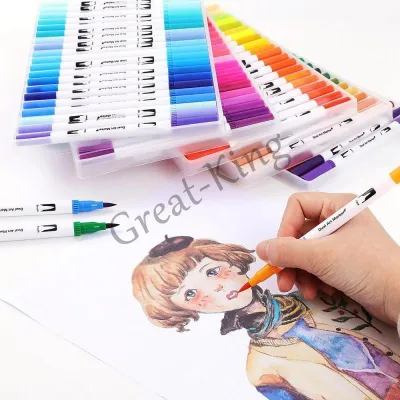
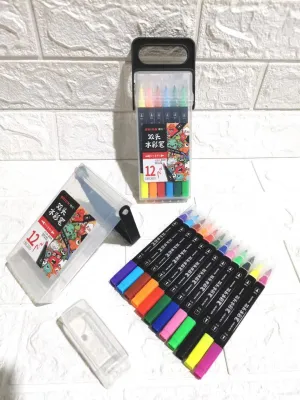
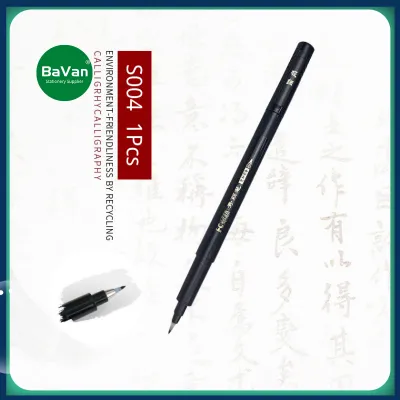
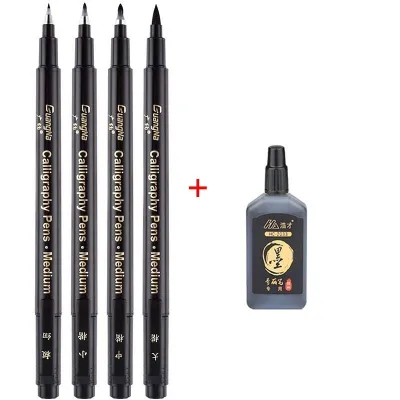
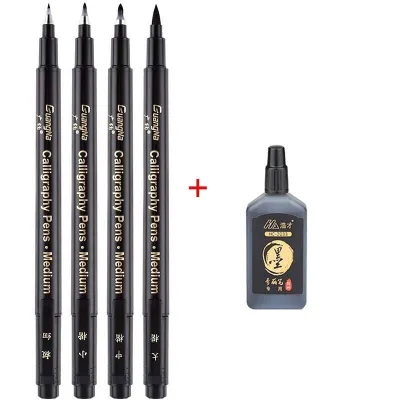
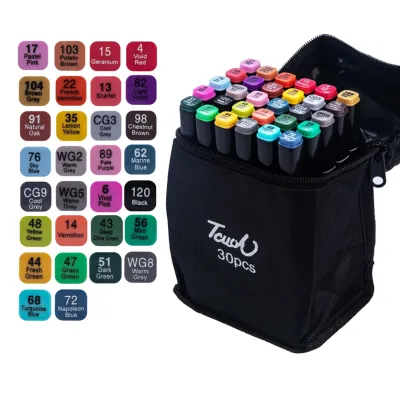
Prices are valid at publication and may change. Please refer to the product page for the latest price.
Quick Diagnosis: Selecting the Right Calligraphy Markers for Your Style
To find the ideal tool, evaluate your goals against the three primary marker categories:
- Brush Tips: Best for modern calligraphy, hand lettering, and fluid, bouncy scripts. They require precise control over pressure to create thick downstrokes and thin upstrokes.
- Chisel Tips: Best for traditional, broad-edge calligraphy styles like Gothic, Italic, and Uncial. They use a fixed, rigid angle to create line variation naturally without varying your hand pressure.
- Felt or Round Nibs: Best for monoline lettering, structural practice, and faux calligraphy. They produce a single, consistent line width, allowing you to focus entirely on letter shapes.
For absolute beginners who want immediate, satisfying results, starting with a chisel tip is highly recommended. If you are determined to learn modern, flowing scripts, begin with a small, firm brush tip rather than a large, soft one, as smaller tips are significantly easier to control.
Understanding the Big Three: Brush, Chisel, and Felt Nibs
To make an informed decision, it is essential to understand the physical construction of these three nib types and how they interact with paper to produce line variation.

Brush Tip Markers for Modern Calligraphy
Brush tip markers feature a flexible, tapered nib that behaves similarly to a traditional paint brush. These tips are typically constructed from either a solid piece of flexible elastomer (often synthetic rubber) or tightly packed nylon fibers. The defining characteristic of a brush marker is its ability to produce dynamic line variation—creating paper-thin upstrokes and thick, dramatic downstrokes—purely through the application of pressure.
When you apply downward pressure, the flexible tip bends, increasing the surface area of the nib in contact with the paper to create a wide stroke. When you release that pressure, the tip springs back to its original pointed shape, allowing you to draw delicate hairline strokes. This elastic recovery is often referred to as the “bounce” of the pen. Harder elastomeric tips offer more resistance and are significantly easier for beginners to control, whereas soft fiber tips are highly sensitive and require a delicate, practiced touch to avoid creating shaky, uneven lines.
Chisel Tip Markers for Broad Edge Styles
Chisel tip markers, also known as broad-edge markers, feature a rigid, flat, and angled wedge at the writing end. Unlike brush pens, chisel tips do not bend or compress under hand pressure. Instead, they create line variation mechanically based on the physical angle at which the flat edge meets the paper.
To use a chisel tip successfully, you must hold the marker at a constant, fixed angle—typically 35 to 45 degrees relative to your horizontal guidelines—throughout your writing. When you move the pen horizontally or diagonally along the direction of the thin edge, it produces a sharp, thin line. When you pull the pen downward or perpendicular to the flat edge, it produces a broad, thick stroke. Because line variation is determined entirely by the orientation of the pen rather than variable hand pressure, chisel markers are highly predictable and offer a much faster path to clean, structured lettering.
Felt or Round Nib Markers for Faux Calligraphy
Felt or round nib markers, often referred to as monoline pens or bullet-tip markers, feature a firm, rounded tip made of compressed fiber. These nibs are completely rigid and do not change shape when pressed against the page, resulting in a uniform line width regardless of the direction or pressure of your stroke.
While a monoline marker cannot naturally produce the thick-and-thin transitions characteristic of traditional calligraphy, it is one of the most powerful learning tools for an absolute beginner. By using a round nib, you can practice “faux calligraphy”—a technique where you write out your words in a standard cursive script and then manually draw in and color the thick downstrokes afterward. This method allows you to isolate and master the spacing, slant, and structural anatomy of letters without having to simultaneously coordinate the physical pressure or angle adjustments required by brush or chisel tips.
Self-Assessment: Matching Your Motor Control to the Right Tip
Selecting the right calligraphy marker is not just about the style you want to achieve; it is also about matching the tool to your current level of fine motor control and patience.
The learning curves for these three marker types differ dramatically. A chisel tip marker is highly forgiving because it provides immediate, mechanical feedback. Once you lock your wrist and establish your writing angle, the pen maintains that relationship with the paper automatically. This makes it an excellent choice for beginners who want to see clean, satisfying results in their very first practice session.
In contrast, a brush tip marker demands precise, real-time coordination of your hand’s downward force. Your brain must constantly adjust the pressure as you transition from an upward sweep to a downward pull. This requires a high degree of fine motor control and muscle memory, which can take weeks of daily practice to develop. Beginners who start with a soft, large brush pen often experience frustration due to shaky lines, inconsistent stroke weights, and premature fraying of the delicate tip.
To determine which marker type aligns with your current goals, evaluate the following criteria:
- The Structured Learner: If you prefer geometric rules, historical scripts, and immediate visual consistency, choose a chisel tip marker. You will be able to construct beautiful Gothic or Italic letters quickly by focusing entirely on maintaining a steady hand angle.
- The Expressive Artist: If you are drawn to fluid, modern brush lettering, watercolor-style blending, and organic scripts, choose a small, hard-tipped brush marker. Be prepared to spend your first few practice sessions focusing solely on basic drills (like loops and pressure transitions) rather than writing full words.
- The Analytical Beginner: If you want to master the fundamental shapes, spacing, and proportions of letters before introducing the physical challenges of flexible or angled nibs, choose a felt or round nib marker. Learning faux calligraphy first ensures that when you eventually transition to a brush pen, you will already know exactly where the thick and thin strokes belong.
Protecting Your Tips: Paper and Ink Compatibility
A common mistake made by beginner calligraphers is using high-quality markers on standard printer or notebook paper. This not only produces poor visual results but can also permanently ruin your writing instruments within a few hours of use.
- Paper Weight, Texture, and Smoothness: Standard copy paper (typically 70 to 80 gsm) may look smooth to the naked eye, but its surface consists of rough, untreated wood fibers. When you drag a flexible brush tip or a felt chisel tip across this abrasive surface, the friction quickly tears at the fibers of the nib, causing it to "fray" or split. Once a brush tip frays, it can no longer produce sharp, clean hairlines. Furthermore, standard paper is highly absorbent, acting like a sponge that pulls ink rapidly from the marker, leading to feathering (where the ink bleeds outward into fuzzy spiderweb patterns) and ghosting (where the ink bleeds through to the back of the page). To protect your markers, always practice on ultra-smooth, non-porous paper. Look for specialized marker pads, smooth tracing paper, vellum, or high-quality dot-grid journals with a weight of at least 100 gsm. Smooth paper allows the nib to glide effortlessly across the surface, eliminating friction and preserving the sharp edge of your tips.
- Ink Formulations: Water-Based vs. Alcohol-Based: Calligraphy markers are formulated with either water-based or alcohol-based inks, and each behaves differently on paper. Water-based inks are highly recommended for beginners. They do not bleed aggressively through standard practice pads, are odorless, and can be blended easily with water to create beautiful gradient effects. Alcohol-based inks, while incredibly vibrant and fast-drying, are highly prone to bleeding through almost all paper types unless you are using heavy, specially coated marker cardstock. For daily practice and drills, water-based markers are far more economical and easier to manage.
- Managing Tropical Humidity: If you are practicing calligraphy in the tropical climate of the Philippines, the high ambient humidity can significantly affect how your ink behaves. Water-based inks rely on evaporation to dry, and high humidity slows this process down considerably. This can lead to wet ink sitting on the surface of coated papers for several minutes, greatly increasing the risk of accidental smudging as your hand moves across the page. To prevent smearing your work under these conditions, always place a clean sheet of scrap paper or a dedicated blotter sheet under your writing hand. This not only catches any slow-drying ink but also prevents the natural oils and sweat from your skin from transferring onto the practice paper, which can create invisible barriers that cause your marker ink to bead up and skip.
- Verification Check: Before starting a full project, always perform a quick patch test on a scrap corner of your chosen paper. Write a few simple strokes to verify the drying speed, look for any immediate feathering or bleed-through, and check if the ink smears when lightly touched after thirty seconds.
Building Your First Calligraphy Kit and Practice Routine
You do not need to invest in a massive, expensive art set to begin your calligraphy journey. In fact, starting with too many tools can distract you from mastering the basic physical movements.
- The Practical Starter Kit: A highly effective, budget-friendly starter kit for a beginner should consist of just a few carefully selected items: One small-tipped, firm-nib brush pen (this provides much better control and resistance than large, soft brush pens); One medium chisel tip marker (approximately 2.0mm to 3.0mm wide) to practice traditional broad-edge scripts; A pad of smooth, bleed-resistant tracing paper or a smooth dot-grid notebook (typically costing between ₱150 and ₱500 in local stationery stores). By keeping your initial toolkit simple, you can focus on the unique mechanics of each tip type without overspending.
- Your First Practice Routine: When you sit down for your first practice session, resist the temptation to write full words or sentences immediately. Instead, dedicate your first few hours to mastering basic strokes. For brush pens, practice drawing consistent thin upstrokes and thick downstrokes. For chisel pens, practice maintaining a steady 45-degree angle while drawing straight lines, curves, and grids. This repetitive practice builds the necessary muscle memory and hand strength, ensuring that when you do begin connecting strokes into letters, your lines will be clean, stable, and confident.
- Proper Marker Maintenance: To maximize the lifespan of your calligraphy markers, always store them horizontally. If you store markers vertically, gravity will cause the ink to pool at one end, leaving one tip dry and prone to fraying while the other becomes oversaturated and leaky. Additionally, always snap the caps on tightly immediately after use. Even a few minutes of exposure to dry, air-conditioned air can cause the fine fibers of a brush or chisel tip to dry out and harden, permanently ruining the marker's performance.
Frequently Asked Questions (FAQ)
Can I use regular highlighters for calligraphy practice?
Yes, you can use standard chisel-tip office highlighters to practice the fundamental angles of broad-edge calligraphy, such as keeping a consistent 45-degree angle. However, highlighters are not a perfect long-term substitute for dedicated calligraphy markers. Highlighter ink is formulated to be highly translucent and watery, which often results in severe bleeding and feathering on standard paper. Additionally, the felt tips on standard highlighters are typically soft and prone to deforming under the repeated, firm pressure required for formal calligraphy practice, making it difficult to maintain sharp, clean lines over time.
How do I prevent my brush pen tip from fraying?
To prevent your brush pen tips from fraying, the most critical step is to write exclusively on ultra-smooth paper, such as marker paper, tracing paper, or smooth vellum, while avoiding rough copy paper entirely. Additionally, pay close attention to your writing angle; hold the pen at a 35 to 45-degree angle to the paper rather than holding it vertically like a standard ballpoint pen. Finally, ensure you lift the pen completely off the paper on your upstrokes rather than dragging the side of the tip backward, and avoid applying maximum downward pressure when the tip is bent at an extreme, unnatural angle.
Community discussion
Share your experience or ask a question. Comments are reviewed before publication.