
Choosing the right clay for slime is the secret to achieving that perfect, pillowy, and satisfyingly spreadable texture. If you have ever tried to make the popular “butter slime” only to end up with a stiff, rubbery lump or a sticky, melted mess, the culprit was likely the type of clay you used. The ideal clay must blend seamlessly with your activated glue base, transforming it into a smooth, matte masterpiece without ruining its elasticity.
To get the best results, you should look for ultra-lightweight air-dry clay or specialized non-hardening soft modeling clay. These materials are formulated with fine polymers and lightweight binders that easily integrate into polyvinyl acetate (PVA) glue bases. Understanding how different clay bases interact with your slime ingredients is key to choosing the right product for your crafting needs.
How Clay Transforms Your Slime Texture
Adding modeling clay to a standard glue-based or starch-based slime completely alters its physical properties, turning a sticky, glossy substance into a dense, spreadable compound. Standard slime relies on cross-linked polymer chains from PVA glue and a borax-based activator, which creates a highly elastic but often tacky texture. When you introduce clay, you are adding solid micro-particles and binders that absorb excess moisture and break up the stickiness, leaving you with a soft, matte finish.
Products mentioned in this guide
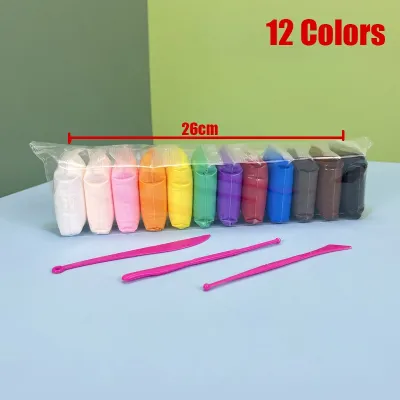
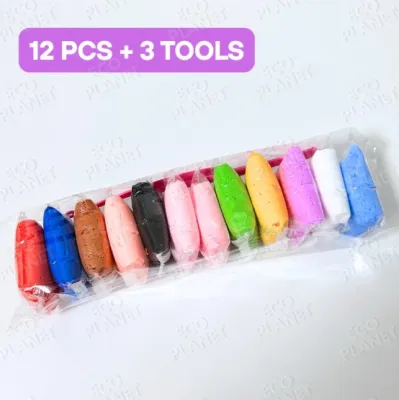
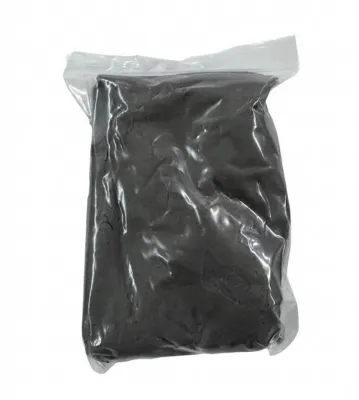
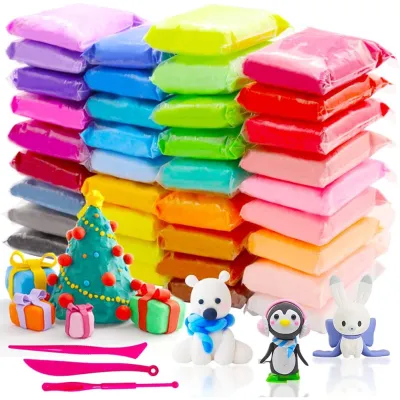
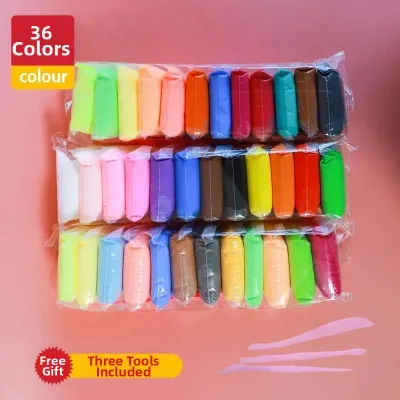
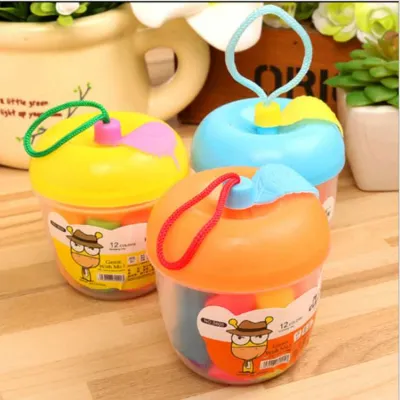
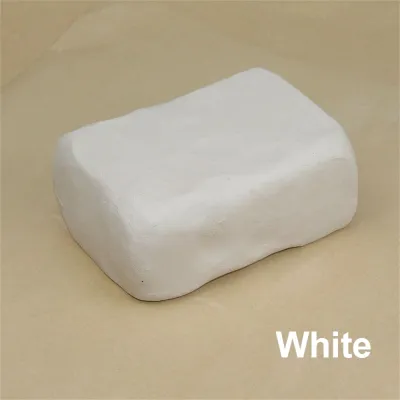
Prices are valid at publication and may change. Please refer to the product page for the latest price.
It is crucial to understand that “clay” in the context of slime making does not refer to natural, earth-mined ceramic or pottery clays. Instead, it refers to synthetic modeling compounds designed for crafts. These synthetic clays contain lightweight fillers, water, or specialized oils that allow them to remain highly pliable and soft to the touch, which is exactly what your slime base needs to stay stretchy.
Depending on the specific clay you choose, you will generally achieve one of two popular texture outcomes:
- Butter Slime: A dense, smooth, and highly spreadable slime that mimics the consistency of soft butter. It holds its shape beautifully and can be spread flat using a toy knife or your fingers.
- Cloud Slime or Inflated Slime: A fluffy, airy, and puffy texture that feels like a soft cloud. This texture relies on ultra-lightweight clays that expand and trap air when stretched and folded repeatedly.
Oil-Based vs. Water-Based Clay: Choosing the Right Base
Before purchasing any clay for your slime projects, you must distinguish between the two primary categories of modeling clay: oil-based and water-based. These two bases behave entirely differently when mixed with glue, affecting not only the initial blending process but also the long-term shelf life of your finished slime.

Oil-based clays rely on wax and mineral oils to stay soft, meaning they do not dry out when exposed to the air. Water-based clays, on the other hand, rely on water moisture to maintain their pliability; as the water evaporates, the clay cures and hardens. In tropical environments with high humidity, water-based clays may stay soft slightly longer during play, but they are still subject to eventual drying and shrinking.
Non-Hardening Soft Clay for Buttery Textures
Non-hardening soft clay is the traditional choice for creating authentic, long-lasting butter slime. Because these clays are oil-based or wax-based, they never cure, dry out, or shrink when exposed to the air. This ensures that your butter slime remains soft, pliable, and playable for months without turning into a solid brick.
When mixed with a PVA glue base, the oils in the clay act as a natural softener, helping to keep the polymer chains relaxed and stretchy. This creates a dense, dough-like consistency that is incredibly satisfying to squeeze and stretch. The clay melts smoothly into the slime without leaving any grainy residue or hard lumps, provided you knead it thoroughly.
To ensure you are buying the correct material, check the product packaging for terms like “non-hardening,” “plasticine,” or “wax-based modeling clay.” These products are highly accessible and budget-friendly, typically ranging from ₱30 to ₱120 per pack in local craft stores and online marketplaces. However, because they contain oils, they can sometimes make the slime feel slightly greasy if the ratio of clay to slime is too high.
Air-Dry and Lightweight Clay for Cloud Textures
Air-dry clay, particularly the ultra-lightweight or “whipped” variety, is incredibly popular for creating fluffy, puffy, and highly inflated slimes. These water-based clays are formulated with tiny micro-balloons or paper pulp fibers, giving them an incredibly low density and a soft, pillowy feel right out of the package.
When you fold lightweight air-dry clay into your slime, it introduces millions of tiny air pockets into the mixture. This allows the slime to double or triple in volume as you stretch and inflate it. The resulting texture is incredibly soft, light, and holdable, making it a favorite for sensory play.
However, the major limitation of water-based air-dry clay is its temporary lifespan. Because the clay relies on water content, the finished slime will eventually dry out, shrink, and harden into a rubbery, unplayable mass over time. To slow down this evaporation process, you must store your air-dry clay slime in a strictly airtight container immediately after play. In warm, tropical climates, keeping the container in a cool, shaded area is also essential to prevent premature drying.
Essential Label Checks Before You Buy
Not all craft clays are safe or suitable for slime making. Because slime involves prolonged, direct skin contact and active hand-kneading, you must perform a few essential label checks before purchasing any product.
- Non-Toxic Certification: Always look for clear safety seals on the packaging. Look for recognized standards such as the AP (Approved Product) seal from the ACMI, CE marking, or local Department of Trade and Industry (DTI) safety notifications. Avoid unbranded or cheaply imported clays that lack clear non-toxic labeling.
- Washable and Non-Staining: Slime making can get messy, and heavily pigmented clays can easily stain your hands, clothing, and play surfaces. Opt for clays that explicitly state they are "washable" or "non-staining" to ensure easy cleanup.
- No Harsh Solvents or Strong Odors: Avoid any clays that emit a strong chemical or solvent-like smell. High-quality craft clays should have a mild, neutral scent or be completely unscented. Clays containing harsh chemical solvents can cause skin irritation, redness, or allergic reactions during prolonged play.
- No Oven-Bake or Kiln-Fire Clays: Never buy clays labeled as "polymer clay," "plastilina" (unless specified as soft and non-toxic), or "ceramic clay." These materials require high-heat baking or kiln firing to cure and will not blend with glue; instead, they will ruin your slime base and can be unsafe for continuous skin contact in their raw forms.
How to Properly Mix Clay Into Your Slime Base
Successfully incorporating clay into your slime requires a systematic approach. If you simply throw a cold chunk of clay into a freshly made batch of slime, you will likely end up with an unblended, lumpy mess. Follow these steps to ensure a smooth, professional-grade blend:
- Prepare and Over-Activate Your Base: Before adding any clay, ensure your glue-based slime is fully activated. It is highly recommended to make your base slime slightly stiffer and more over-activated than usual. Clay naturally softens slime, so starting with a firm base prevents the final mixture from turning into a sticky, melted liquid.
- Perform a Small-Batch Test: Before mixing your entire batch, take a small pinch of your clay and a small piece of your slime. Knead them together to verify compatibility. Observe how they blend: the mixture should become smooth and uniform within a minute of kneading. If the test batch curdles, separates, or liquefies, the materials are incompatible, and you should not proceed with the larger batch.
- Pre-Knead the Clay: Take the clay out of its packaging and knead it thoroughly in your hands for a minute or two. The warmth from your hands will soften the binders, making the clay much more pliable and easier to incorporate into the slime.
- Fold and Stretch Gradually: Flatten your activated slime base, place the softened clay in the center, and fold the slime over it. Begin stretching and pulling the mixture apart, then folding it back on itself. Repeat this motion continuously. The color of the clay will slowly marble through the slime before blending completely into a solid, uniform pastel shade.
Safety and Verification Boundary: If at any point during the mixing process the clay resists blending, feels unusually hot to the touch, or emits a strong, unpleasant chemical odor, stop kneading immediately. Discard the mixture safely in the trash and wash your hands thoroughly with soap and water. Do not force incompatible craft materials together.
Fixing Common Texture and Blending Issues
Even with the right materials, environmental factors like humidity and temperature can affect your clay slime. Use these simple troubleshooting steps to restore your slime’s perfect texture:
- The Slime is Too Stiff or Crumbly: If your slime breaks apart or feels too tough after adding the clay, it has lost too much moisture or contains too high a concentration of clay. To fix this, add a few drops of vegetable glycerin, baby oil, or a gentle, unscented body lotion. Knead the additive in thoroughly to restore stretchiness and softness.
- The Clay is Leaving Hard Lumps: If you see unblended chunks of clay floating in your slime, the clay was likely too cold or slightly dried out before mixing. You can try to warm the slime up by kneading it vigorously, or place it in an airtight container in a warm room for a few hours to let the moisture redistribute. For future batches, always ensure your clay is fully softened and pliable before mixing.
- The Color is Bleeding onto Hands: If the clay's pigment is staining your skin during play, the clay contains low-quality colorants. You can minimize this by wearing disposable gloves during the initial mixing phase. Once the clay is fully integrated into the PVA glue base, the bleeding should stop. If it continues to stain, discard the slime and switch to a high-quality, reputable brand of non-staining clay.
Frequently Asked Questions (FAQ)
Can I use polymer clay or ceramic clay for slime?
No, polymer clay and ceramic clay are completely unsuitable for making slime. Polymer clay is plastic-based and requires oven baking to harden; it will not dissolve or blend into a wet slime base, leaving you with hard, sharp, or crumbly pieces. Ceramic clay is made of natural earth minerals and silica, which require kiln firing and are unsafe for prolonged, active skin contact in their raw, wet state.
Why is my clay slime melting or becoming overly sticky?
High ambient temperatures and humidity can soften the oils and waxes in non-hardening clays, causing the overall slime mixture to lose its structure and become sticky. Additionally, adding too much lotion, water, or failing to use enough activator during the initial base preparation can break down the polymer chains of the PVA glue, resulting in a melted consistency. You can fix this by adding a few drops of diluted borax activator and kneading thoroughly.
Is clay slime safe for young children to play with?
While high-quality, non-toxic craft clays are safe for skin contact, slime making involves chemical activators and small parts that can pose safety risks. Adult supervision is strictly required during both the preparation and play phases. Clay slime is not suitable for children under three years of age or any child who still frequently places objects or hands into their mouth.
Community discussion
Share your experience or ask a question. Comments are reviewed before publication.