
Selecting the right DIY keychain materials set for school art projects in the Philippines requires balancing student creativity with classroom safety, lesson duration, and tropical environmental factors like high humidity. The ideal kit is self-contained, uses non-toxic components, and matches the fine motor skills of your specific student age group. By focusing on complete sets that minimize mess and dry reliably in local conditions, educators and parents can deliver a successful, hands-on crafting experience that students can proudly carry on their school bags.
How to Evaluate DIY Keychain Kits for the Classroom
When managing a classroom of thirty or more students, an art project can quickly turn chaotic without the right preparation. Evaluating DIY keychain kits requires looking beyond the attractive pictures on online marketplaces and focusing on the practical constraints of a school environment. The first and most critical factor is age appropriateness and safety. Always verify that the kits carry clear non-toxic labels, such as AP non-toxic or EN71 certifications, especially when working with younger elementary students who might put materials or coated metal hardware near their mouths.
Completeness of the kit is another major consideration that directly impacts your budget and preparation time. A truly classroom-friendly keychain set should be a self-contained package containing the primary crafting medium, the necessary connector hardware like jump rings and lobster clasps, and any specialized shaping tools. If a kit requires you to purchase separate jewelry pliers, jump ring openers, or specialized adhesives, the hidden costs can quickly add up. Read the product specifications carefully to ensure you do not have to make last-minute trips to local stationery stores for missing essentials.
Products mentioned in this guide
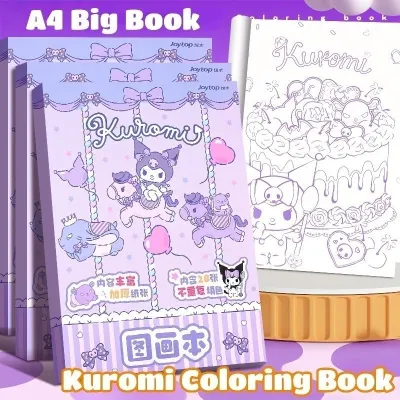
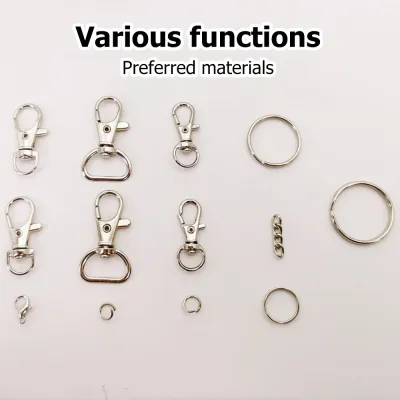
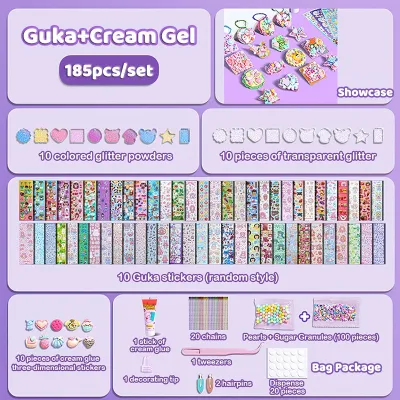
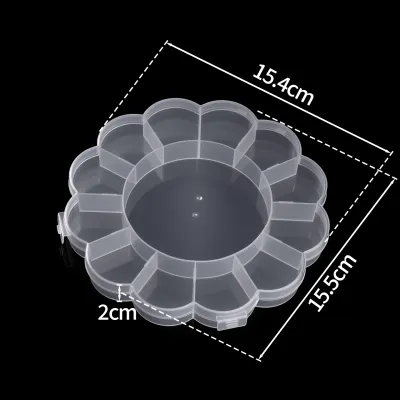
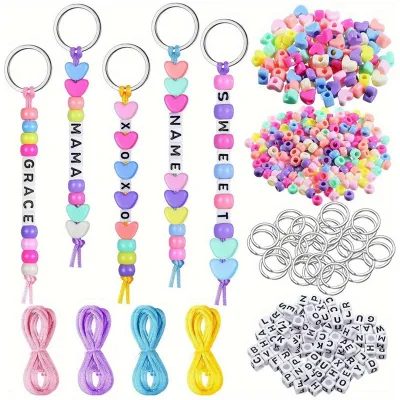
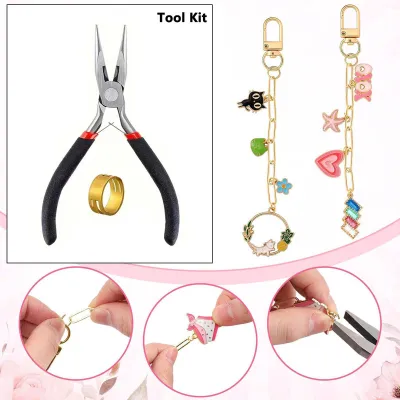
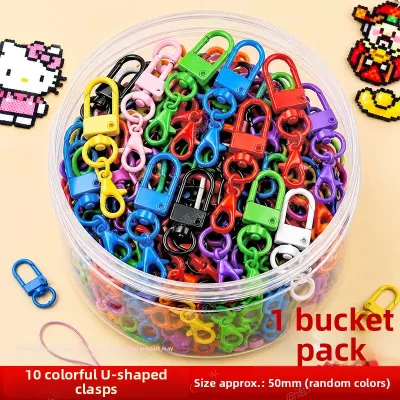
Prices are valid at publication and may change. Please refer to the product page for the latest price.
The mess factor and cleanup requirements of the material will dictate how much actual crafting time your students get. In a standard 40-to-60-minute class period, a material that requires extensive washing of brushes, hands, and desks can cut the creative process short. For instance, while liquid paints and loose glitter are highly engaging, they demand significant cleanup time. Opting for mess-free alternatives like pre-colored clay, paint markers, or self-adhesive decorative elements allows students to focus on design while keeping the shared classroom space clean and orderly.
We must also consider budget alignment per student, which is a key constraint for Philippine schools where art fees are often kept to a minimum. When calculating costs, look for bulk packages that offer wholesale pricing in Philippine Pesos (₱). A kit that costs ₱600 and contains materials for twelve students breaks down to a highly reasonable ₱50 per student. Comparing the cost per head across different material types helps you maximize your school budget while ensuring every student receives an equal share of high-quality crafting supplies.
Matching Keychain Materials to Student Skill Levels
Different keychain mediums require varying levels of manual dexterity, patience, and supervision. Matching the material to your students’ developmental stage ensures that the project is challenging enough to be engaging, yet simple enough to prevent frustration.

Polymer clay and air-dry clay sets are incredibly popular for their tactile appeal and three-dimensional design possibilities. Air-dry clay is highly recommended for younger elementary students because it is soft, easy to mold, and requires no heat source to cure. However, the high humidity in the Philippines can significantly prolong drying times, sometimes requiring up to 48 hours for a complete cure. Polymer clay, on the other hand, offers superior durability and a professional finish, but it must be baked in a toaster oven or conventional oven. This baking process requires strict adult supervision and may not be feasible within a standard classroom setup. Both clay types benefit from a clear, water-based sealant to protect the finished design from moisture and daily wear.
Bead and wire crafting kits are excellent for middle school students who are developing their fine motor skills. These projects involve threading glass, plastic, or wooden beads onto durable wire or cord to create patterns, animals, or personalized name keychains. While bead crafting is relatively clean, it requires a high level of concentration and hand-eye coordination to manipulate small jump rings and secure wire ends. Ensure the kit includes sturdy hardware, as thin or low-quality wire can easily snap under the tension of student assembly. Providing a few pairs of safety-tipped jewelry pliers will make the process much smoother and safer for this age group.
Resin and epoxy kits have become highly trendy, but they are strictly suited for older high school or college students due to safety requirements. Working with two-part epoxy resin requires precise measuring, slow mixing to avoid bubbles, and a well-ventilated workspace to prevent the inhalation of chemical fumes. Students must wear protective nitrile gloves and safety goggles throughout the process. Additionally, standard epoxy resin takes 24 hours to cure, which poses a storage challenge for schools. UV resin cures in minutes under a specialized UV lamp, making it more practical for a single class period, but it remains a premium option that requires careful safety monitoring and a higher budget.
Shrink plastic and acrylic blanks offer a fantastic middle ground for students of almost all ages. Acrylic blanks are pre-cut, transparent shapes that students can decorate using acrylic paint markers or permanent pens. This method is virtually mess-free and requires no drying time before assembly. Shrink plastic sheets allow students to draw large designs that shrink and thicken when exposed to heat from a heat gun or a small oven. Watching the plastic shrink is a magical experience for students, though the heating step must be performed entirely by the teacher to prevent accidental burns.
Safety and Practicality Checks for School Art Rooms
Before committing to a bulk purchase of keychain materials, conducting a thorough safety and logistical audit of your classroom is essential. School art rooms vary widely in terms of ventilation, electrical outlets, and storage space, all of which affect how safely a project can be executed.
Your first step should always be verifying the non-toxic certifications on the product packaging. Avoid purchasing unbranded, ultra-cheap chemical sets from online marketplaces that lack clear ingredient lists or safety labels. If a kit contains adhesives, sealants, or colorants, ensure they are water-based and solvent-free. This is particularly important in tropical classrooms where closed windows and air conditioning units can trap chemical fumes, leading to headaches or respiratory discomfort for sensitive students.
Next, analyze the curing and drying times of your chosen medium against the school’s weekly schedule. If you are using air-dry clay or liquid sealants, you must have a dedicated, secure shelf space where thirty or more wet keychains can sit undisturbed for several days. In highly humid weather, these items will dry much slower, so plan the lesson before a weekend or a school break to give the materials ample time to cure without taking up active desk space.
Assess the electrical and equipment demands of your project. If you choose shrink plastic or UV resin, you will need to plug in heat guns, toaster ovens, or UV curing lamps. Check that your classroom has accessible, grounded power outlets and that the school’s electrical circuit can handle the load of multiple heating appliances running simultaneously. Never use extension cords draped across high-traffic walkways, as they present a major tripping hazard for active students.
Finally, plan for the management of sharp tools and small hardware components. Jump rings, screw eye pins, and jewelry wire can be sharp and present choking hazards for younger children. Keep a strict inventory of all tools, such as pliers and cutters, by counting them out at the beginning of the lesson and collecting them before anyone is dismissed. Using magnetic trays on student desks is an excellent way to keep tiny metal findings from rolling onto the floor.
Sourcing and Lesson Preparation Checklist
A successful classroom art lesson is won or lost in the preparation stage. Taking the time to source materials wisely and organize them before the school bell rings will save you valuable instruction time and reduce classroom stress.
Start by comparing local stationery hubs, wholesale markets, and online marketplaces to find the best bulk educational discounts. Many suppliers offer significant price reductions when you purchase materials in quantities of fifty or one hundred. When ordering online, factor in shipping times to ensure the materials arrive well before your scheduled lesson. Always calculate the total cost in ₱, including shipping fees, to ensure the project stays within your school’s approved budget.
Once your chosen kit arrives, do not wait for the day of the lesson to open it. Order a single sample kit a few weeks in advance to conduct a trial run. Test the clarity of the instructions, the durability of the metal hardware, and how well the materials bond together. This trial run allows you to identify potential bottlenecks—such as a jump ring that is too thick for the acrylic blank’s pre-drilled hole—and adjust your lesson plan accordingly.
On the day before the lesson, pre-portion the materials into individual student kits. Instead of passing around large, shared tubs of clay or beads, place the exact amount of material needed for one keychain into small paper cups or reusable zip-top bags. Each student should receive their portion of clay or beads, along with one key ring, two jump rings, and any necessary connector pins. This simple step can save up to twenty minutes of chaotic distribution time during the actual class period.
Lastly, always prepare a backup plan for common crafting mishaps. Keep a small stash of extra hardware, spare clay, and quick-drying craft glue at your teacher’s desk. If a student accidentally drops their clay design, snaps a wire, or loses a tiny jump ring, you can quickly hand them a replacement without disrupting the flow of the entire classroom.
Frequently Asked Questions (FAQ)
Can students use super glue for assembling keychains in class?
Super glue, or cyanoacrylate adhesive, is generally not recommended for classroom use due to safety and practical concerns. It bonds skin instantly, releases strong fumes that can irritate eyes and lungs, and is difficult to clean off school desks and clothing. For school art projects, safer and highly effective alternatives include non-toxic white craft glue, specialized water-based jewelry glues, or relying entirely on mechanical connections like jump rings, split rings, and screw eye pins which require no adhesive at all.
How do I prevent metal keychain hardware from rusting or tarnishing?
The high humidity levels in the Philippines can cause inexpensive metal keychain hardware to tarnish or rust over time. To prevent this, look for kits that specify the use of stainless steel, nickel-plated iron, or brass hardware. For an extra layer of protection, students can apply a thin, even coat of clear acrylic sealant or clear nail polish over the metal findings once the keychain is fully assembled. Ensure the metal parts are completely dry and free of finger oils before applying the protective coating.
What is the best way to store leftover keychain materials for future classes?
To maximize your school budget, proper storage of leftover materials is essential. Unused air-dry clay should be wrapped tightly in plastic wrap, placed inside a zip-top bag with a damp paper towel, and stored in an airtight container to prevent hardening. Small metal hardware like jump rings and clasps should be kept in labeled, compartmentalized plastic organizer boxes to prevent rusting from humidity. For chemical components like resin or specialized glues, store them in a cool, dark cupboard away from direct tropical sunlight, and always check the manufacturer’s expiration dates before reuse.
Community discussion
Share your experience or ask a question. Comments are reviewed before publication.