
Quick Answer: Core Criteria for Kids' Jumbo Markers
Selecting the right writing tools for early childhood development requires balancing physical ergonomics, chemical safety, and practical usability. For children aged three to six, a jumbo marker is not merely a coloring tool; it serves as an entry point to fine motor control and letter formation. When evaluating options for home or classroom use, three non-negotiable criteria must guide your decision.
First, look for a barrel diameter between 10 and 15 millimeters. This thickness matches the natural resting grip of a developing hand, allowing children to hold the tool without clenching their fingers too tightly. The length should remain relatively short—ideally under 12 centimeters—to prevent the marker from becoming top-heavy and pulling the child’s hand backward.
Second, prioritize safety by verifying that the packaging explicitly states the ink is non-toxic and water-based. Children frequently touch their faces, mouths, and skin during practice sessions, making certified safe formulations essential.
Products mentioned in this guide
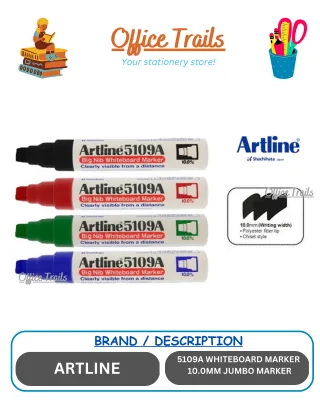
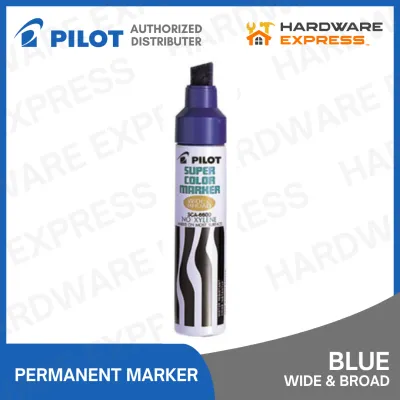
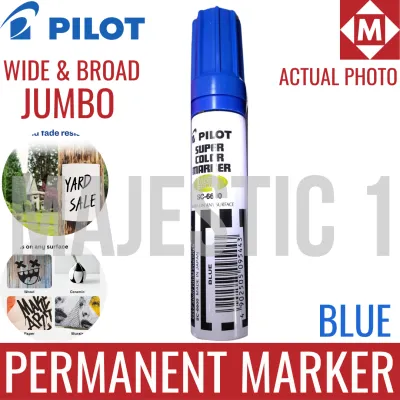
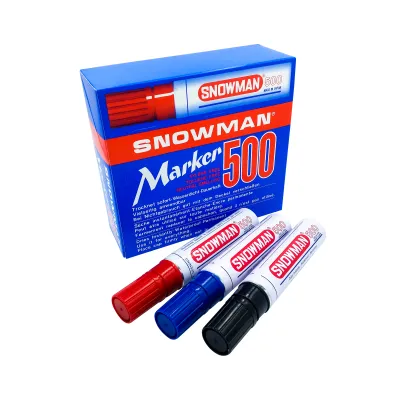
![[FPS FairPriceSupplies] Pilot SuperColor Jumbo Marker SCA6600 - Wide & Broad / No Xylene or Standard](https://img.lazcdn.com/g/p/984d90f3b3caf3b2324ff61376a92a97.jpg_400x400q80.jpg_.webp)
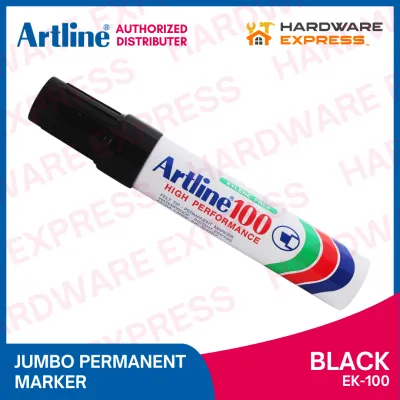
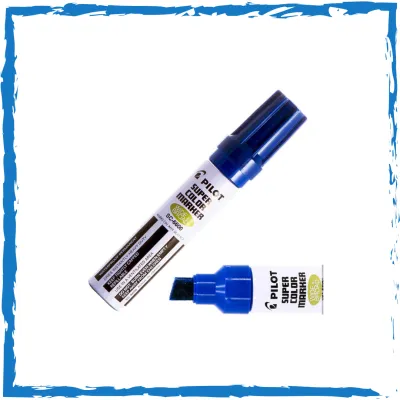
Prices are valid at publication and may change. Please refer to the product page for the latest price.
Third, check for washability and paper compatibility. In many learning environments, standard writing pads and practice notebooks use lightweight paper, often ranging from 50gsm to 70gsm. To prevent ink from bleeding through and ruining subsequent pages, the marker must utilize a controlled-flow tip paired with quick-drying, water-based ink. Checking these three pillars ensures a frustrating-free writing experience that keeps the focus entirely on letter formation.
Evaluating Grip and Ergonomics for Developing Hands
Before a child can write legibly, they must develop the muscle strength and coordination required to hold a writing instrument. Standard pens and pencils are too thin for toddlers and preschoolers, often forcing them into a tight, fatiguing “fisted” grasp. Jumbo markers bridge this developmental gap by providing a larger surface area that accommodates their current motor skills.

Barrel Shapes and Finger Placement
The physical shape of the marker barrel plays a pivotal role in how a child positions their fingers. Cylindrical barrels are highly common and excellent for free-form coloring, but they offer no physical cues for finger placement. Without guidance, children may slide their fingers too close to the tip or grip the barrel with excessive force.
Triangular barrels, by contrast, feature three flat sides that naturally align with the thumb, index finger, and middle finger. This design gently coaxes the hand into a mature tripod grasp, which is the foundation for efficient, lifelong handwriting. By reducing the effort required to keep the marker stable, triangular designs minimize hand fatigue and allow for longer, more comfortable practice sessions.
Textured Grips and Slip Prevention
In warm or humid tropical environments, young hands can easily become sweaty, causing plastic markers to slip. When a marker slips, a child instinctively tightens their grip, leading to rapid muscle fatigue and cramping.
To prevent this, look for markers that feature textured grip zones or rubberized collars near the tip. These tactile areas provide friction, allowing the child to maintain control with minimal downward pressure. If a marker lacks a built-in grip, you can verify if the plastic has a matte finish rather than a high-gloss coat, as matte textures naturally offer better slip resistance.
Weight Distribution and Wrist Strain
A common design flaw in children’s stationery is poor weight distribution. Markers with heavy, decorative caps or dual-ended designs tend to be back-heavy. When a child attempts to write, the heavy rear end of the marker acts as a lever, pulling the tip upward and forcing the wrist to work harder to keep the point on the paper.
When evaluating markers, test the weight with the cap posted on the back. If the marker feels noticeably back-heavy, instruct the child to set the cap aside during writing practice. A lightweight, balanced marker allows the hand and wrist to move in a smooth, fluid arc across the page, preventing early fatigue.
Preventing Ink Bleed-Through: Ink and Paper Compatibility
One of the most common frustrations during handwriting practice is ink bleeding through the page. When ink saturates the paper, it not only ruins the reverse side of the sheet but can also stain the table or desk underneath. Preventing this requires understanding how different inks interact with common paper types.
Understanding Ink Formulations
Most children’s markers use water-based inks, which are inherently safer and easier to wash than alcohol-based or solvent-based alternatives. However, not all water-based inks behave the same way on paper.
Standard washable inks are formulated to remain wet slightly longer to facilitate easy cleanup from skin and clothing. While excellent for safety, this extended drying time can lead to feathering—where the ink spreads sideways along the paper fibers—and bleed-through. Quick-drying water-based inks strike a better balance, absorbing into the top layers of the paper and drying before they can penetrate the backing.
At-Home Paper Testing Protocol
Before purchasing markers in bulk for a classroom or home study space, perform a simple, three-step compatibility test on the specific paper your child will use. Standard school writing pads in the Philippines often utilize thin 50gsm to 70gsm paper, while premium notebooks may use 80gsm or higher.
- The Single Stroke Test: Draw a single, continuous line across the paper at a normal writing speed. Observe the back of the sheet to see if any ink shadows or spots appear.
- The Pause Test: Hold the marker tip stationary on the paper for exactly two seconds. This simulates the natural pauses a child makes when figuring out the next letter stroke. Measure how far the ink spot spreads horizontally.
- The Cross-Hatch Test: Draw two intersecting lines. The point of intersection receives a double dose of ink, making it the ultimate test for paper saturation and bleed-through resistance.
If the ink bleeds through during the single stroke test, transition to a heavier paper weight, such as 80gsm or 100gsm, or seek a marker with a drier ink delivery system.
Tip Shapes and Ink Flow
The shape of the marker tip directly influences how much ink is deposited onto the page. Broad bullet tips are highly recommended for beginners because they provide a consistent line width regardless of the angle at which the marker is held. This consistency helps children focus on the shapes of the letters rather than adjusting their hand angle.
Chisel tips offer versatility, allowing for both thick and thin lines depending on how the marker is rotated. However, chisel tips require a higher level of fine motor control. If a child presses the flat edge of a chisel tip firmly against thin paper, it will release a large volume of ink, almost guaranteeing bleed-through. Save chisel tips for older children who are transitioning to advanced print or cursive writing.
Safety Standards and Age-Appropriate Certifications
Safety is the paramount consideration when selecting any stationery product for children. Because young learners often chew on pen caps, wipe ink onto their skin, or accidentally ingest small amounts of product, parents must look for verified safety certifications on the packaging.
Key Certification Marks
Never rely solely on a product’s marketing claims of being “safe” or “child-friendly.” Instead, look for recognized, independent safety certifications printed on the box or the marker barrel itself.
- The AP (Approved Product) Seal: Issued by the Art & Creative Materials Institute (ACMI), this seal certifies that the product has been toxicologically evaluated and contains no materials in sufficient quantities to be toxic or injurious to humans.
- The CE Mark and EN 71: This European standard ensures the product meets strict safety requirements for toys, including chemical migration limits and physical safety hazards (such as ventilated caps to prevent choking).
- Local Regulatory Compliance: Ensure the product complies with national consumer safety standards, which verify that the plastic and ink formulations are free from harmful heavy metals and phthalates.
"Non-Toxic" vs. "Washable"
It is vital to distinguish between these two terms, as they address entirely different issues. A marker labeled “non-toxic” is safe if it comes into contact with skin or is accidentally ingested in tiny amounts, but it may still leave permanent stains on clothing, walls, and furniture.
Conversely, a “washable” marker is formulated with ultra-soluble pigments that release easily from fabrics and skin with standard soap and water. For peace of mind, always look for products that carry both designations. Keep in mind that even washable inks can stain highly porous surfaces like unsealed wood, matte painted walls, or delicate fabrics, so setting up a dedicated, protected workspace is always recommended.
Storage and Ventilation
While water-based markers are virtually odorless, using them in a well-ventilated room ensures a comfortable learning environment. Teach children to snap the caps securely after each use; a distinct “click” sound usually indicates a proper seal. Store markers horizontally when not in use. This position keeps the ink reservoir balanced, preventing the tip from drying out or becoming oversaturated with ink.
Building Your Condition-Based Shortlist
Every child develops at their own pace, meaning the ideal marker for one child might cause frustration for another. Rather than looking for a single universal winner, match your selection to your child’s specific developmental stage and writing style.
Path A: The Beginner (Ages 3 to 4)
At this stage, children are transitioning from scribbling to basic line control. They often use a full-palm grasp and apply heavy downward pressure.
- Barrel Design: Ultra-thick, triangular barrels (15mm diameter) to encourage early finger alignment.
- Tip Type: Sturdy, broad bullet tips that resist sinking into the barrel when pressed hard.
- Ink Priority: Ultra-washable, water-based ink that cleans easily from skin and play clothes.
- Paper Match: Heavy drawing paper or thick construction paper to handle heavy ink saturation.
Community discussion
Share your experience or ask a question. Comments are reviewed before publication.