
Selecting the ideal materials for a school art class origami project requires balancing paper weight, size, and structural integrity. While many assume any sheet of paper will suffice, flight performance and ease of folding depend heavily on matching these material characteristics to the specific airplane design. By understanding how different papers behave under pressure and utilizing basic folding tools, students can transform simple sheets into aerodynamic gliders that fly consistently and survive multiple landings.
In tropical environments, such as classrooms in the Philippines, high relative humidity can quickly soften paper fibers, making the choice of material and precise folding tools even more critical. Limp paper struggles to hold a crisp crease, causing wings to sag and flight paths to veer off course. Preparing the right combination of paper and tools ensures that students focus on the joy of creation and the science of flight rather than struggling with torn sheets or floppy wings.
How to Choose the Right Paper for Origami Airplanes
The physics of paper flight relies on a delicate balance between gravity, lift, drag, and thrust. The paper you select acts as both the airframe and the lifting surface of the airplane. If the paper is too heavy, the airplane will require an immense amount of throwing force to stay airborne and will quickly nose-dive. Conversely, if the paper is too light, it will lack the momentum needed to cut through classroom drafts and may buckle under the aerodynamic forces generated during a throw.
Products mentioned in this guide
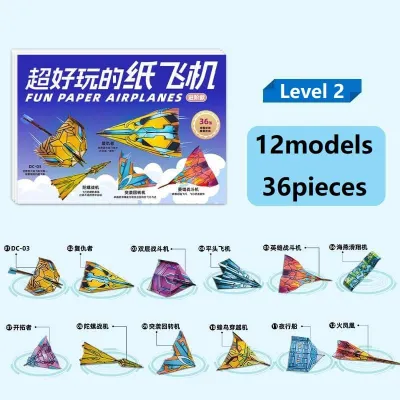
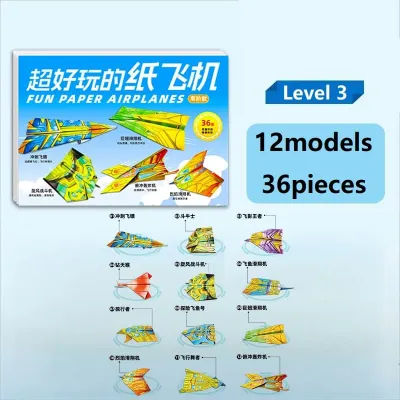
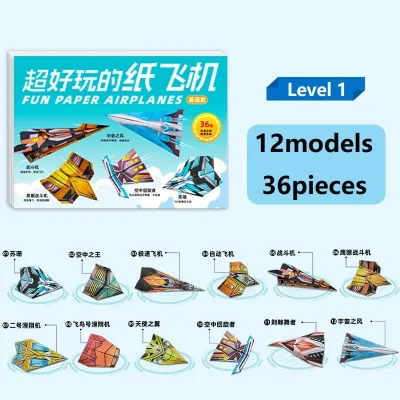
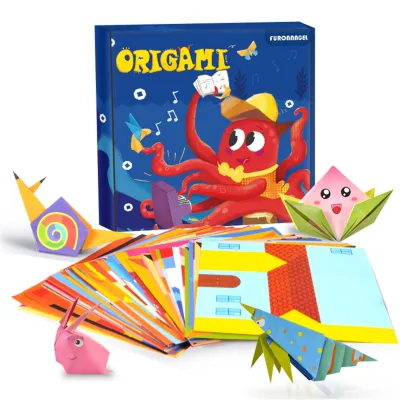
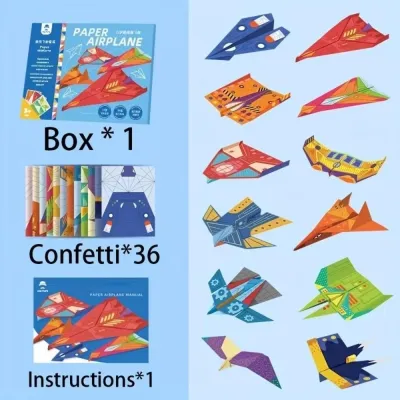
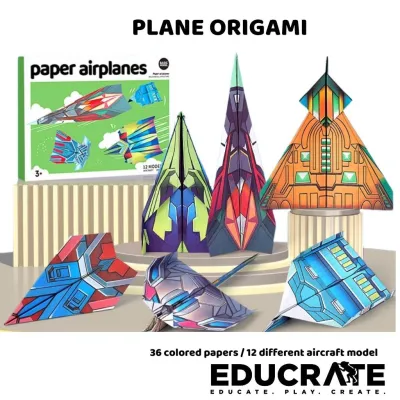
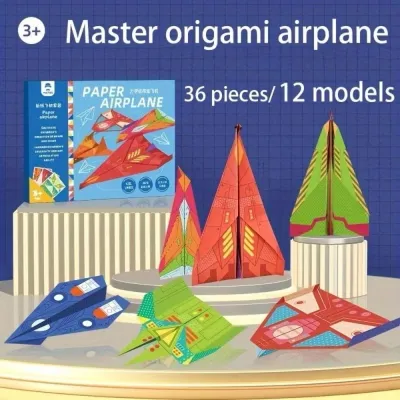
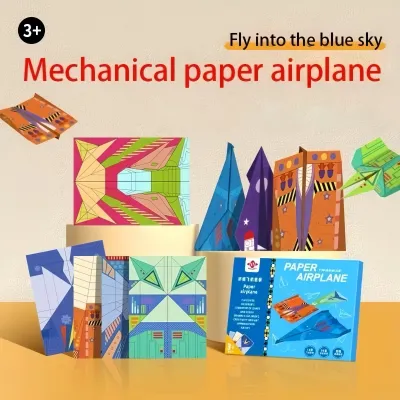
Prices are valid at publication and may change. Please refer to the product page for the latest price.
Texture and finish also play a significant role in how well a paper performs. Uncoated, matte papers are generally preferred for school projects because they provide a tactile grip that prevents slipping during the folding process. Highly glossy or coated papers can be difficult for young hands to fold precisely, as the layers tend to slide against one another. Furthermore, uncoated papers absorb creases more deeply, locking the airplane’s geometry into place.
In humid climates, paper fibers naturally absorb moisture from the air, which temporarily weakens the hydrogen bonds holding the cellulose fibers together. This absorption causes the paper to lose its stiffness, a phenomenon often observed when school writing pads feel soft or damp to the touch. To combat this, teachers can store paper in sealed plastic containers with silica gel packets prior to the lesson, ensuring the sheets remain crisp and dry for folding.
Understanding the grain of the paper is another advanced yet accessible concept for art students. During manufacturing, paper fibers align in a specific direction. Folding parallel to this grain results in clean, effortless creases, while folding against the grain can cause the paper to resist, crack, or create bulky, uneven seams. Students can easily identify the grain direction by gently bending a sheet horizontally and vertically; the direction that offers the least resistance is parallel to the grain.
Understanding Paper Weight and Thickness
Paper weight is typically measured in grams per square meter (gsm), which indicates the density and thickness of the sheet. For complex, multi-fold origami airplane designs that feature intricate nose locks or multiple wing folds, lightweight paper ranging from 50 to 60 gsm is highly recommended. This thin profile allows students to layer the paper repeatedly without creating a bulky, misshapen nose that ruins the plane’s balance.
For classic dart designs and everyday school art projects, medium-weight paper between 70 and 80 gsm—the standard weight for typical office copy paper—is the most versatile option. This weight provides excellent structural stiffness, allowing the wings to remain rigid during flight while still being thin enough for students to fold easily. It offers a reliable compromise, holding sharp creases well and resisting the softening effects of ambient humidity.
Heavy papers, such as cardstock or heavy drawing paper weighing 100 gsm and above, should generally be avoided for traditional origami airplanes. These thick materials resist folding, crack along the seams, and create bulky layers that disrupt airflow. While they can be used for very simple, wide-winged gliders that require only a few folds, they demand significant physical effort to crease and require a very strong throw to achieve flight.
Selecting the Right Paper Size and Shape
The dimensions of your starting sheet dictate the wingspan, fuselage length, and overall proportions of the finished airplane. Pre-cut square origami paper, typically measuring 15×15 centimeters, is excellent for traditional Japanese folding designs, stunt planes, and models that rely on diagonal symmetry. Square paper encourages precise geometric folding and is ideal for projects focusing on artistic presentation.
For aerodynamic dart styles, long-distance gliders, and speed planes, rectangular paper such as A4 or standard letter size is the industry standard. The elongated shape of rectangular paper naturally provides a longer fuselage, which stabilizes the plane along its longitudinal axis, and allows for narrower, swept-back wings that minimize drag. Most high-performance paper airplane designs are engineered specifically around these rectangular ratios.
When an art project requires converting rectangular paper into a perfect square, precision is paramount. Students must fold one corner diagonally to align perfectly with the adjacent edge and carefully trim away the remaining rectangular strip. Even a minor misalignment of one millimeter during this trimming process can result in asymmetrical wings, causing the airplane to spiral and crash immediately upon launch.
Essential Folding Tools for School Art Classes
While folding with bare fingers is the most common approach, incorporating basic stationery tools into a school art class elevates the quality of the projects and protects students’ hands. Repeatedly pressing down on paper edges with fingernails can cause friction burns and fatigue, especially during large-scale classroom activities. Utilizing dedicated tools ensures consistent, professional-grade results.

A bone folder, traditionally crafted from animal bone but now widely available in durable, smooth plastic, is the single most effective tool for origami. By running the flat, polished edge of a bone folder along a folded seam, students can flatten the paper fibers completely, locking the crease into a permanent, razor-sharp edge. This tool is particularly useful for securing multi-layered folds at the nose of the airplane.
If bone folders are not available, a standard 30-centimeter plastic or wooden ruler serves as an excellent alternative. Students can hold the ruler flat against the paper and slide the edge along the fold to create a clean crease. Rulers also double as straightedges for drawing alignment guides or assisting in clean, tear-free paper trimming when scissors are not preferred.
For projects that require custom paper sizes or aerodynamic adjustments, safe cutting tools are essential. Blunt-tip safety scissors are ideal for younger students, allowing them to trim excess paper or cut small control flaps into the wings safely. For older students working on advanced designs, a self-healing cutting mat paired with a safety utility knife and a metal-edged ruler provides clean, fray-free edges that preserve the paper’s aerodynamic properties.
Finally, the folding surface itself heavily influences the outcome of the project. Folding on cluttered, uneven, or soft school desks often leads to crooked creases and punctured paper. Providing students with a flat, hard surface—such as a portable plastic clipboard or a small self-healing mat—ensures a stable foundation that protects school furniture from accidental scratches, pencil marks, or adhesive spills.
Building Your Origami Airplane Supply Kit
Assembling a structured supply kit for a school art class helps organize materials, manages budgets, and ensures that students have the correct tools for their skill level. A well-planned kit can range from a basic setup for introductory lessons to an advanced kit designed for competitive flight testing and design challenges.
A basic starter kit is highly economical, costing only a few pesos per student, and utilizes readily available school supplies. This kit should include a stack of standard 70 to 80 gsm colored copy paper, a pack of standard 15×15 centimeter square origami paper, a 30-centimeter plastic ruler, and a pair of safety scissors. This setup is perfect for teaching fundamental folding techniques and constructing classic dart models.
For advanced art classes or school STEM competitions focusing on aerodynamics, an advanced kit provides the tools necessary for precision engineering. This kit features lightweight specialty papers like double-sided colored kami, a genuine bone folder for flawless creasing, a small A4-sized self-healing cutting mat, a metal ruler for precise measurements, and a roll of ultra-thin double-sided tape or lightweight paperclips to assist with balancing and structural reinforcement.
To help educators and students select the best materials for their specific goals, the table below maps common paper types to their ideal airplane styles, folding difficulty, and observable flight characteristics:
| Paper Type | Typical Weight (gsm) | Best Airplane Style | Folding Difficulty | Flight Characteristic |
|---|---|---|---|---|
| Standard Copy Paper | 70 – 80 gsm | Classic Darts, Long-Distance Gliders | Easy to Medium | Balanced, stable glide; cuts through drafts well |
| Traditional Kami | 50 – 60 gsm | Stunt Planes, Intricate Nose-Lock Designs | Easy | High maneuverability; holds complex folds without bulk |
| Construction Paper | 100 – 120 gsm | Simple, Wide-Wing Gliders | Difficult | Heavy and slow; prone to cracking along creases |
| Kraft Paper | 60 – 70 gsm | Durable Outdoor Gliders | Medium | Highly tear-resistant; holds shape well in humid air |
| Washi Paper | 40 – 50 gsm | Artistic, Decorative Display Planes | Difficult | Extremely light; beautiful textures but lacks high-speed rigidity |
Tips for Testing and Adjusting Your Airplane Design
Once the folding process is complete, the success of an origami airplane relies on testing and calibration. Even a perfectly folded model can suffer from flight instability due to minor environmental factors or slight structural imbalances. Teaching students how to observe, diagnose, and correct these flight issues introduces them to the scientific method and the basics of aerodynamics.
If an airplane consistently nosedives immediately after launch, the nose is likely too heavy or the wings are not generating enough lift at the rear. To fix this, students can perform a simple adjustment known as adding elevator trim. By gently curling or folding the trailing edges of the wings slightly upward, the passing air pushes the tail down, which naturally lifts the nose of the airplane during flight.
Conversely, if the airplane climbs steeply, stalls, and then falls like a stone, the nose is too light or the tail is generating too much downforce. Students can correct this stalling behavior by bending the trailing edges of the wings slightly downward. Alternatively, sliding a small, lightweight paperclip onto the nose of the plane shifts the center of gravity forward, stabilizing the glide path and ensuring a smooth, continuous flight.
Symmetry is the most critical factor for straight flight. Students should hold their finished airplane at eye level, looking at it from both the front and the back to ensure that both wings are angled at the exact same dihedral angle—ideally a slight “Y” shape where the wings point slightly upward. If one wing is flatter or angled lower than the other, the airplane will experience unequal lift, causing it to spiral into a roll and crash.
Finally, students must monitor the condition of their creases over time, especially in humid classroom environments. As the paper absorbs moisture, the folded seams can begin to relax and open up, which alters the airplane’s aerodynamics and reduces its structural rigidity. Before every test flight, students should run their bone folder or plastic ruler over the main fuselage folds and wing joints to restore the sharp, rigid edges required for optimal flight performance.
Frequently Asked Questions (FAQ)
Can I use construction paper for origami airplanes?
Standard construction paper is generally not recommended for high-performance origami airplanes. Because it typically weighs between 100 and 120 gsm and consists of short, coarse wood fibers, it is highly prone to cracking and fraying along folded seams. These rough, cracked edges disrupt the smooth airflow over the wings, creating excessive drag. Construction paper is best reserved for very simple, large-scale gliders with minimal folds, or for colorful, non-flying decorative art displays.
Does the color or pattern of the paper affect flight?
Standard printed patterns, solid colors, and dyed papers do not affect the weight, balance, or aerodynamic properties of an origami airplane. However, specialty papers with heavy metallic foils, thick glitter coatings, or high-gloss plastic laminates can add significant weight and alter the paper’s surface friction. These heavy coatings make the paper slippery and difficult to crease tightly, and the added weight can make the airplane sluggish, requiring much higher throwing speeds to stay aloft.
How do I keep my origami airplane from unfolding?
To maintain the structural integrity of an airplane during high-speed throws, you can apply a tiny piece of clear stationery tape or a small dab of school glue stick to the nose or the center seam of the fuselage. This prevents the wings from separating and lifting away from the body mid-flight. Additionally, using a bone folder or a plastic ruler to firmly compress every fold during construction flattens the paper fibers, significantly reducing the paper’s natural tendency to spring back open.
Community discussion
Share your experience or ask a question. Comments are reviewed before publication.