
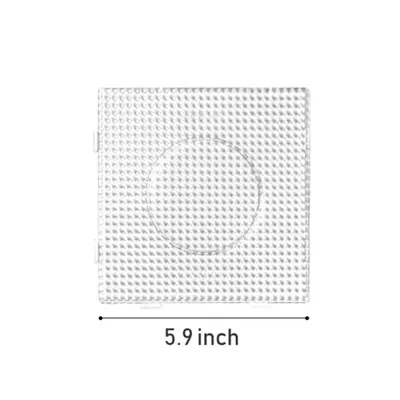
For your very first perler bead project, the most practical and beginner-friendly option is a standard clear square board measuring approximately 15 by 15 centimeters, which typically features a 29-by-29 peg grid. This specific configuration provides an excellent balance of design flexibility, ease of use, and affordability. By choosing a transparent board, you can place printed templates directly underneath the plastic pegs, allowing you to trace designs with high accuracy and minimal frustration.
Starting with a clear square board ensures you are not restricted to a single shape, unlike novelty boards that only allow you to create one specific design. It serves as a versatile, reusable canvas that accommodates thousands of pixel art patterns, making it the ideal foundation for anyone entering the world of fuse bead crafting.
Why Board Size and Shape Matter for Beginners
When starting a new craft, the physical dimensions of your workspace heavily influence your learning curve. A standard square board offers a structured grid that aligns with pixel art, which is the basis of most fuse bead designs. This geometric predictability makes it easy to count pegs and translate digital patterns or grid drawings into physical bead placements.
Products mentioned in this guide
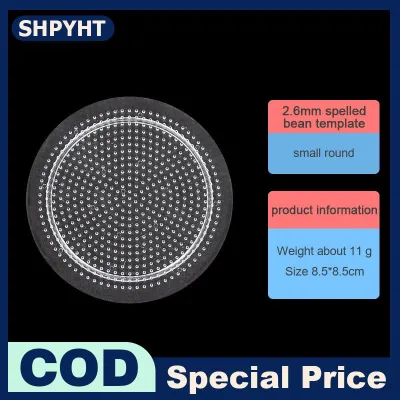
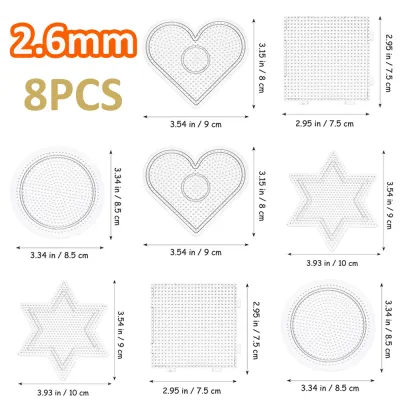
Prices are valid at publication and may change. Please refer to the product page for the latest price.
In contrast, novelty shapes like stars, hearts, or animals force you to follow a pre-determined outline. While these can be fun for quick activities, they limit your creative freedom and do not teach you how to build custom shapes. If you want to create a custom cartoon character, a video game sprite, or a geometric coaster, a novelty board will quickly prove limiting, whereas a square board can handle all of them.
Managing your bead count is also crucial for avoiding beginner fatigue. A standard 29-by-29 peg board holds a maximum of 841 beads, which is a highly manageable volume for a first-time crafter. A project of this scale typically takes under an hour to assemble, providing a satisfying crafting session without feeling tedious or overwhelming.
Choosing a board that is too large can lead to frustration, as a single accidental bump can send hundreds of un-ironed beads flying across your table. Starting with a medium-sized square canvas allows you to practice your finger dexterity and bead placement speed. Once you master the basic physical coordination required to place and iron these small plastic cylinders, you can confidently transition to larger layouts.
Key Features to Look for in a Beginner-Friendly Board
To ensure a smooth crafting experience, you must look closely at the material properties and physical design of the board. The most critical feature for a beginner is transparency. Clear plastic boards allow you to print out 1:1 scale patterns, place them flat on your table, and position the board directly on top. You can then simply match the bead colors to the paper underneath, eliminating the need to constantly look back and forth between a screen and your work.

Peg design is another factor that directly impacts how easily you can place and adjust your beads. High-quality boards feature slightly tapered pegs that are wider at the base and narrower at the tip. This shape allows beads to slide on effortlessly while still holding them securely enough to prevent minor vibrations from dislodging your progress.
Because fuse beads require heat to bond, the board’s resistance to thermal warping is incredibly important. During the ironing process, heat transfers from the iron through the ironing paper and onto the plastic pegs. Flimsy, ultra-thin boards will warp, bend, or even melt under this heat, rendering the board unusable for future projects. In warm and humid tropical climates, plastics can be particularly sensitive to rapid temperature changes, making a thick, rigid, and heat-resistant board a practical necessity.
Finally, look for boards that feature clear, molded grid lines or subtle alignment markings along the edges. These visual guides help you keep track of your rows and columns when you are working on symmetrical designs or counting spaces. High-visibility grids reduce eye strain and help you catch placement errors before you apply the iron.
Recommended Perler Bead Board Types for First Projects
When shopping for your first crafting setup, focusing on specific board categories rather than unverified brand names will help you find the best value. The standard large square board is the absolute baseline recommendation. These boards are widely available in local craft stores and online marketplaces, often priced affordably between ₱150 and ₱300. They provide a generous workspace that fits most standard patterns while remaining compact enough to store easily in a drawer.
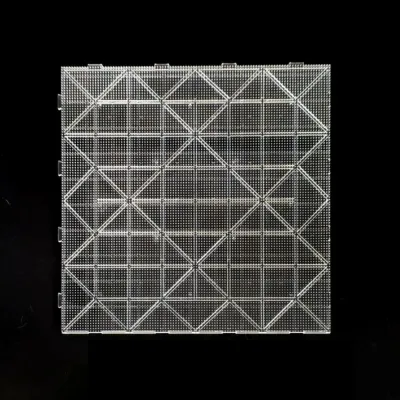
For those who want maximum versatility, clear interlocking square boards are a highly practical choice. These boards feature small tabs and slots along their edges, allowing you to connect multiple boards together like puzzle pieces. As a beginner, you can use a single interlocking board for your first few small projects. Later, when you feel ready to tackle larger wall murals or detailed portraits, you can purchase additional interlocking boards and snap them together to create a larger, seamless canvas.
If you are buying a kit, look for packages that bundle a clear square board with essential accessories like ironing paper and plastic tweezers. Tweezers are highly recommended for beginners, as they allow for precise bead placement and make it easy to pluck out a misplaced bead from the middle of a dense design without disturbing the surrounding pieces.
What to Avoid When Buying Your First Board
Avoiding common purchasing pitfalls will save you time, money, and creative frustration. First, steer clear of extremely small boards, such as those measuring only 10 by 10 pegs. While they may seem cheap and non-intimidating, they severely limit your design options. You will quickly find that almost all popular beginner patterns require more space than these tiny boards can provide, forcing you to buy a larger replacement almost immediately.
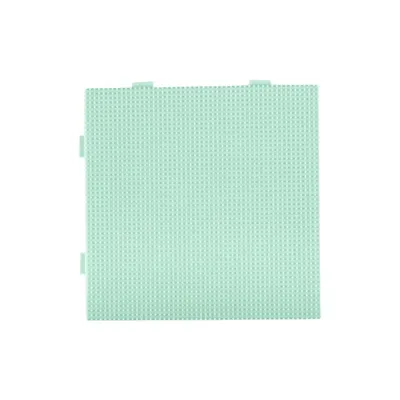
You should also avoid buying cheap, unbranded multi-packs of colored, opaque boards. These are often made from low-grade plastics that have a very low melting point. Not only do they prevent you from using the tracing method, but they are also highly prone to warping during your very first ironing session. A warped board will no longer sit flat on your table, causing beads to slide off the pegs during assembly.
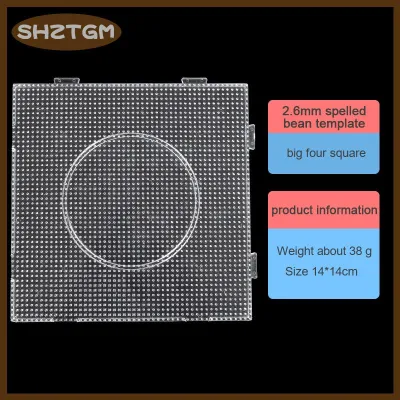
Another critical mistake is purchasing boards with non-standard peg spacing. The standard size for classic fuse beads (often called midi beads) is 5 millimeters in diameter. However, there are also mini beads (2.6 millimeters) and jumbo beads (10 millimeters) designed for different age groups and detail levels. If you accidentally buy a mini bead board for standard 5mm beads, the pegs will be too close together, and your beads will not fit. Always double-check the product specifications to ensure the board’s peg spacing matches the exact millimeter size of the beads you purchased.
How to Inspect Board Quality Before Use
Before you pour out your beads and begin your first project, take a few minutes to inspect the physical quality of your new board. Start by placing the board on a flat surface, such as a glass table or a sturdy desk. Press down gently on each of the four corners; if the board rocks, wobbles, or bows upward in the center, it is warped. A warped board makes bead placement frustrating and can cause your design to spill.
Next, run your fingertips lightly across the top of the pegs. The pegs should feel uniform in height and straight. Inspect the board closely under good lighting to ensure there are no missing, bent, or melted pegs from the manufacturing process. A single deformed peg can prevent a bead from sitting level, which can ruin the alignment of your entire design.
You should also verify the consistency of the peg spacing by looking down the rows from a flat angle. The rows and columns should form straight lines across the entire surface. If you notice any rows that curve or pinch together, the beads in those areas will crowd each other, making it difficult to iron them evenly.
Finally, examine the outer edges and interlocking tabs of the board. High-quality manufacturing leaves these edges smooth and clean. If you find sharp plastic burrs or excess plastic flashing left over from the molding process, you can carefully shave them off with a utility knife or smooth them down with a piece of fine-grit sandpaper. Ensuring these edges are clean will allow interlocking boards to snap together securely without any gaps or height differences.
Frequently Asked Questions (FAQ)
Can I use a perler bead board for other types of fuse beads?
Yes, you can use your board for other brands of fuse beads, provided that the bead size matches the peg spacing of the board. The vast majority of standard fuse beads on the market are midi beads, which measure 5 millimeters in diameter. If you buy third-party utility beads or alternative brands of 5mm fuse beads, they will fit well on a standard 5mm board. Always check the manufacturer specifications on the packaging to confirm the exact millimeter sizing before mixing brands.
Do I need to buy an interlocking board set as a beginner?
You do not strictly need an interlocking set for your very first project, but it is highly recommended for long-term value. A single, non-interlocking square board is suitable if you only want to try the craft once or twice. However, interlocking boards cost virtually the same amount and offer a clear upgrade path. Buying an interlocking board now means you will not have to replace your starter equipment when you eventually decide to build larger, multi-board designs.
How do I clean my perler bead board after a project?
To keep your board in optimal condition, clean it gently using a dry or slightly damp microfiber cloth to remove dust and plastic residue. Avoid using harsh chemical solvents, alcohol, or abrasive scrubbing pads, as these can degrade the plastic, melt the pegs, or scratch the transparent surface. If a peg accidentally gets slightly melted during ironing, do not force a bead onto it; instead, let the board cool completely, and use a fine utility knife to carefully trim away any excess melted plastic from the peg.
Community discussion
Share your experience or ask a question. Comments are reviewed before publication.