
Finding the perfect balance between structured scheduling and creative freedom can be incredibly frustrating when using a standard pre-bound planner. Selecting the best traveler’s notebook inserts for daily planning and productivity depends on matching your specific scheduling layout (such as daily, weekly, or monthly formats) with paper specifications that support your writing tools and physical dimensions that fit your cover. By combining specialized inserts, you can build a modular, highly personalized productivity system that adapts to your changing workflow. Unlike traditional bound books that force you into a single layout for an entire year, the traveler’s notebook system thrives on customization. If your planning needs change from month to month, you can simply swap out individual booklets without discarding your entire setup. This modularity makes it an exceptional tool for professionals, students, and creatives who require a flexible workspace that can evolve alongside their projects.
What layout formats work best for your daily planning style?
The ideal layout format depends entirely on how you visualize time and manage tasks, ranging from highly detailed daily pages to broad monthly overviews. Matching your layout to your cognitive style ensures you actually use the system instead of feeling overwhelmed or restricted by its structure.
Daily layouts are designed for time-blocking, hourly scheduling, and detailed task tracking. If your day is packed with meetings, appointments, and a long list of to-do items, a dedicated daily page provides the necessary breathing room. Many daily inserts feature a vertical timeline on one side and a blank or grid space on the other for notes, ideas, or rapid logging. This format is highly effective for busy professionals and students who need to map out their hours precisely. However, because a single daily page per day requires a lot of paper, these inserts typically cover only one to two months per booklet to keep the notebook from becoming excessively bulky.
Products mentioned in this guide
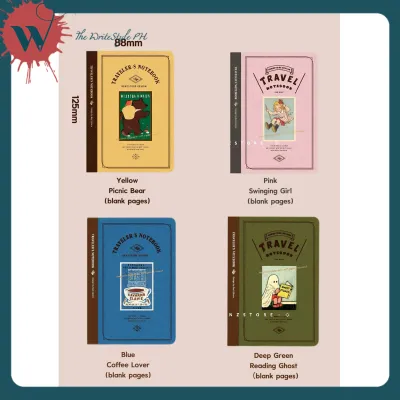
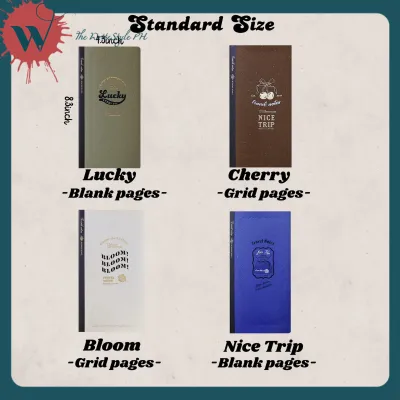
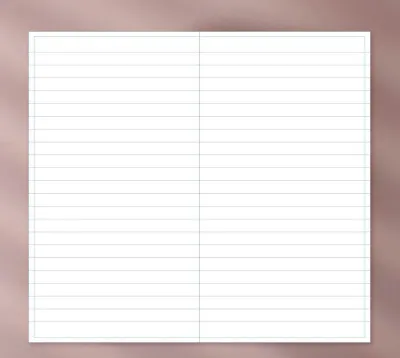
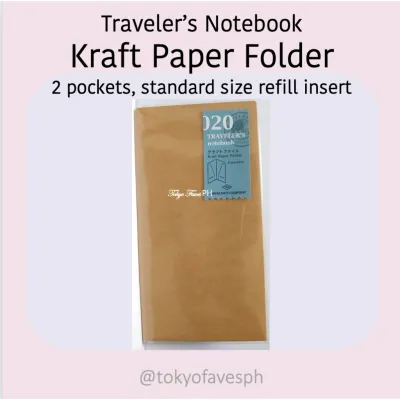
Prices are valid at publication and may change. Please refer to the product page for the latest price.
Weekly layouts offer a broader overview that is excellent for habit tracking, weekly review, and balancing multiple projects. There are several common weekly configurations to consider. A weekly vertical layout displays the entire week across a two-page spread with vertical columns for each day, which is ideal for visual time-blocking. A weekly horizontal layout provides horizontal blocks for each day, resembling a traditional diary, which works well for short summaries or journaling. The weekly plus memo layout features the days of the week on the left page and a grid or lined page on the right. This memo format is highly favored for productivity because it allows you to keep your schedule and your weekly task lists side by side.
Monthly overviews are thin, lightweight inserts that focus on long-term project mapping and deadline tracking. They provide a bird’s-eye view of your month, making them perfect for tracking travel, major milestones, birthdays, and recurring bills. Because they contain very few pages, they add almost no physical weight to your notebook, allowing you to keep a monthly calendar in your cover year-round as a permanent reference point.
When choosing between these layouts, you must also decide between undated and dated formats. Undated inserts offer maximum flexibility; if you skip a week of planning or go on vacation, you will not waste any pages, as you simply write in the dates as you go. This is ideal for irregular planners or those whose workloads fluctuate. Conversely, dated formats provide immediate structure and save setup time. They are excellent for forward planning, allowing you to flip ahead to a specific date months in advance to jot down a future commitment.
How do paper weight and grid style affect your writing experience?
Paper weight determines how well your pages handle different inks without bleeding, while the grid style dictates how you organize your visual layouts and text. Choosing the right combination of these two elements directly impacts both the legibility of your notes and the physical comfort of your writing sessions.

When evaluating inserts, checking the manufacturer specifications for paper weight, measured in grams per square meter (GSM), is crucial for ensuring compatibility with your preferred writing instruments. Ultra-lightweight papers (around 52 GSM to 60 GSM) are incredibly thin, allowing an insert to hold a high page count without adding bulk to your cover. However, these thin papers are prone to ghosting—where writing is visible on the reverse side of the sheet—and require testing with fountain pens, heavy gel pens, or markers to check for bleed-through and drying speed. Medium-weight papers (around 64 GSM to 80 GSM) offer a reliable balance, providing a sturdier feel and better resistance to ghosting while keeping the booklet relatively slim. Heavyweight papers (100 GSM to 120 GSM or more) are ideal if you enjoy using art mediums, thick felt-tip pens, or light watercolors, though they significantly limit the number of pages that can fit into a single booklet.
To find your ideal writing surface, it is highly recommended to perform a quick ink test on an inconspicuous back page of a new insert. Apply your most frequently used pens, highlighters, and markers, then observe how the paper handles the ink. Look closely for feathering (where the ink spreads along the paper fibers), bleed-through (where ink saturates to the other side), and the time it takes for the ink to dry completely to avoid smudging during rapid note-taking.
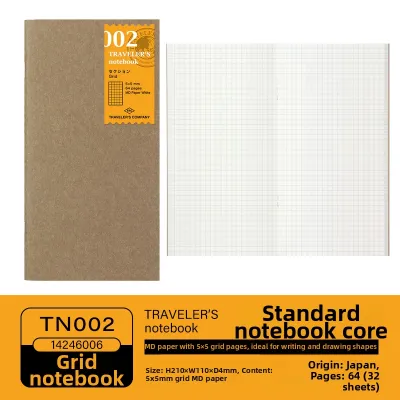
Grid styles provide the underlying structure for your layouts, and the right choice depends on how much guidance you prefer. Dotted pages offer subtle alignment points that are excellent for bullet journaling, drawing custom charts, or writing in straight lines, yet the dots virtually disappear when you look at the page as a whole. Grid (or graph) pages provide maximum structure, making them perfect for precise tracking, habit grids, and highly organized list-making. Lined (or ruled) pages are the traditional choice for long-form writing, journaling, and straightforward daily lists. Blank pages offer complete creative freedom, which is ideal for mind mapping, sketching, and unconstrained brainstorming where lines might feel restrictive.
Additionally, evaluating cream versus white paper tones can make a significant difference in your daily comfort. Cream or ivory paper is warmer and softer on the eyes, which helps reduce eye strain during extended planning sessions under harsh office fluorescent lights. White paper, on the other hand, provides high contrast and makes colored inks, highlighters, and decorative stickers stand out with vibrant clarity.
Which size and binding options ensure compatibility with your cover?
Selecting physically compatible inserts requires verifying the exact millimeter dimensions of your cover and choosing a binding style that allows the notebook to lie flat during use. An incorrect size or an overly rigid binding can cause the inserts to overhang the cover edges or strain the elastic tension bands.
Traveler’s notebooks are primarily distinguished by two classic sizes: Regular (Standard) and Passport. The Regular size typically measures approximately 110 mm x 210 mm. This tall, narrow format is highly efficient for vertical planning, listing daily tasks, and keeping detailed schedules without taking up too much desk space. The Passport size measures approximately 89 mm x 124 mm and is designed for maximum portability. It fits easily into a pocket or small bag, making it perfect for quick capture, shopping lists, travel logs, and minimal daily tracking. Always check the exact millimeter dimensions of your cover before purchasing third-party inserts, as standard book sizes like A5 (148 mm x 210 mm) or B6 (125 mm x 176 mm) will not fit a standard traveler’s notebook cover.
Binding styles play a critical role in how comfortable it is to write in your notebook. Saddle-stitched (stapled) inserts are the most common and practical choice. They are thin, lightweight, and naturally lay flat when opened, which is crucial for writing comfortably near the center fold. Perfect bound (glued) inserts look like miniature paperback books; while they can hold more pages, they often require you to train the spine to lay flat, and writing near the inner margin can be difficult. Spiral-bound inserts are generally incompatible with traveler’s notebook covers because the metal coils can wear down the leather and interfere with the elastic bands.
To properly attach your inserts without damaging the spine or overcrowding the cover, slide the elastic band of your cover through the exact center fold of the booklet. If you want to carry multiple inserts, avoid crowding a single band. Instead, use connecting bands (elastic loops) to join two inserts together, then slide them under the main cover band. This distributes the tension evenly and prevents the spine of your inserts from tearing. Limit your setup to three standard-thickness inserts to preserve the slim profile of the traveler’s notebook and ensure a comfortable writing surface near the edges of the pages.
How can you combine multiple inserts to build a complete productivity system?
Building an effective productivity system relies on stacking complementary inserts to handle different planning horizons and administrative tasks simultaneously within a single cover. By separating your high-level schedules from your daily scratchpads, you maintain a clean organizational structure without cluttering your active workspace.
A highly productive setup involves pairing three distinct inserts: a monthly calendar, a weekly or daily planner, and a freeform notes insert. Use the monthly insert to map out long-term deadlines, travel dates, and major events. This gives you a high-level overview of your availability. Next, use a weekly or daily insert for your immediate, actionable tasks and hourly schedules. Finally, keep a grid or blank insert at the back of your notebook for “brain dumps,” meeting notes, project brainstorming, or sketching. This separation ensures that your daily planning pages remain clean and focused, while your creative ideas and random thoughts have a dedicated space where they will not clutter your schedule.
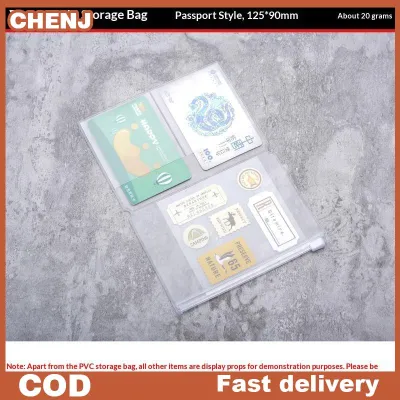
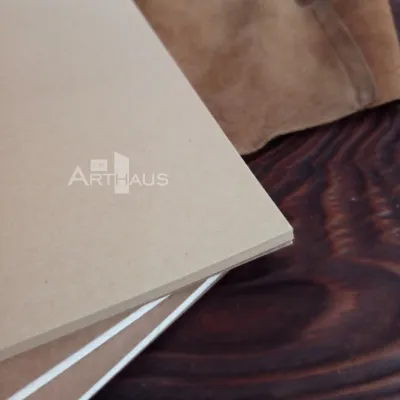
You can also integrate non-paper inserts to increase utility. A clear zipper pocket insert can hold pens, sticky notes, and paperclips, while a kraft paper folder is excellent for storing loose receipts, tickets, or business cards. These accessories transform your notebook from a simple planner into a functional, self-contained mobile office.
To maintain a comfortable writing experience, monitor the physical thickness of your notebook. Carrying more than three standard inserts can cause the cover to bulge (often called “alligator mouthing”), which makes it difficult to write flat on a desk and puts unnecessary strain on the elastic bands. When a daily or weekly insert is completely filled, remove it from your cover, label the spine with the date range, and archive it on a shelf. Replacing it with a fresh insert keeps your daily carry light, organized, and focused only on what is currently relevant.

Community discussion
Share your experience or ask a question. Comments are reviewed before publication.