
Selecting your first set of dual head acrylic markers requires evaluating three fundamental elements: the specific nib pairing, the opacity of the water-based acrylic emulsion, and a manageable initial color palette. Unlike traditional dye-based pens, these markers deposit a physical layer of pigmented acrylic polymer on top of the medium, making them highly versatile but also sensitive to surface texture and climate. By understanding how the tip shapes, valve mechanisms, and surface preparation interact, you can avoid common beginner pitfalls like clogged nibs, frayed tips, or streaky coverage.
To make an informed purchase, you must look beyond marketing buzzwords and focus on the technical specifications of the markers. A dual-head configuration offers two distinct line widths or styles in a single pen body, which maximizes your budget and saves storage space. However, because acrylic paint behaves differently than alcohol-based or water-based dye inks, your success will depend heavily on matching the marker’s physical properties to your intended art or craft surfaces.
Quick Summary: Key Priorities for Your First Set
When purchasing your first set of dual head acrylic markers, prioritize these three critical decision factors to ensure a satisfying creative experience:
Products mentioned in this guide
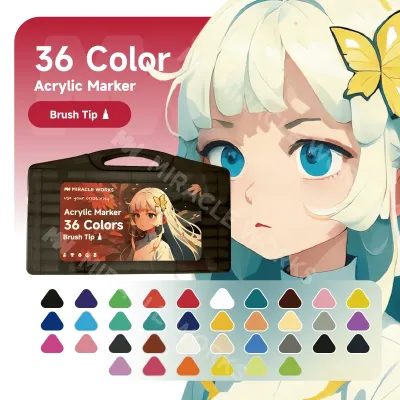
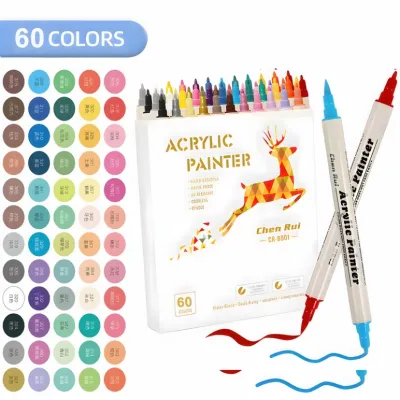
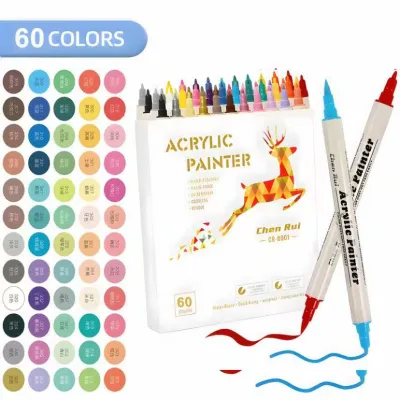
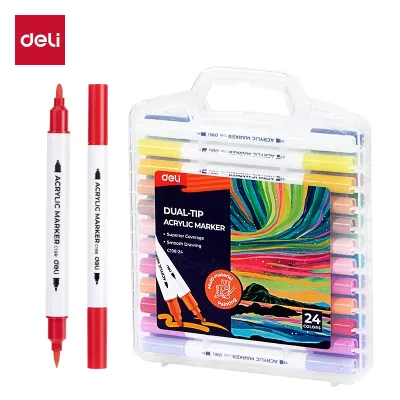
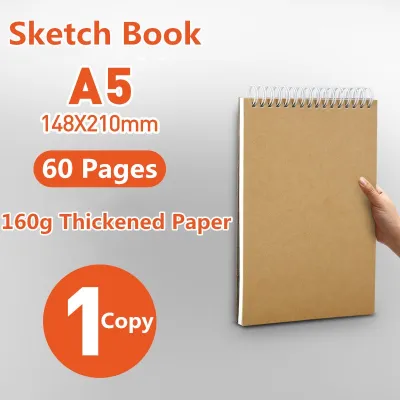
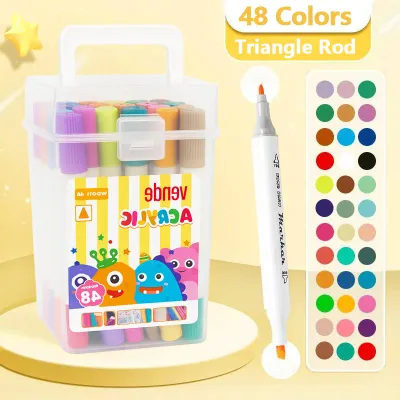
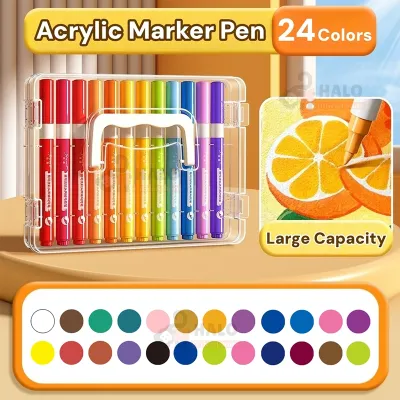
Prices are valid at publication and may change. Please refer to the product page for the latest price.
- The Right Nib Combination: Choose a pairing that matches your primary technique, such as a flexible brush tip for variable line weights alongside an extra-fine bullet tip for precise detailing.
- Ink Opacity and Flow System: Opt for high-pigment, water-based acrylic formulas that provide complete coverage on dark surfaces, backed by a reliable flow mechanism (either valve-action or cotton-core).
- A Manageable Set Size: Start with a balanced palette of 12 to 24 colors to prevent unused markers from drying out or separating before you can utilize them.
The ideal starter set is not determined by brand popularity or the sheer volume of colors in a box. Instead, the best choice depends entirely on your primary crafting or art medium—whether you plan to paint on smooth paper, rough canvas, raw wood, terracotta, or non-porous glass.
The Value of Dual Head Designs for Beginners
For those beginning their journey in stationery and crafts, dual head acrylic markers offer exceptional cost-effectiveness and space-saving utility. Purchasing a dual-head marker essentially provides two distinct tools for the price of one, reducing the physical footprint of your art kit. This design is highly practical for working in limited spaces or carrying your supplies on the go, as it cuts the number of physical pens you need to store and organize in half.

Beyond economic advantages, dual-head markers streamline your creative workflow. When illustrating or hand-lettering, you can switch seamlessly between blocking in large areas of color and rendering fine outlines simply by flipping the pen. This eliminates the disruption of searching for, uncapping, and priming a separate instrument, allowing you to maintain your creative momentum and complete projects more efficiently.
It is important to distinguish acrylic ink from other common marker types, such as alcohol-based markers. Acrylic ink consists of finely ground pigments suspended in a water-based acrylic polymer emulsion. When dry, this ink becomes highly opaque, water-resistant, and permanent, sitting on top of the surface rather than soaking through it. In contrast, alcohol inks are transparent dyes that blend effortlessly but bleed heavily through standard paper and are generally limited to paper-based media. Understanding this distinction ensures you are choosing the correct chemical medium for multi-surface crafting.
Core Features to Evaluate Before Buying
Navigating the stationery market requires a clear understanding of the mechanical and chemical specifications of dual head acrylic markers. Rather than relying on generic product descriptions, you should evaluate several core features to determine how a set will perform under real-world conditions.
Nib Combinations and Material Compatibility
The utility of a dual head acrylic marker is largely defined by its tip configurations. Manufacturers offer several standard pairings, each suited to specific artistic applications:
- Soft Brush + Fine Bullet: This is the most versatile configuration for modern calligraphy, illustration, and organic shapes. The flexible brush tip responds to hand pressure to create variable line weights, while the fine bullet tip (typically 0.7mm to 1.0mm) handles consistent linework and tight spaces.
- Fine Bullet + Broad Chisel: Ideal for graphic design, bold lettering, and filling large geometric areas. The flat, angled chisel tip allows for wide strokes or sharp edges depending on how you hold the marker, while the bullet tip provides a reliable utility point.
- Hard Dot + Extra-Fine Tip: Less common but highly specialized for journaling, decorative patterns, and precise detailing on small craft items.
Nib materials also dictate how well the marker handles different textures. Stiff polyester or nylon bullet and chisel tips are highly durable and can withstand rough surfaces like raw wood, terracotta, or heavy canvas without wearing down quickly. Conversely, soft felt brush tips provide excellent smoothness on smooth paper but can fray or pill if dragged across rough, abrasive textures.
Because “smoothness” is relative to the surface texture, always verify the recommended paper weight or surface preparation in the product details. For paper crafts, using a minimum paper weight of 200 gsm (grams per square meter) is highly recommended to prevent the water-based binder from warping or pilling the sheet during heavy application.
Ink Opacity, Flow, and Drying Time
The quality of the acrylic emulsion inside the marker determines the vibrancy and longevity of your work. High-quality markers feature a high pigment load, allowing the ink to cover dark backgrounds completely in one or two coats. When shopping, look for manufacturer specifications regarding pigment density, or read user feedback detailing how the colors perform when layered over black cardstock or dark painted surfaces.
Ink flow is governed by one of two internal mechanisms: valve-action or cotton-core. Valve-action markers require you to shake the pen to disperse the pigments and press down on the nib to pump ink from the reservoir. These systems feature an internal mixing ball (which rattles when shaken) and are excellent for keeping highly pigmented, thick acrylic inks well-mixed. Cotton-core markers, on the other hand, rely on capillary action; they are ready to use immediately without priming, but they may deliver slightly less opaque coverage and can dry out faster if left uncapped.
When evaluating user feedback, check for reports of leaking, dripping, or premature clogging. A poorly manufactured valve can fail, leading to sudden ink dumps that can ruin your artwork, while low-quality pigment grinding can cause the tip to clog permanently.
Additionally, keep in mind that drying time is highly variable. The water-based binder in acrylic markers dries through evaporation, which is heavily influenced by layer thickness, the porosity of the surface, and ambient environmental conditions. In tropical, high-humidity climates like the Philippines, wet paint layers may take slightly longer to cure fully. Avoid relying on exact drying times promised by manufacturers, and instead perform a gentle touch-test on a scrap piece of the same material before layering or handling your work.
Set Size and Color Selection
For your first purchase, a set of 12 to 24 colors is generally the most practical choice. This range typically includes the primary colors (red, blue, yellow), essential secondary colors (green, orange, purple), basic neutrals (black and white), and a small selection of earth tones, pastels, or metallic accents (such as gold and silver). This variety provides an excellent foundation for learning color mixing and layering without overwhelming your workspace.
Avoid the temptation to buy massive sets of 60, 80, or more colors for your first purchase. Acrylic paint is a chemical emulsion; if markers sit unused for months, the heavy pigments will settle and separate from the acrylic binder. Over time, this separation can cause the ink to dry out or clog the internal valves, rendering the markers useless before you have even uncapped them. Starting with a smaller set ensures you will actively use every color while the formulation is fresh.
Before finalizing your choice, check if the brand sells individual replacement markers or open-stock colors. You will naturally use white and black much faster than other colors for highlighting, outlining, and priming. Being able to purchase individual replacements prevents you from having to buy an entirely new multi-pack just to replace one or two heavily used colors.
Matching Markers to Your Art and Craft Surfaces
Acrylic markers are celebrated for their multi-surface compatibility, but their performance and durability vary significantly depending on whether the target material is porous or non-porous.
| Surface Type | Examples | Performance Characteristics | Preparation & Protection Requirements |
|---|---|---|---|
| Porous | Watercolor paper, canvas, raw wood, terracotta, cardboard | High adhesion; ink absorbs into fibers; fast drying; highly permanent once cured. | Minimal prep required; optional clear sealant to protect against dust and moisture. |
| Non-Porous | Glass, glazed ceramics, plastic, polished metal, phone cases | Ink sits entirely on top; smooth application; highly susceptible to scratching or peeling. | Clean thoroughly with isopropyl alcohol; mandatory clear varnish or sealant for high-wear items. |
| Semi-Porous | Matte plastics, primed wood, smooth leather | Moderate adhesion; paint clings to surface micro-textures; moderate scratch resistance. | Light sanding or priming recommended; protective sealant advised for handling. |
When working on porous surfaces, the water-based binder is absorbed into the material, locking the pigment particles into the surface fibers or pores. This creates a highly stable, permanent bond. On these surfaces, the paint dries relatively quickly and is highly resistant to smudging or lifting once cured.
On non-porous surfaces, the paint cannot penetrate the material and must rely entirely on surface adhesion. While the ink will dry and appear solid, it remains vulnerable to friction, moisture, and physical contact. If you paint a glass jar or a plastic phone case, the dried acrylic film can easily be scratched off with a fingernail or washed away with water unless it is properly protected.
Always check the product label for specific surface compatibility and adhesion claims. If you intend to decorate items that will be handled frequently, plan to apply a compatible clear acrylic sealer or varnish over the fully cured artwork. For functional ceramic or glass items, verify if the manufacturer provides specific baking instructions to heat-cure the paint, though you must note that standard craft acrylic markers are rarely food-safe and should never be applied to surfaces that directly contact food or beverages.
Testing and Maintaining Your Markers for Longevity
To maximize the lifespan of your dual head acrylic markers and ensure consistent performance, establish a proper routine for initial testing, routine maintenance, and climate-specific care.
Testing Your Markers Upon Arrival
When your marker set arrives, perform a systematic test on a scrap piece of paper to verify the integrity of each pen before starting a major project:
- Shake Thoroughly: Keep the cap securely fastened and shake the marker vigorously for 15 to 30 seconds. You should hear the internal mixing ball rattling, which indicates that the settled pigments are being redistributed through the liquid acrylic binder.
- Prime the Nib Safely: For valve-action markers, place the marker vertically on a scrap piece of heavy paper or cardboard. Gently press the nib down into the pen body, hold it for a second, and release. Repeat this pumping action slowly. Do not pump rapidly or press excessively hard, as this can compress the nib fibers or flood the feed mechanism, resulting in a large puddle of ink.
- Observe the Flow: Watch as the ink slowly saturates the white nib fibers. Once the tip is fully colored, draw a few test lines to check for consistent flow, opacity, and true-to-cap color representation. If the line is watery or streaky, shake the marker again to ensure the pigment is fully integrated.
Routine Maintenance and Cleaning
Proper storage is critical for dual-head designs. Always store your dual head acrylic markers horizontally. Storing them vertically causes gravity to pull the ink suspension toward the bottom tip, leaving the top tip dry and prone to clogging, while the bottom tip becomes oversaturated and prone to leaking. Horizontal storage keeps the ink pressure and pigment distribution balanced evenly across both ends of the pen.
If you notice a nib has stopped flowing smoothly or has accumulated dried paint residue around the collar, you can easily clean it. For markers with removable nibs, gently pull the nib out of the housing and soak it in warm water for a few minutes to dissolve the dried acrylic buildup. Let the nib dry completely on a paper towel before reinserting it into the marker. For non-removable nibs, gently wipe the exterior of the tip with a damp, lint-free cloth to clear away dried paint skin that may be blocking the ink flow.
Climate Considerations for Humid Environments
In tropical environments characterized by high humidity and warm ambient temperatures, such as the Philippines, maintaining your stationery requires extra diligence. Humid air can slow down the curing process of wet paint on your crafts, while high heat can accelerate the evaporation of the water binder inside uncapped markers.
Always press the caps back onto both ends of the marker immediately after use. Listen for a distinct, firm click to ensure an airtight seal. This prevents moisture exchange that can dry out the tips or, conversely, introduce excess ambient moisture that can degrade the acrylic emulsion. Additionally, store your marker sets in a cool, dry place away from direct sunlight to prevent the plastic barrels from warping and the paint suspension from separating prematurely.
Frequently Asked Questions (FAQ)
Can I use dual head acrylic markers on skin or fabric?
Standard dual head acrylic markers are formulated for crafts and are not cosmetic-grade products. They should never be used on the skin or for face and body painting, as the acrylic binder and pigments can cause skin irritation or allergic reactions. For fabric applications, acrylic ink will adhere to the fibers but will dry to a stiff, plastic-like texture. To make the design wash-resistant, you must allow the ink to cure completely and then heat-set it by ironing the reverse side of the fabric under a protective pressing cloth. Always check the manufacturer’s specific fabric-care and safety instructions before application.
How do I fix a dried-out acrylic marker nib?
If the nib of your marker has dried out due to exposure to air, you can attempt to revive it if the design allows for nib removal. Pull the nib out and soak it in warm water to dissolve the hardened acrylic binder, then dry it thoroughly before reinserting and priming it again. However, if the internal ink reservoir has completely solidified or the mixing ball is stuck fast inside the barrel and will not rattle when shaken, the chemical emulsion has permanently cured. In this scenario, the marker cannot be safely revived and must be replaced.
Do I need to seal my acrylic marker artwork?
Sealing is optional for indoor art created on paper, cardstock, or within sketchbooks, as these items are rarely subjected to handling or moisture. However, sealing is highly recommended for functional objects, outdoor crafts, or any artwork applied to non-porous surfaces like glass, plastic, or glazed ceramics. Before applying any clear varnish or acrylic spray sealant, ensure the ink is 100% cured, which typically takes 24 hours. Always test your chosen sealant on a small, painted scrap piece first to verify that the solvent in the spray does not dissolve, bleed, or smudge your finished design.
Community discussion
Share your experience or ask a question. Comments are reviewed before publication.