
To achieve clean, symmetrical stitches on checkered cotton fabric, look for a balanced plain weave or evenweave with a thread count of 20 to 30 threads per inch (TPI). This range provides a highly visible, regular grid that supports both surface embroidery and counted thread techniques without resisting your needle. The weave must be tight enough to hold consistent tension in an embroidery hoop under humid tropical conditions, yet open enough to prevent hand strain during long stitching sessions.
Choosing the wrong fabric can lead to puckered designs, distorted patterns, and wasted effort. By understanding how thread count, weave structure, and grid regularity interact, you can confidently select materials that elevate your needlework and ensure your finished pieces lie perfectly flat.
Understanding Fabric Count and Weave for Embroidery
In embroidery, thread count refers to the number of warp (vertical) and weft (horizontal) threads per inch or centimeter of fabric. A higher thread count means smaller gaps and finer threads, which increases needle resistance and requires thinner embroidery floss. Conversely, a lower thread count offers larger, more visible squares but can result in loose, unstable stitches if the weave is too open. For most checkered embroidery projects, a moderate thread count is ideal because it balances structural support with easy needle passage.
Products mentioned in this guide
![[SGS-Yellow] Checkered Fabric Cloth Textile Tela 60” width sold per yard](https://img.lazcdn.com/g/ff/kf/Sb1290738d18540b685fc8446f877f0940.jpg_400x400q80.jpg_.webp)
![[TCC] Checkered TCC Fabric Cloth Textile Tela 60” width sold per yard by Sew Wear Store](https://img.lazcdn.com/g/ff/kf/Sb841c8d49e4047959d1c2088d0d85483n.jpg_400x400q80.jpg_.webp)
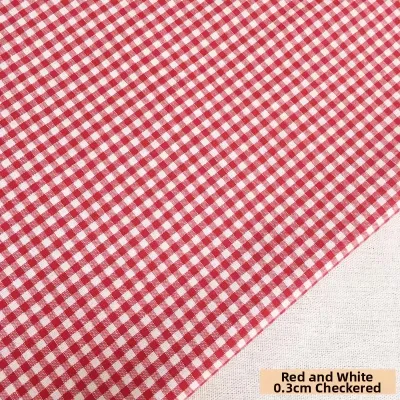
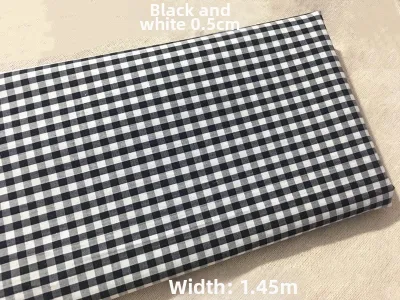
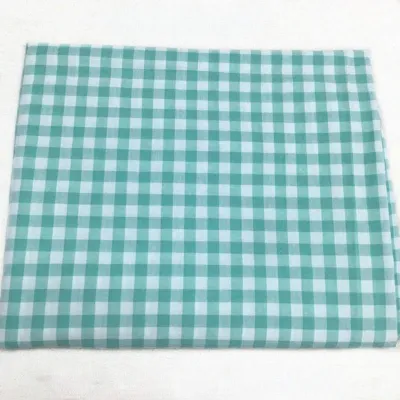
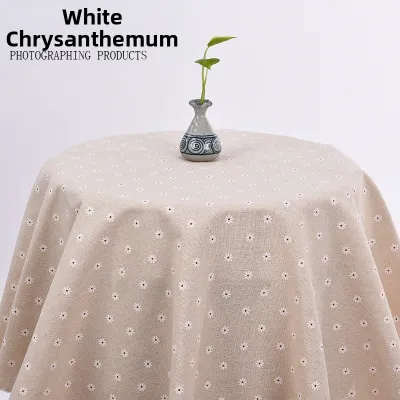
Prices are valid at publication and may change. Please refer to the product page for the latest price.
Plain weave and evenweave are the two primary structures you will encounter. Plain weave is the standard over-under pattern where warp and weft threads cross at right angles. In basic utility cottons, these threads may vary slightly in thickness, which can gently distort highly geometric designs. Evenweave fabrics are manufactured with the exact same number of threads per inch in both directions, using threads of uniform thickness. While evenweave is highly recommended for precise, counted work, plain weave remains highly accessible and works beautifully for freeform surface designs.
Weave tightness directly affects how well the fabric maintains hoop tension. In humid climates like the Philippines, natural cotton fibers can absorb moisture and expand, causing loose weaves to sag during long projects. A tight, stable weave prevents this distortion, keeping your checkered pattern square and ensuring that your background colors do not bleed visually through the gaps in your thread work.
Matching Specs to Your Embroidery Technique
Different embroidery styles require distinct fabric characteristics to achieve the best results. Matching your technique to the correct fabric specifications saves time and prevents structural issues later in your project.

Surface embroidery, such as gingham check embroidery or “chicken scratch,” relies on the checkered pattern itself as a template. For this style, you need a moderate thread count of 20 to 28 TPI where the colored squares are clearly defined and large enough to guide your needle. The weave should be balanced but pliable, allowing you to layer stitches over the checks without distorting the underlying fabric layers.
Counted thread work, such as cross-stitch executed over printed or woven checks, demands strict grid uniformity. Any variation in thread count or warp-to-weft ratio will cause your square motifs to look rectangular or skewed. For these projects, prioritize a dedicated evenweave structure where the thread count is perfectly matched in both directions.
| Embroidery Technique | Recommended Thread Count (TPI) | Preferred Weave Characteristics | Key Focus |
|---|---|---|---|
| Chicken Scratch / Gingham | 20 to 28 TPI | Balanced plain weave, distinct color blocks | Visible, crisp grid squares |
| Counted Cross-Stitch | 24 to 32 TPI | Strict evenweave, identical warp/weft | Perfect square symmetry |
| Freeform Surface Embroidery | 30 to 40 TPI | Tight plain weave, smooth surface | Needle glide and fabric stability |
How to Inspect Grid Regularity and Weave Tightness
Before purchasing fabric or cutting into your yardage, performing a few quick quality checks can save your budget from wasting ₱200 or more on unusable scraps. Inspecting the material in person or analyzing high-resolution photos helps verify its structural integrity.
Begin with a visual check under bright, direct light. Examine the intersections of the checkered pattern. If the lines curve, wave, or skew diagonally across the fabric, the material was likely pulled out of alignment during manufacturing or printing. Uneven dye penetration or blurry edges on printed checks will make counting threads difficult and lead to inconsistent stitch placement.
Next, perform a physical test for weave tightness. Gently pull the fabric diagonally (on the bias) and then along the grain. It should stretch slightly on the bias but remain firm and resistant along the warp and weft. Check the cut edges of the fabric; rapid, excessive fraying indicates a loose, unstable weave that will degrade during handling. Finally, hold the fabric up to a light source. You should see a uniform grid of tiny, pinprick gaps. Large, irregular gaps indicate poor weave consistency.
To verify if the checkered pattern aligns perfectly with the actual weave, pull a single thread near the cut edge. The thread should run precisely along the boundary of the colored checks. If the pulled thread cuts across the colored squares diagonally, the pattern is printed off-grain. This means your embroidery will either be crooked relative to the weave or crooked relative to the visual grid.
Reading Fabric Labels and Product Descriptions
When shopping in local craft shops or browsing online marketplaces, technical specifications are your best guide. Knowing how to interpret labels helps you avoid low-quality utility fabrics that are unsuited for detailed needlework.
Look for explicit terms on the product label, such as “100% cotton” and “woven gingham” rather than “printed gingham.” Woven patterns are naturally aligned with the grain because the grid is created by alternating colored threads during the weaving process. If the label lists a specific thread count (such as 28-count or 32-count), you can confidently calculate your stitch dimensions.
Be cautious of listings that rely on vague marketing terms like “premium quality,” “ultra-soft,” or “perfect for DIY” without providing actual thread counts, weave types, or material compositions. These descriptions often mask low-density utility fabrics that warp easily under hoop tension and fray rapidly at the edges.
If an online seller does not list the thread count or weave type, send a direct message to verify. Ask specifically: “Is the checkered pattern woven or printed?” and “What is the thread count per inch?” If they cannot provide these details, ask for a close-up photo of the fabric next to a physical ruler so you can manually count the threads in a one-inch span before finalizing your purchase.
Frequently Asked Questions (FAQ)
Can I use standard checkered tablecloth fabric for embroidery?
While you can stitch on household tablecloth fabric, it often presents structural challenges. Mass-produced tablecloths are frequently treated with heavy stain-resistant chemical finishes that stiffen the fibers and make needle penetration difficult. Additionally, their weave is typically looser and the grid regularity is lower than craft-grade cotton, which can lead to puckering and distorted designs once the fabric is removed from the embroidery hoop. For best results, stick to apparel-grade or craft-specific checkered cotton.
Does the fabric weight (GSM) matter as much as thread count?
Fabric weight, measured in grams per square meter (GSM), indicates the thickness and drape of the material, whereas thread count dictates stitch precision and needle resistance. A high-GSM fabric can still have a low thread count if it uses thick, coarse yarns. For embroidery, prioritize thread count and weave uniformity first to ensure your stitches sit correctly. Once those requirements are met, a medium weight of around 120 to 150 GSM provides the ideal balance of structural stability and ease of hooping.

Community discussion
Share your experience or ask a question. Comments are reviewed before publication.