
To paint glass successfully in the Philippines, you must select an acrylic paint formulated specifically for non-porous surfaces. Glass is completely smooth and non-porous, meaning it lacks the microscopic texture or “tooth” that standard paints need to grip. In a warm, highly humid tropical environment, moisture in the air can easily seep under a poorly bonded paint film, causing it to bubble, peel, or slide off entirely. Choosing the correct acrylic formula ensures your decorative vases, stained-glass panels, and custom glassware remain vibrant and intact over time.
While standard craft acrylics are excellent for paper, wood, or canvas, they are highly susceptible to damage when applied to glass. Without specialized binders, standard acrylics dry into a flexible, plastic-like sheet that sits loosely on top of the glass surface and can be peeled away with minimal effort. By understanding the chemical differences between paint formulas and knowing what to look for on product labels, you can confidently select a medium that establishes a permanent, durable bond with your glass projects.
Understanding Acrylic Formulas for Glass
Standard craft acrylics rely on simple water-based polymer emulsions that require a porous substrate to anchor themselves. When applied to glass, these paints cannot penetrate the surface, resulting in a weak physical bond that easily succumbs to friction, moisture, and temperature fluctuations. To overcome this, manufacturers develop specialized formulas containing adhesion promoters—such as silane coupling agents—that chemically bond with the silica in glass.
Products mentioned in this guide
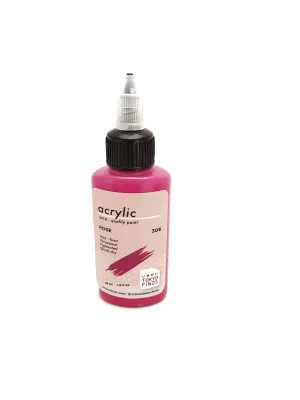
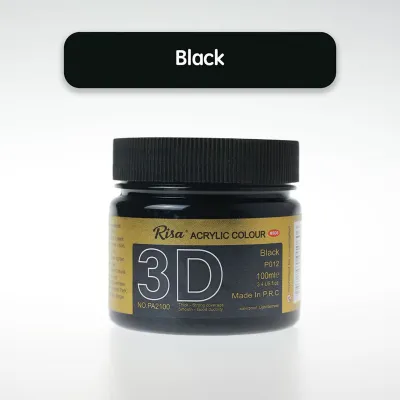
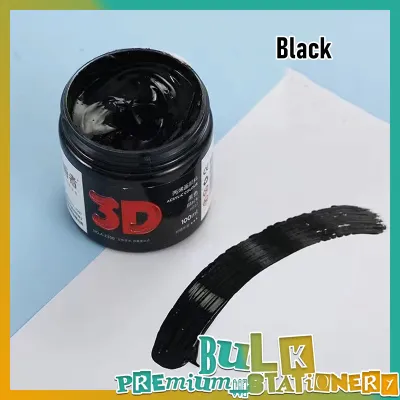
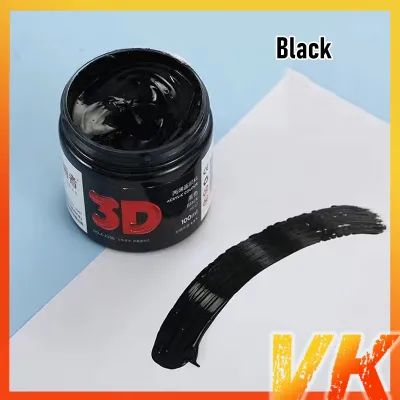
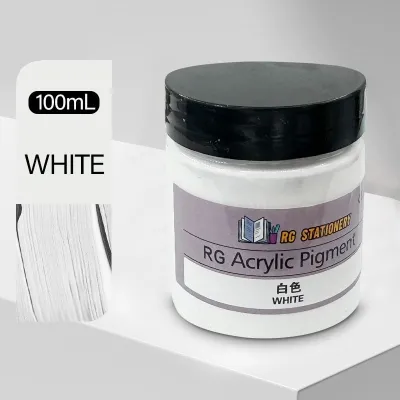
Prices are valid at publication and may change. Please refer to the product page for the latest price.
Multi-surface acrylic paints are a popular and versatile option for crafters. These water-based formulas are engineered with advanced acrylic polymers that allow them to adhere to both porous and non-porous surfaces, including glass, metal, and plastics. While multi-surface acrylics are highly accessible and easy to work with, they generally require a longer curing period or heat-setting to achieve their maximum durability and water resistance.
Acrylic enamel paints represent a more robust category specifically designed for glass and ceramics. These paints can be either water-based or solvent-based and cure to a exceptionally hard, glossy finish that closely mimics kiln-fired glaze. Enamel-based formulas offer superior scratch resistance and are highly durable, making them the preferred choice for items that will be handled frequently or exposed to occasional washing.
Solvent-based glass paints offer intense, jewel-like transparency and excellent water resistance, but they require specialized solvents like mineral spirits for cleanup. They also emit strong fumes during application and drying. When selecting your paint, always inspect the packaging for explicit terms such as “glass,” “enamel,” “porcelain,” or “multi-surface.” Do not rely on generic “acrylic” labels, even if the packaging displays illustrations of painted glassware, as these may still require specialized primers or sealers to adhere properly.
Key Selection Criteria for Glass Projects
When comparing different acrylic paint options for your glass projects, verifying medium compatibility is your first and most crucial step. Always check the manufacturer’s label to confirm the paint is rated for non-porous media. Some multi-surface paints are only rated for decorative glass that will not be handled or washed, while others are formulated to withstand regular handling and gentle cleaning.

Your choice of finish type will dictate the final aesthetic of your project. Gloss finishes provide a highly reflective, shiny surface that blends seamlessly with the natural sheen of glass. Satin finishes offer a soft, low-sheen alternative, while matte finishes deliver a modern, velvety, non-reflective look. For projects like privacy windows or decorative candle holders, frosted or etching-effect paints mimic the look of acid-etched glass, diffusing light beautifully without requiring harsh chemicals.
Transparency and opacity are equally important considerations depending on your design goals. Translucent or transparent glass paints allow light to pass through the pigment, making them ideal for suncatchers, lanterns, and faux stained-glass designs. Opaque formulas block light completely, providing solid, vibrant coverage that is perfect for detailed illustrative designs, solid backgrounds, or decorative bottles.
Washability and durability vary significantly across different paint lines. Rely strictly on manufacturer label claims rather than assuming all glass paints are waterproof. If you plan to paint an item that will require cleaning, look for formulas that explicitly state they are water-resistant or dishwasher-safe after curing. If the label is ambiguous, it is highly recommended to perform a small test patch on a scrap piece of glass, allow it to cure fully, and submerge it in water to verify its resistance to peeling.
Finally, consider the curing requirements of the paint. Some formulas are air-dry only, requiring up to 21 days to fully cross-link and harden. Others can be heat-set in a standard home oven to accelerate the curing process and maximize durability. Ensure you have the appropriate setup and time to accommodate the required curing method before committing to a specific paint.
Surface Preparation and Application Steps
The secret to a long-lasting paint bond on glass lies almost entirely in the preparation of the surface. Even invisible oils from your fingertips, dust, or manufacturing residues can create a barrier that prevents the paint from adhering. Begin by washing the glass thoroughly with warm, soapy water, rinsing it completely, and drying it with a lint-free cloth. Next, wipe the entire surface with rubbing alcohol to remove any remaining oils, and allow it to air-dry completely before painting.
If you must use standard acrylic paint due to color availability or project constraints, applying a dedicated glass primer or glass medium is essential. These primers act as a chemical bridge, bonding tightly to the glass on one side while providing a receptive, slightly textured surface for the standard acrylic paint on the other. Apply the primer in a thin, even coat and allow it to dry fully according to the manufacturer’s instructions before applying your colored paint.
Selecting the right application tools can make a significant difference on smooth, slippery glass surfaces. Soft synthetic-bristle brushes, such as those made of taklon, are ideal because they lay down paint smoothly without leaving heavy brush marks. Natural bristle brushes should be avoided as they can absorb water, swell, and shed hairs into your paint film. For stenciling or creating solid, textured backgrounds, high-density cosmetic sponges or foam pouncers work exceptionally well by dabbing the paint onto the surface rather than dragging it.
Always prioritize safety and ventilation during your painting sessions. While water-based multi-surface acrylics are generally low-odor, solvent-based formulas and glass enamels can emit strong fumes. Work in a well-ventilated area, preferably near an open window or outdoors, to ensure continuous airflow. Keep your paint containers tightly capped when not in use to prevent the paint from drying out prematurely in warm tropical temperatures.
Curing Methods and Long-Term Maintenance
Properly curing your painted glass is the final step in ensuring its long-term durability. Air-drying is the simplest method but requires patience. Place your painted item in a dust-free area with moderate humidity and leave it undisturbed for the full duration specified on the label, which can range from several days to three weeks. High humidity can prolong this process, so allow extra time if you are painting during the rainy season.
Bake-curing is a highly effective way to accelerate the curing process and achieve a exceptionally durable finish. To bake-cure your glassware safely and avoid thermal shock, place the painted item in a cold home oven. Turn the oven on and heat it to the temperature specified by the paint manufacturer—typically between 150°C and 175°C. Once the oven reaches the target temperature, bake the item for the recommended duration (usually 30 to 45 minutes). Turn off the oven and allow the glassware to cool completely inside the oven before removing it, as sudden temperature drops can shatter the glass.
For items that cannot be baked, such as large glass panels, mirrors, or items with plastic components, applying a compatible clear varnish or sealer can provide an extra layer of protection. Ensure the sealer is explicitly rated for glass and is compatible with your specific paint formula to prevent bubbling, yellowing, or cloudiness. Apply the sealer in thin, even coats, allowing adequate drying time between applications.
Even fully cured glass paint requires gentle maintenance to preserve its appearance. Hand-wash painted glassware in cool or lukewarm water using a mild dish soap and a soft sponge. Avoid abrasive scrubbing pads, harsh chemical cleaners, or soaking the items in water for extended periods. Unless the paint manufacturer explicitly certifies the cured paint as dishwasher-safe, keep painted items out of the dishwasher, as high heat and high-pressure water jets will eventually degrade the paint film.
It is critical to remember that most craft acrylics and glass paints are not certified food-safe. Never apply paint to surfaces that will come into direct contact with food or beverages. When decorating drinking glasses, plates, or bowls, leave a clearance of at least two centimeters from the rim, and only paint the exterior or underside of the glassware to ensure safety.
Sourcing and Verifying Products Locally
Finding genuine, high-quality glass paint in the local market requires careful sourcing. Visit reputable local art supply stores or authorized brand distributors to ensure you are purchasing authentic products. Extreme heat and humidity can degrade paint formulas over time, causing the emulsion to separate or spoil. Authorized retailers are more likely to store their inventory in temperature-controlled environments, preserving the quality of the binders.
When shopping on online marketplaces, exercise caution to avoid counterfeit or expired products. Verify the seller’s ratings, read recent customer reviews, and look for official store badges or authenticity guarantees. Be wary of listings with generic titles, unusually low prices, or poorly translated descriptions, as these may be standard acrylics deceptively marketed as specialized glass paint by unauthorized third-party sellers.
Upon receiving your paint, inspect the packaging carefully before opening. Check for a clear expiration date, batch number, and the specific “glass” or “multi-surface” designation on the label. Shake the bottle thoroughly to check for excessive separation; if the paint has separated into a hard, dry clump and a clear liquid that cannot be mixed back together, it may have been stored improperly or exposed to extreme heat during transit, and should be returned.
Frequently Asked Questions (FAQ)
Can I use regular acrylic paint on glass if I seal it?
While applying a clear sealer over standard acrylic paint can provide temporary protection, it does not guarantee long-term durability on glass. Standard acrylics lack the specialized binders required to chemically bond with non-porous surfaces. Over time, moisture, humidity, or physical handling can cause the paint layer underneath the sealer to lift, bubble, and peel away from the glass. For lasting results, it is always best to use a dedicated glass or multi-surface acrylic paint.
Is acrylic paint on glass dishwasher safe?
Most hand-painted glass items are not dishwasher safe and should be washed gently by hand. The high heat, harsh detergents, and high-pressure water sprays inside a dishwasher can quickly degrade the paint film, causing it to chip or peel. Only put painted glassware in the dishwasher if the paint manufacturer explicitly certifies the cured product as dishwasher-safe on the product label, and always follow their specific curing instructions beforehand.
How do I fix mistakes or remove wet acrylic paint from glass?
If you make a mistake while painting, wet acrylic paint can be easily wiped away using a damp cloth, a cotton swab dipped in water, or rubbing alcohol. If the paint has already dried but has not yet cured, you can carefully scrape it off the glass using a plastic scraper, a razor blade held at a flat angle, or a toothpick, taking care not to scratch the glass surface. For fully cured paint, you may need to apply a specialized paint remover or solvent to soften the film before scraping.

Community discussion
Share your experience or ask a question. Comments are reviewed before publication.