
Starting your art journey with alcohol markers is an exciting step, but finding the right starter set in the Philippines requires looking closely at key specifications rather than just buying the largest or cheapest option. To make a smart purchase, you must evaluate dual-tip versatility, ink formulation labels, color palette usability, and paper compatibility. Because the local tropical climate features high humidity and warm temperatures, understanding how these factors affect ink evaporation and storage is essential for protecting your investment.
By focusing on verifiable product specifications and practical testing methods, you can select a marker set that fits your budget while delivering smooth, blendable results. This guide breaks down the essential technical details, paper requirements, and buying strategies to help you build your ideal artistic toolkit.
Core Selection Standards for Beginner Marker Sets
Before purchasing your first alcohol marker set, you must understand the core physical and chemical specifications that dictate how these tools perform. The most critical hardware decision is the nib configuration. Dual-tip designs are the standard for modern illustration because they offer two distinct tip shapes on a single marker body. This configuration provides maximum versatility, allowing you to switch between broad color washes and fine detail work instantly without needing to buy separate pen collections.
Products mentioned in this guide
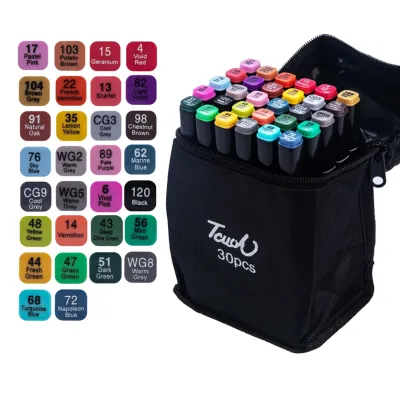
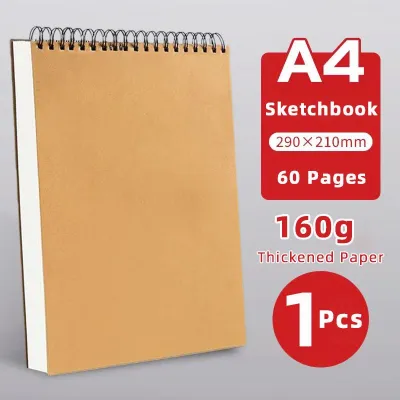
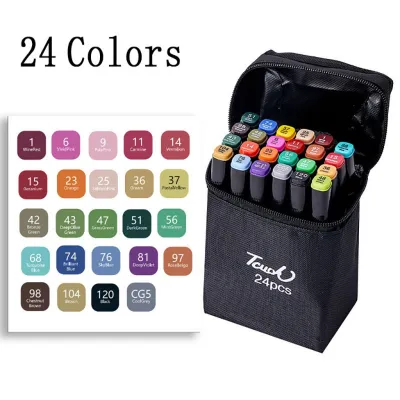
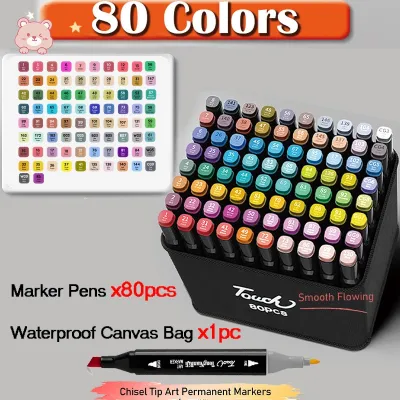
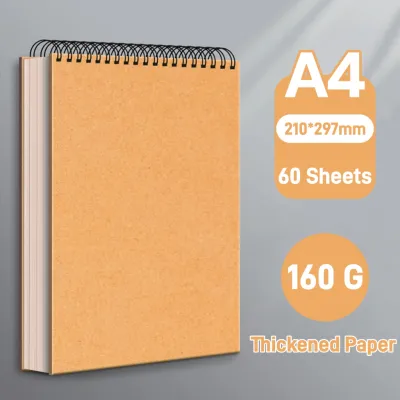
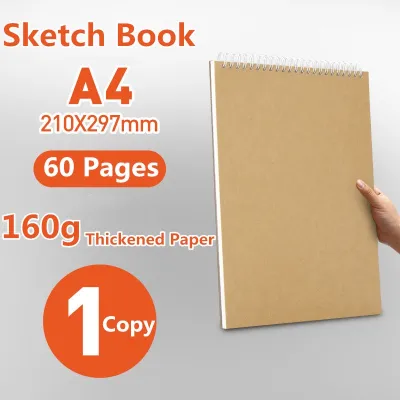
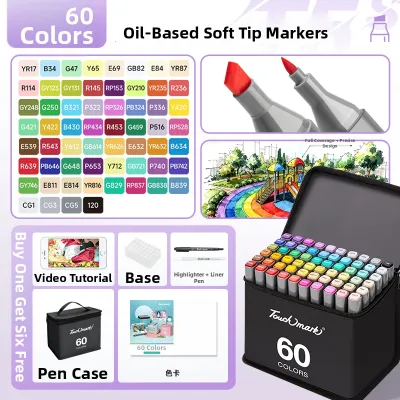
Prices are valid at publication and may change. Please refer to the product page for the latest price.
Ink capacity and refillability are equally important factors that impact the long-term value of your set. While many entry-level marker sets are designed to be disposable once the ink runs dry, some manufacturers offer refillable ink bottles and replacement nibs. When browsing product listings on e-commerce platforms, look closely at the packaging or product descriptions for explicit mentions of refill options. Opting for a refillable system is more sustainable and cost-effective over time, as purchasing a small bottle of refill ink is significantly cheaper than replacing an entire marker.
Another common beginner mistake is assuming that a higher color count automatically translates to a better set. Many large, budget-friendly sets containing 80, 100, or more markers are filled with highly saturated, repetitive shades that are difficult to blend. For a beginner, a massive color count can lead to decision paralysis and wasted ink. A smaller, well-curated palette of 24 to 36 markers that includes a balanced mix of primary colors, secondary colors, and neutral tones is far more useful for learning shading, color theory, and layering techniques.
Understanding Nib Shapes and Ink Formulations
The shape of your marker’s nib directly influences your drawing style, line control, and blending capability. Most beginner-friendly dual-tip markers feature a combination of a broad chisel tip and either a fine bullet tip or a flexible brush tip.

- Broad Chisel Nibs: These feature a wide, angled edge that is ideal for filling in large background areas quickly. By rotating the marker, you can also use the sharp point of the chisel for medium-width lines and geometric shapes.
- Fine Bullet Nibs: These are rigid, rounded tips that behave similarly to a standard felt-tip pen. They are excellent for precise outlines, tight details, and consistent line weights, though they do not allow for expressive line variation.
- Brush Nibs: These are flexible, tapered tips made of rubberized foam or high-quality fiber that mimic a traditional paintbrush. They respond dynamically to hand pressure, allowing you to transition seamlessly from thin lines to thick strokes, making them the gold standard for smooth gradients and organic blending.
To ensure you are buying genuine alcohol-based markers rather than water-based alternatives, you must carefully check the product labels and specifications. Alcohol-based inks use an alcohol solvent (such as ethanol or isopropyl alcohol) to carry the dye. This formulation dries almost instantly on the page, allowing you to layer colors without warping the paper. Water-based inks, conversely, dry slowly and can easily tear or pill the paper fibers when layered. Look for explicit terms on the barrel or packaging such as “alcohol-based,” “permanent ink,” or “solvent-based.”
While manufacturers often advertise “effortless blending,” you should verify these capabilities through observable testing rather than taking marketing claims at face value. A true alcohol marker allows you to blend two colors smoothly by applying a lighter shade over a darker shade while the ink is still slightly damp on the paper. The alcohol solvent in the lighter marker temporarily reactivates the wet dye of the darker color, allowing the pigments to mix seamlessly without leaving harsh, visible stroke lines.
Evaluating Color Range and Set Sizes
When selecting your first set, you must match the size of the collection to your specific project goals and skill level. Starter sets of 24 to 36 markers are highly recommended for beginners because they encourage you to practice color mixing and layering. By layering a yellow marker over a blue one, or a light grey over a vibrant red, you can create custom shades and realistic shadows without needing a dedicated marker for every single hue. Comprehensive sets of 72 or more colors are best reserved for advanced projects where highly specific, subtle color gradations are required.
If you have a specific art genre in mind, look for specialized color families rather than a generic rainbow set.
- Portrait and Character Art: Seek out sets labeled as "skin tones" or "portrait sets," which feature a range of warm peaches, deep browns, soft pinks, and cream undertones.
- Landscape and Nature Art: Look for sets rich in earth tones, including various shades of forest green, olive, warm ochre, and sky blue.
- Manga and Anime Illustration: Vibrant primary sets with a strong selection of bright, saturated colors are ideal for this style.
- Industrial Design and Architecture: Grayscale sets (including cool greys, warm greys, and neutral greys) are essential for rendering metallic surfaces, shadows, and structural forms.
To maintain an efficient workflow, ensure the markers feature clear color-coded caps and printed barrel labels. The caps should display an alphanumeric code (such as B24 for a specific shade of blue or YG03 for a yellow-green) that corresponds to a standardized color system. Because the color of the plastic cap rarely matches the ink on paper perfectly, you should always create a physical swatch card on your preferred drawing paper. Organizing your markers numerically and matching them to your swatch card prevents mistakes and saves time during active drawing sessions.
Paper Compatibility and Managing Ink Bleed-Through
The performance of an alcohol marker is heavily dependent on the paper medium you use. Standard copy paper (typically 70 to 80 gsm) is highly absorbent and lacks a protective coating, which causes the alcohol ink to spread rapidly beyond your lines—a phenomenon known as “feathering.” Furthermore, thin paper allows the ink to soak straight through to the other side, wasting valuable ink and potentially staining your workspace.
To achieve smooth blends and crisp lines, you must use paper specifically designed for alcohol markers or heavy cardstock.
- Marker Paper (75 to 100 gsm): This specialized paper features a smooth, bright white surface and a thin barrier coating on the back. The coating prevents the ink from soaking through, keeping the wet solvent on the surface longer so you can blend colors easily while using less ink.
- Bristol Board or Heavy Cardstock (200 gsm or higher): This thick, smooth paper absorbs a significant amount of ink without warping or bleeding through easily, making it excellent for finished, high-contrast illustrations. Avoid textured watercolor papers, as their rough surface can quickly fray delicate marker nibs and absorb excessive amounts of ink.
When testing a new marker and paper combination, observe how the ink behaves on a scrap piece of paper. If you notice the ink pooling on the surface without drying, the paper may have an excessively plasticized coating that prevents absorption. If the ink spreads like a spiderweb, the paper fibers are too loose. Because alcohol ink is designed to penetrate paper to facilitate blending, some level of bleed-through is normal. Always place a silicone bleed-proof mat, a plastic sheet, or a thick piece of scrap cardstock directly beneath your working page to protect your desk or the subsequent pages of your sketchbook.
Building Your Shortlist: Budget and Value Checks
To find the best value on e-commerce platforms in the Philippines, you should establish a structured comparison framework rather than relying on sponsored search results or unverified reviews. Start by calculating the cost-per-marker for each set on your shortlist. To do this, divide the total price of the set in ₱ by the number of markers included. For example, a ₱600 set of 24 markers costs ₱25 per marker, while a ₱1,200 set of 40 markers costs ₱30 per marker. This simple calculation allows you to compare different brands and set sizes objectively.
Next, verify the authenticity of the seller and the quality of the included accessories. Look for reputable online stationery stores or official brand flagships that offer clear return policies in case any markers arrive dried out or damaged. A high-quality starter set should ideally include a durable, zippered carrying case to keep your markers organized and protected from dust. Some sets also include blank swatch cards, which are highly useful for creating your physical color reference guides.
When browsing product listings, watch out for common red flags that indicate low-quality or unreliable products. Avoid listings that omit crucial technical details, such as whether the nibs are made of flexible brush fibers or rigid bullet tips. Be skeptical of listings that use generic terms like “sketch pen” without explicitly confirming that the ink is alcohol-based, as these may contain cheap water-based inks that do not blend. Finally, steer clear of products with unverified safety claims or those that lack clear manufacturer branding, as these markers may emit strong, unpleasant chemical fumes that make drawing uncomfortable in unventilated spaces.
Frequently Asked Questions (FAQ)
How to Store Markers to Prevent Drying Out
To maximize the lifespan of your alcohol markers, you should always store them horizontally. Because dual-tip markers have ink reservoirs feeding both ends, horizontal storage ensures that the ink remains evenly distributed between the two nibs. If you store them vertically, gravity will pull the ink down to the bottom tip, causing the top tip to dry out and the bottom tip to become oversaturated, which can lead to leaks and pooling when you open the cap.
Additionally, keep your marker storage case in a cool, dry place away from direct sunlight, windows, and heat sources. The warm, tropical climate of the Philippines can accelerate the evaporation of the alcohol solvent inside the marker barrels. Always ensure that you press the caps on firmly until you hear a distinct clicking sound, which confirms an airtight seal that prevents the solvent from escaping.
What to Do If a Marker Nib Becomes Frayed
If you notice that a marker nib has become frayed, split, or fuzzy, first check the manufacturer’s packaging or official product description to see if the model supports replaceable nibs. If replacement nibs are available, you can easily swap them out. Use a pair of dedicated nib tweezers to gently grasp the base of the damaged nib and pull it straight out of the marker barrel. Slide the fresh replacement nib into the opening until it is firmly seated.
After replacing the nib, store the marker horizontally for five to ten minutes to allow the ink to naturally saturate the new tip before you begin drawing. If your marker model does not support replaceable nibs, you can use fine tweezers to gently rotate the nib to expose a less-worn side, or use small, sharp scissors to carefully trim away any loose, frayed fibers. Never force a non-compatible nib into a marker barrel, as this can damage the internal ink feed system.
Community discussion
Share your experience or ask a question. Comments are reviewed before publication.