
To paint rubber shoes successfully without peeling or cracking, you need a paint formulation that matches the flexibility of rubber. Specialty shoe paint formulated with flexible acrylic resins is the most reliable option, while standard acrylics and fabric paints require specific modifiers or surface preparation to adhere properly. Choosing the wrong paint type often results in a flaking mess after just a few steps, especially in warm, humid climates where footwear undergoes constant flexing and environmental stress.
Why Rubber Resists Standard Paint Adhesion
Rubber is a highly challenging material for paint adhesion due to its physical and chemical properties. Unlike canvas or wood, rubber is non-porous, meaning it lacks the microscopic pores or fibers that allow paint to sink in and form a mechanical bond. Instead, paint applied to rubber sits entirely on the surface, relying solely on chemical adhesion to stay in place.
Furthermore, rubber is designed for extreme flexibility. Every time you take a step, the rubber sole, toe cap, or trim of your shoe bends, stretches, and compresses. Standard paints dry into a rigid, plastic-like film that cannot stretch along with the rubber. When the shoe flexes, this rigid paint film shears away from the moving surface, leading to immediate cracking and peeling.
Products mentioned in this guide

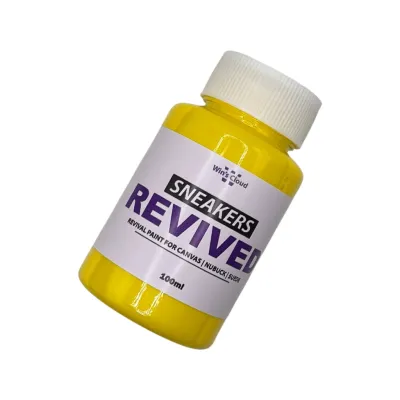
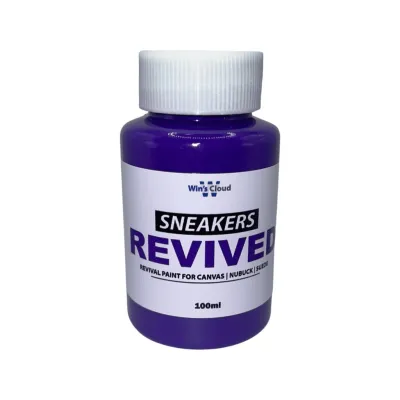

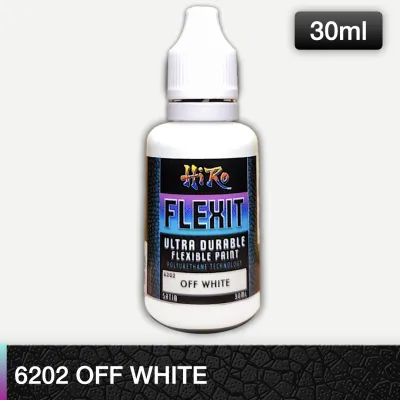
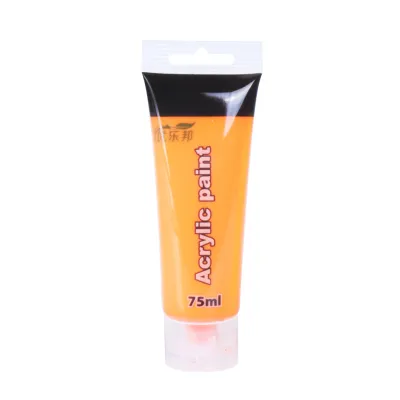
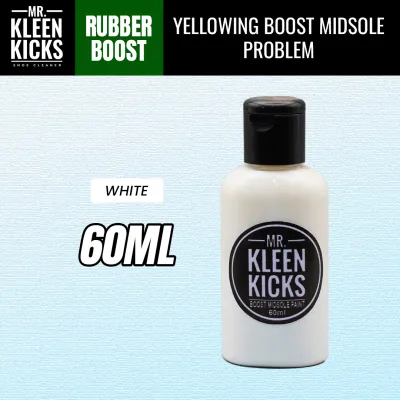
Prices are valid at publication and may change. Please refer to the product page for the latest price.
Manufacturing processes also leave behind invisible barriers on new rubber shoes. Factory release agents, silicones, and protective oils are applied to molds so the shoes can be easily removed during production. These substances remain on the finished product, creating a slick barrier that actively repels liquid paint and prevents any meaningful bonding.
Evaluating Paint Formulations for Rubber Surfaces
To overcome these natural barriers, you must evaluate paint formulations based on two primary decision factors: flexibility and adhesion promotion. The ideal paint must dry into an elastomeric film that can stretch and contract repeatedly without losing its grip on the non-porous rubber substrate.

Standard and Flexible Acrylic Paints
Standard craft or wall acrylic paints are generally unsuitable for rubber shoes when used straight from the bottle. These paints dry into a relatively stiff polymer film that is prone to cracking on high-flex areas like the toe box crease. If you attempt to use standard acrylics, you must mix them with a specialized flexible medium or fabric medium to increase their elasticity.
When shopping for acrylics, look closely at the manufacturer’s packaging for specific label claims. Search for terms such as “flexible,” “multi-surface,” or explicit compatibility with rubber and synthetic plastics. These formulations contain plasticizers that prevent the dried paint from becoming brittle over time.
Even with flexible acrylics, you must verify the paint’s performance through a manual test. Applying a thin layer to a scrap piece of similar material and bending it after drying will reveal whether the paint film can handle the mechanical stress of daily wear.
Fabric Paints
Fabric paints are engineered specifically for flexibility, allowing them to bend with garments without cracking. However, their primary design intent is to penetrate porous, woven fibers like cotton or canvas. When applied to smooth, non-porous rubber, fabric paint cannot sink into the material, which often leads to poor adhesion.
If you apply fabric paint directly to a rubber toe cap or sole, the paint may peel off in large sheets once dry. The formulation lacks the specific adhesion promoters needed to grip synthetic polymers. Therefore, fabric paint is only viable if the rubber surface is thoroughly textured, primed, or if you are working on a hybrid shoe where the paint can bleed slightly into adjacent canvas sections.
For hybrid footwear, such as canvas sneakers with rubber toe caps, you must treat the two materials differently. While fabric paint works beautifully on the canvas upper, the rubber portions will require a dedicated primer or a different paint formulation altogether to ensure a lasting bond.
Specialty Shoe and Rubber Paints
Specialty shoe paints are engineered specifically for footwear customization and restoration. These formulations utilize advanced acrylic-polyurethane resins that offer both exceptional flexibility and strong chemical adhesion to synthetic materials, including various types of rubber and leather.
The primary advantage of specialty shoe paint is the inclusion of built-in adhesion promoters. These chemical agents help the paint film bite into the non-porous surface of the rubber, creating a durable bond that resists scuffing and peeling. This makes them highly suitable for high-wear areas that experience constant bending and impact.
Before purchasing, always verify the manufacturer’s stated compatibility with the specific type of rubber you plan to paint. Natural rubber, synthetic rubber, and thermoplastic rubber (TPR) have slightly different chemical structures, and some specialty paints require a dedicated adhesion promoter or primer to work effectively on certain synthetic blends.
While specialty shoe paints offer the highest success rate, they do come with trade-offs. They are generally more expensive than standard craft acrylics and may have a more limited color range at local stationery shops or online marketplaces. Additionally, some formulations require specific curing processes, such as heat-setting or extended drying times, to achieve their full durability.
Surface Preparation and Sealing for Lasting Adhesion
Regardless of the paint formulation you choose, the success of your project depends heavily on surface preparation. You must begin by thoroughly cleaning the rubber to remove all dirt, oils, and factory release agents. Scrub the surface with mild soapy water, followed by a wipe-down using a compatible solvent like isopropyl alcohol, checking first to ensure the solvent does not melt or discolor the specific rubber compound.
Once the surface is clean and dry, you must create a mechanical key through texturing. Lightly scuff the rubber using fine-grit sandpaper, such as 400-grit or 600-grit, or a medium abrasive pad. This process creates microscopic scratches that give the paint a physical structure to grip, but you must be careful not to sand too deeply, which could weaken the structural integrity of the shoe.
After texturing, apply a thin, even coat of a flexible primer designed specifically for rubber or plastics. The primer acts as a bridge, bonding chemically to the rubber while providing a receptive surface for the paint layers. Apply your chosen paint in multiple thin coats rather than one thick layer, allowing each coat to dry completely to build a strong, flexible paint film.
Finally, protect your work by applying a flexible topcoat or sealer. This final layer shields the painted surface from moisture, dirt, UV exposure, and physical abrasion. In tropical environments with high humidity and frequent rain, a high-quality sealer is essential to prevent the paint from softening or peeling over time.
You must establish clear stop conditions during the preparation phase. If you notice the rubber softening, becoming sticky, or dissolving when you apply a cleaning solvent or primer, stop the process immediately. This reaction indicates that the chemical composition of the shoe is incompatible with your preparation materials, and continuing will permanently damage the footwear.
Decision Checklist and Verification Steps
To ensure a successful painting project, follow this structured workflow to select, test, and apply your materials:
First, match your paint selection to the shoe’s primary material and high-flex zones. If you are painting the highly flexible mid-sole or toe crease, prioritize specialty shoe paints or acrylics mixed with a flexible medium. For low-flex decorative areas, a high-quality multi-surface acrylic may suffice if properly primed.
Second, always conduct an inconspicuous patch test before painting the entire shoe. Apply a small amount of primer, paint, and sealer to a hidden area, such as the inner side of the heel or the tongue. Allow the test patch to cure fully according to the manufacturer’s instructions, then flex the material vigorously and scratch it gently with a fingernail to verify adhesion and flexibility.
Third, read and follow the manufacturer’s instructions regarding curing times and environmental conditions. High humidity can significantly extend drying and curing times, so allow extra time between coats if you are working in a humid environment. Avoid rushing the process, as uncured paint layers will trap moisture and fail prematurely.
Finally, evaluate the scope of your project realistically. Customizing a small logo or adding accent lines on low-wear areas has a much higher success rate than attempting a full-color change on high-wear soles. Managing your expectations and focusing on areas less prone to heavy scraping will ensure your customized rubber shoes look great for a long time.
Frequently Asked Questions (FAQ)
Can I use regular wall or craft acrylic paint on rubber soles?
Regular wall or craft acrylic paints are not recommended for rubber soles because they lack the necessary flexibility and adhesion promoters. When applied to a high-flex area like a shoe sole, these paints dry into a rigid film that will quickly crack, flake, and peel off after just a few steps. If you must use standard acrylics, you must mix them with a flexible medium and apply a dedicated rubber primer first to improve adhesion.
Do I need to sand rubber shoes before painting them?
Yes, light sanding is a critical step when painting rubber shoes. Because rubber is smooth and non-porous, paint cannot easily grip the surface. Lightly scuffing the area with fine-grit sandpaper (400 to 600 grit) creates microscopic texture that allows the paint to form a strong mechanical bond. Be sure to wipe away all sanding dust with a clean, damp cloth and let the shoe dry completely before applying any paint.
How long should I wait before wearing painted rubber shoes?
You should wait for the paint to cure completely, which is different from being dry to the touch. While the paint may feel dry within a few hours, it can take anywhere from 24 to 72 hours to fully cure and establish a durable chemical bond with the rubber. Wearing the shoes too early, especially in humid conditions, can cause the paint to smudge, crack, or peel. Always check the paint manufacturer’s guidelines for specific curing times.
Community discussion
Share your experience or ask a question. Comments are reviewed before publication.