
Selecting the right personalized tracing pad with a name for your child’s handwriting practice in the Philippines requires balancing format, durability, and educational design. Personalized tracing pads feature the child’s own name printed directly on the practice lines, transforming repetitive writing exercises into an engaging, high-ownership activity. When children see their own names on the page, they develop a stronger connection to the writing process, which can significantly boost their focus and motivation. However, because these items are custom-made, parents and educators must carefully evaluate the physical specifications before ordering to ensure the product supports the child’s developmental stage and withstands daily use.
To make an informed decision, you must choose between disposable paper workbooks and reusable tracing boards, while paying close attention to paper weight, ruling styles, and material safety. In a tropical climate where humidity can affect paper integrity and marker performance, selecting the right materials is essential for a frustration-free learning experience. This guide outlines the critical criteria for evaluating, ordering, and maintaining a custom name tracing pad to help your child build confident penmanship at home or in the classroom.
Understanding Tracing Pad Formats for Handwriting Practice
When shopping for a personalized tracing pad, the first decision is choosing the physical format that matches your child’s learning style, practice frequency, and your household budget. The two primary formats available from custom stationery makers are disposable paper pads and reusable tracing boards, each offering distinct advantages and trade-offs.
Products mentioned in this guide
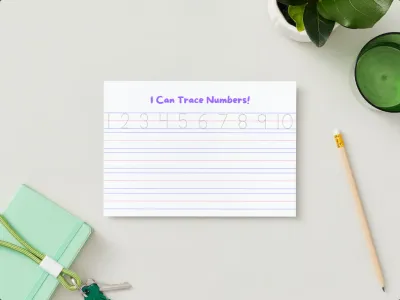
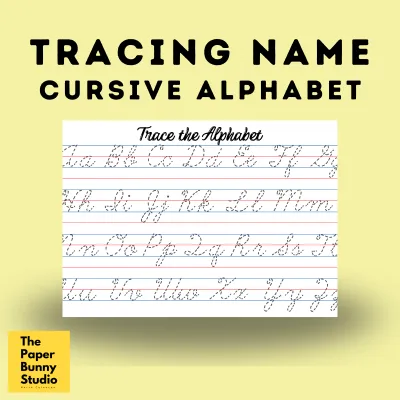
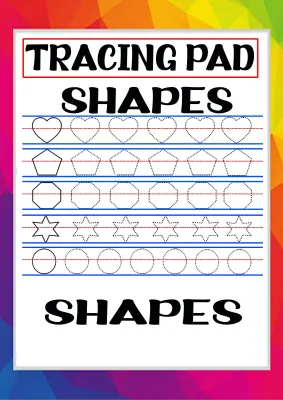
Prices are valid at publication and may change. Please refer to the product page for the latest price.
Disposable paper tracing books or pads are the traditional choice for structured, sequential learning. These pads typically consist of multiple paper sheets bound together, allowing children to practice their names and letters page by page. When evaluating paper pads, the weight of the paper—measured in grams per square meter (GSM)—is the most critical specification to check. In the Philippines, high seasonal humidity can make thin paper soft and highly absorbent, leading to severe ink bleed-through and tearing when children use gel pens, heavy pencils, or washable markers. To ensure a smooth writing experience, look for paper pads with a minimum weight of 70 to 80 GSM. Higher paper weights provide better resistance to ink penetration and can withstand the heavy-handed pressure common among young learners who are still developing their fine motor control.
Reusable tracing boards or pads offer an eco-friendly, long-term alternative that allows for endless repetition. These boards are typically constructed from acrylic, silicone, or laminated cardstock, allowing children to write with dry-erase or liquid chalk markers and wipe the surface clean after each session. Acrylic boards are highly durable and offer a perfectly smooth, rigid surface for writing, though they can crack if dropped on hard tile floors. Laminated cardstock options are lightweight and highly portable, but they are susceptible to edge peeling and water damage over time if cleaned with wet wipes. When choosing a reusable board, always verify its compatibility with standard dry-erase markers and check the manufacturer’s cleaning instructions to prevent permanent staining.
For parents who want the best of both worlds, hybrid approaches provide excellent flexibility. You can purchase a standard, high-quality transparent acrylic board or a clear plastic sleeve and place personalized name inserts or printable name tracing sheets underneath. This setup allows you to customize the tracing template as your child’s writing skills progress without needing to purchase an entirely new board. You can also use custom name stickers on standard primary notebooks to create a semi-personalized practice book, giving your child a sense of ownership while keeping the overall cost manageable.
Key Features to Evaluate When Ordering Custom Name Pads
Ordering a custom-made stationery product requires a detailed look at the specifications provided by the printer or seller. Because personalized items cannot easily be returned or exchanged, verifying these key features beforehand will prevent disappointment when the package arrives.

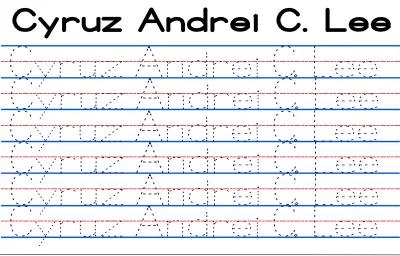
First, examine the customization constraints and options offered by the seller. Check the character limits for the custom name to ensure it can accommodate your child’s full name, including middle initials or hyphenated surnames. Some templates only print the child’s name on the front cover, while others integrate the name onto every single practice page. For effective handwriting practice, prioritize pads where the custom name is repeated across multiple lines on the inner pages. Additionally, verify the available font styles; beginners should practice with standard, unadorned print fonts that match the letter formations taught in local schools, while older children may transition to cursive fonts.
Material safety and durability are paramount, especially since young children will have prolonged hand contact with the pad. Ensure that the inks used in the printing process are labeled as non-toxic, acid-free, and child-safe. If you are purchasing a reusable acrylic or plastic board, check that the edges are rounded and polished smooth to prevent accidental scratches or cuts during handling. The binding of the pad also affects its usability; spiral-bound pads are highly recommended because they allow the book to lay completely flat on a desk. This flat-laying design is crucial for left-handed children and beginners, as staple-bound or tightly glued bindings can cause the pages to curve or snap shut, disrupting the child’s hand placement and writing flow.
Size and portability should align with where the practice sessions will take place. An A4-sized pad (approximately 210 x 297 mm) is the standard choice for desk-based practice at home or school, providing ample horizontal space for children to write out long names without running out of room on a single line. If you plan to use the tracing pad during travel, car rides, or while waiting in offices, a smaller A5-sized pad (approximately 148 x 210 mm) is much easier to pack into a child’s backpack, though it will naturally limit the number of letter repetitions per line.
Finally, inspect the line spacing and ruling format of the practice pages. For early learners, the pad should feature standard primary ruling, which typically consists of solid top and bottom lines (often colored blue) and a dashed midline (often colored red). This blue-red-blue visual guide is essential for helping children understand letter height, teaching them where to start capital letters and how far down to extend lowercase tails.
Matching the Tracing Pad to Your Child's Skill Level
Handwriting is a developmental milestone that progresses through distinct stages, meaning a tracing pad that is perfect for a five-year-old may frustrate a three-year-old or bore a seven-year-old. To keep your child engaged and prevent frustration, match the complexity of the tracing pad to their current motor skills.
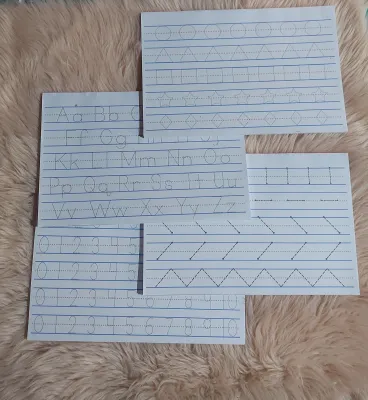
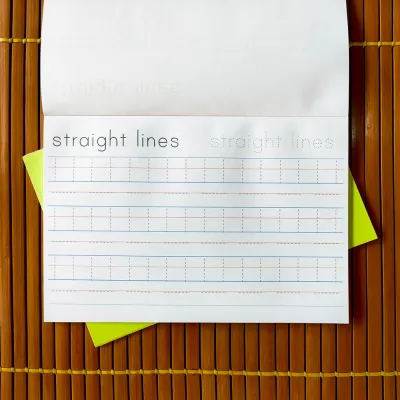
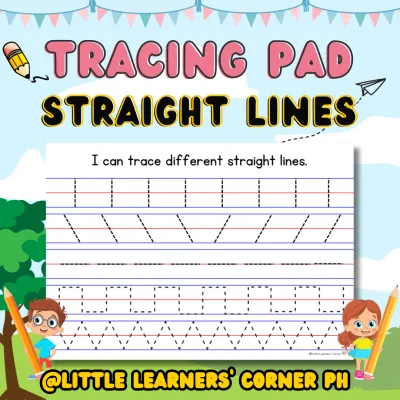
For beginners in Pre-K and Kindergarten, the primary goal is developing basic pencil control and hand-eye coordination. Tracing pads for this stage should feature very large letter sizes—typically around 1 inch or 25 mm in height—to accommodate their developing grip. Look for pads that begin with basic stroke patterns, such as straight vertical lines, horizontal lines, curves, and zigzags, before moving on to actual letters. The tracing paths for their custom name should include clear visual guides, such as directional arrows showing the correct stroke order, and starting dots that indicate exactly where to place the pencil tip to begin each letter.
Intermediate learners, typically in Grades 1 and 2, are ready to transition to standard primary ruling with smaller letter formations (around 0.5 inches or 12 mm). At this stage, the tracing pad should introduce uppercase and lowercase pairing (for example, “Aa”, “Bb”, “Cc”) alongside their personalized name. The practice pages should offer a gradual progression of difficulty: starting with solid gray letters for direct tracing, moving to dotted or dashed outlines, and finally providing blank lines at the end of the page where the child can attempt to write their name independently without any visual guides.
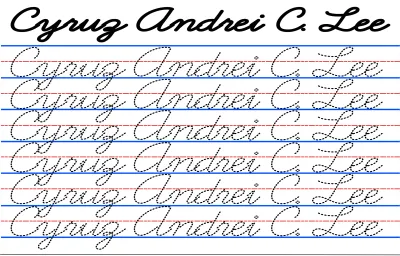
Advanced practice is suitable for older children who have mastered basic print and are ready to refine their penmanship or learn cursive writing. For these students, look for personalized pads that feature cursive tracing templates, sentence construction, and smaller paragraph spacing. The customization can extend beyond just their name to include simple, repetitive sentences, such as “My name is [Name]” or “I like to read books.” This helps children practice word spacing, consistent letter slant, and line alignment, preparing them for standard school notebooks and creative writing tasks.
Checklist for Ordering and Receiving Personalized Pads
To ensure a seamless purchasing experience and prolong the lifespan of your custom tracing pad, follow a structured checklist from the pre-order phase through daily maintenance.
Before placing your order with an online stationery shop or custom printer, perform a thorough pre-order verification. Double-check the spelling of your child’s name in the order form, paying close attention to capitalization, spaces, and special characters. Confirm that the selected font style matches the handwriting curriculum used by your child’s school, as some schools prefer specific letter shapes (such as a straight-stemmed “q” versus a looped “q”). Additionally, review the seller’s estimated production and shipping times; because these items are personalized, they require extra processing time, which can extend significantly during peak back-to-school seasons.
Upon receiving your delivery, conduct a quick physical inspection before handing the pad over to your child. Check the print clarity to ensure that the dotted lines and letters are sharp, dark, and easy to see. Inspect the binding for any loose spirals, misaligned staples, or torn pages. If you purchased a reusable board, perform a small marker compatibility test: write a single letter in an inconspicuous corner of the board, let it dry for a minute, and then wipe it away with a dry cloth or eraser. This ensures the surface coating is intact and will not absorb the marker ink permanently.
Proper storage and maintenance are vital for keeping the tracing pad in excellent condition, especially under tropical conditions. For paper-based pads, store them in a dry, elevated area away from open windows or damp walls to prevent the pages from absorbing atmospheric moisture, which can cause the paper to warp, curl, or become highly susceptible to ink bleeding. For reusable boards, establish a habit of cleaning the surface immediately after each practice session. Leaving dry-erase marker ink on the board for days or weeks can lead to “ghosting,” where a faint residue of the letters remains permanently visible on the surface, making future tracing sessions difficult.
Frequently Asked Questions (FAQ)
Can I use regular pencils on a reusable tracing pad?
No, you should not use regular graphite pencils, colored pencils, or ballpoint pens on a reusable tracing pad made of acrylic, silicone, or laminated cardstock. The hard, sharp tips of standard pencils can scratch or gouge the protective plastic coating, leaving permanent grooves that will trap marker ink in the future. Furthermore, graphite and wax-based pencil cores will not adhere properly to smooth, non-porous surfaces, resulting in faint, illegible lines that are incredibly difficult to erase without using abrasive cleaners that damage the board. Always stick to the manufacturer’s recommended writing tools, which typically include dry-erase markers, wet-erase markers, or specific liquid chalk pens.
How do I remove ghosting or stubborn marker stains from a reusable pad?
To remove stubborn marker stains or ghosting from a reusable tracing board, use a soft microfiber cloth dampened with a small amount of isopropyl alcohol (70% concentration is widely available and safe for most acrylic and laminated surfaces) or a specialized whiteboard cleaning spray. Gently wipe the stained area in a circular motion until the ink dissolves, then dry the surface immediately with a clean portion of the cloth. Never use abrasive scrubbers, steel wool, or harsh household chemicals like bleach or acetone, as these substances will strip away the smooth, non-porous top coating of the board. Once this protective layer is damaged, the board will permanently absorb marker ink, rendering it unusable for future tracing practice.
Community discussion
Share your experience or ask a question. Comments are reviewed before publication.