
Quick Answer: Core Selection Criteria
To choose the best scratch hue board art supplies for a school classroom, focus on three primary pillars: coating consistency, paper weight, and size appropriateness. High-quality boards feature an even, opaque black top layer that scratches away cleanly to reveal a vibrant, multi-colored hue underneath without excessive flaking. The base material must be thick cardstock to withstand enthusiastic scratching without tearing or warping. Selecting the right size ensures the project fits within standard school desks and matches the students’ attention spans, making classroom management much smoother.
Evaluating Board Quality and Durability
The black top layer is the most critical element of any scratch hue board art project. A high-quality board has a uniform, matte black coating that completely hides the colorful background. When testing a sample, look for a smooth application. If you notice light patches, streaks, or areas where the underlying colors peek through before scratching, the coating is too thin or unevenly applied. Furthermore, the coating should lift cleanly under gentle pressure from a stylus, leaving sharp, defined lines rather than crumbling into large, unpredictable flakes that ruin the student’s design.

Beneath the black surface lies the vibrant underlying layer, which can be a rainbow gradient, a metallic foil, or a single bright color. To ensure a visually rewarding experience, this underlying layer must be highly saturated. Dull or faded colors can discourage students, whereas bright, contrasting hues make their artwork pop. When conducting a trial scratch, verify that the revealed colors are vivid and that the black residue does not smudge or stain the exposed colorful surface.
Products mentioned in this guide
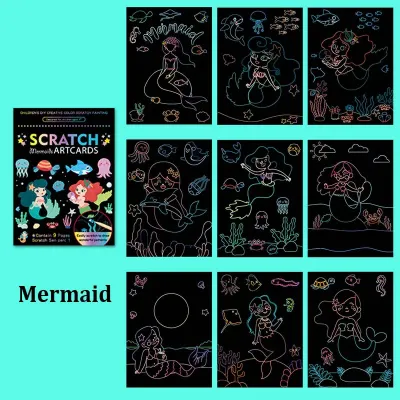
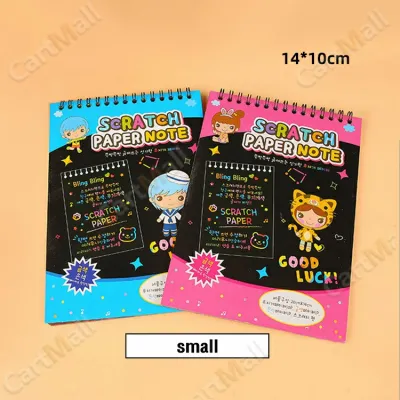
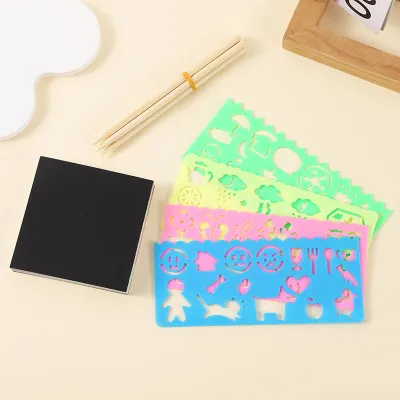
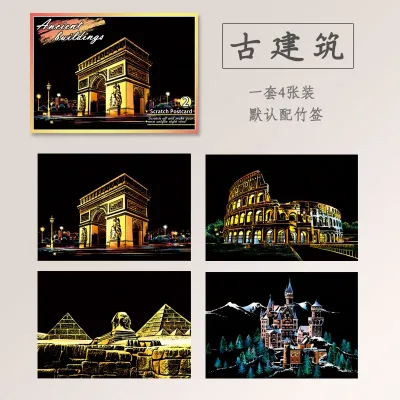
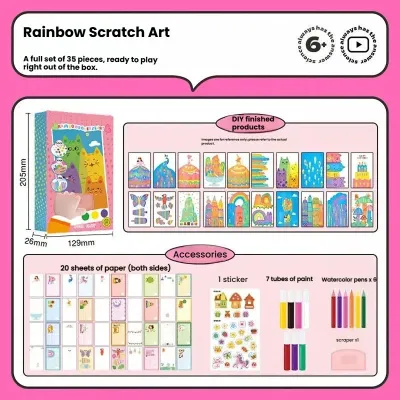
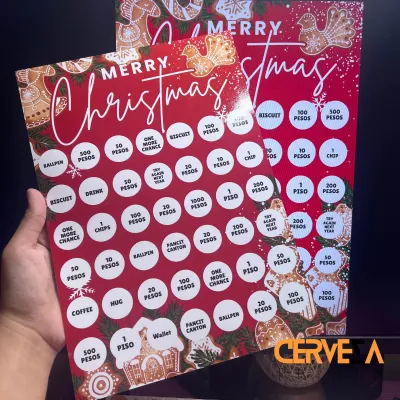
Prices are valid at publication and may change. Please refer to the product page for the latest price.
Classroom art sessions can be intense, with students applying varying degrees of pressure. Standard paper is too flimsy and will easily buckle, crease, or tear under the sharp point of a stylus. Look for boards made from heavy cardstock or rigid paperboard. A stiff board stays flat on the desk, allowing for consistent hand placement and reducing frustration. It also prevents the edges from curling, which is especially common in humid environments.
The tactile feel of the scratch board dictates how easily a student can control their tool. If the surface is overly waxy, the stylus will slide uncontrollably, leading to accidental slips and ruined drawings. Conversely, if the coating is too dry and brittle, it will produce an excessive amount of fine, airborne dust that is difficult to manage in a shared space. The ideal board strikes a balance, offering slight resistance to the stylus while producing small, manageable curls of residue that can be easily swept away.
Sizing and Format Options for Classroom Use
Scratch art boards come in various dimensions, typically ranging from small postcard sizes to large poster sheets. For a standard school desk, smaller formats like A5 or 13 x 18 cm are highly practical. These compact sizes fit comfortably alongside a student’s pencil case and water bottle, leaving plenty of room to work. They also ensure that students can complete their projects within a single or double art period, preventing the fatigue that often comes with trying to fill a massive black canvas. Larger A4 sheets are better reserved for older students or multi-week art club projects.
Purchasing decisions often come down to budget and logistics. Bulk packs containing 50 to 100 loose sheets are highly cost-effective and generate less packaging waste, making them ideal for large classes. However, they require the teacher to distribute sheets and tools individually, which can eat into valuable lesson time. Individual kits, which often package a single board with its own stylus and a protective stencil, are more expensive but incredibly convenient for quick distribution, clean storage, and independent study.
The choice between blank boards and pre-printed templates depends on your lesson objectives. Blank boards offer absolute creative freedom, encouraging students to practice freehand drawing, pattern making, and original compositions. Pre-printed templates, which feature faint gray outlines of animals, landscapes, or geometric patterns, are excellent for younger students or guided lessons. They help build confidence in fine motor skills and tool control without the pressure of staring at a blank canvas, making them a great introductory tool.
Tools and Accessories: What to Look For
The scratching tool, or stylus, is the primary interface between the student and the board. Most classroom sets include simple wooden or bamboo styluses. These are lightweight, inexpensive, and double-sided, usually featuring a pointed end for fine lines and a chisel-shaped end for scraping away larger areas. For advanced classes, look for sets that offer plastic or metal-tipped styluses, which provide superior durability and allow for incredibly intricate cross-hatching and detailing.
Safety is paramount in a school environment. While a stylus needs to be sharp enough to scrape away the black coating, it must not be so sharp that it poses a puncture risk. Wooden and bamboo styluses are generally the safest option for primary school students, as they naturally dull slightly with use and are less likely to cause accidental injury. If you are using metal-tipped tools with older students, ensure they are instructed on proper handling and that the tools are counted back into storage at the end of every class.
Managing the black residue is one of the biggest challenges of hosting a scratch art session. Some premium bulk packs include small, soft-bristled brushes or foam scrapers. These accessories are incredibly useful for sweeping the scraped-off black dust into neat piles or directly into the bin, preventing it from sticking to students’ hands, clothing, or the classroom floor. Having these tools on hand dramatically reduces cleanup time and keeps the art room tidy.
Building Your Classroom Shortlist
When planning for younger children, prioritize safety, simplicity, and quick success. Look for smaller scratch art formats, such as 10 x 15 cm cards, which keep the activity manageable. Opt for pre-printed templates featuring simple, recognizable shapes to guide their scratching. Ensure the kit includes blunt, thick wooden styluses that are easy for small hands to grip. Since younger students may apply uneven pressure, choose boards with a slightly softer coating that releases easily without requiring heavy force.
Older students and dedicated art clubs will appreciate the creative freedom of larger, blank A4 scratch boards. Look for heavy-duty cardstock that can handle intense, layered scratching techniques. To support detailed work, select sets that include a variety of tools, such as dual-tipped styluses, fine metal scratchers, and wide scraping tools for background removal. High-contrast rainbow or metallic foil backing layers will help their intricate designs stand out.
If you need a budget-friendly option for a large group, a quick substitute activity, or a classroom reward, look for bulk packs of blank, medium-sized boards. A pack of 50 to 100 sheets accompanied by basic wooden styluses offers the best value per student. These packs allow you to easily distribute materials and let students explore their own patterns, doodles, or spelling practice in a novel, engaging medium without breaking the school budget.
Frequently Asked Questions (FAQ)
Can students use regular pens or pencils instead of the included stylus?
Standard writing instruments are generally unsuitable for scratch art and can ruin the boards. Ballpoint pens and gel pens rely on rolling metal tips that dispense wet ink; they will simply write over the black coating or slide across it without scraping it away, permanently staining the surface. Graphite pencils are also ineffective because the soft lead will rub off onto the black layer, leaving messy grey smudges that are impossible to erase. If students lose their official styluses, safe and effective classroom alternatives include wooden toothpicks, bamboo skewers with the sharp tips slightly sanded down, plastic clay modeling tools, or even dried-out ballpoint pens that no longer contain ink.
How should scratch art boards be stored to prevent damage?
Scratch art boards are highly sensitive to environmental conditions, particularly in tropical climates like the Philippines where high humidity and heat are common. Excess moisture can soften the black coating, causing adjacent sheets to stick together and ruin the surfaces when pulled apart. To prevent this, always store the boards flat in a cool, dry cupboard away from direct sunlight. Keep them in their original plastic packaging or protective sleeves as long as possible. If you are storing loose sheets from a bulk pack, place a sheet of clean scrap paper or parchment paper between each scratch board to act as a protective barrier against friction and moisture.
Is the dust from scratch art boards harmful or difficult to clean?
The black residue produced during scratch art is typically made from a non-toxic mixture of ink, wax, or acrylic binders, making it safe for standard classroom use. However, the fine dust should not be inhaled or ingested, and it can easily smudge onto skin, clothing, and desks if left unmanaged. To keep cleanup simple, instruct students to brush the dust into a small pile on their desks using a soft brush or a piece of scrap paper, then sweep it directly into the recycling bin. Wiping the desks down with a damp microfiber cloth afterward will quickly pick up any remaining fine particles. Finally, ensure all students wash their hands with soap and water after the activity to prevent them from transferring the black residue to their faces or other school materials.
Community discussion
Share your experience or ask a question. Comments are reviewed before publication.