
Developing fine motor skills through creative projects is a cornerstone of early childhood education. In Philippine schools, hands-on activities in subjects like MAPEH (Music, Arts, Physical Education, and Health) frequently require students to cut, shape, and paste various materials. When it comes to cutting paper for kids, selecting the right tools is not just a matter of convenience; it directly impacts a child’s safety, confidence, and artistic development.
Using adult-sized or poorly constructed cutting tools can lead to hand fatigue, jagged cuts, and preventable minor injuries. Conversely, a well-designed paper cutting tool set tailored to a child’s developmental stage makes art classes engaging and productive. Because the tropical climate in the Philippines brings high relative humidity, stationery items face unique challenges, such as paper warping and metal components rusting. Understanding how to choose and maintain these tools ensures they remain safe and effective throughout the school year.
Matching Cutting Tools to Your Child's Age and Motor Skills
Children develop fine motor skills at different rates, meaning a cutting tool that works perfectly for one child might frustrate or pose a safety risk to another. Matching the physical design of the tool to the child’s age and hand strength is the first step in building a successful art kit.
Products mentioned in this guide
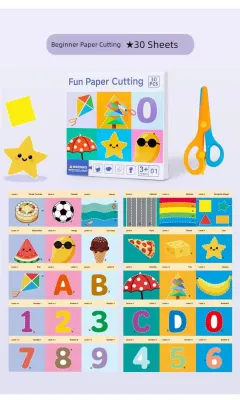
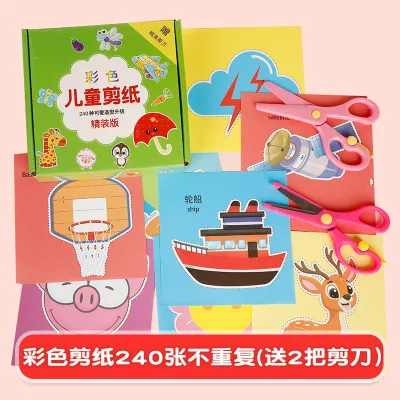
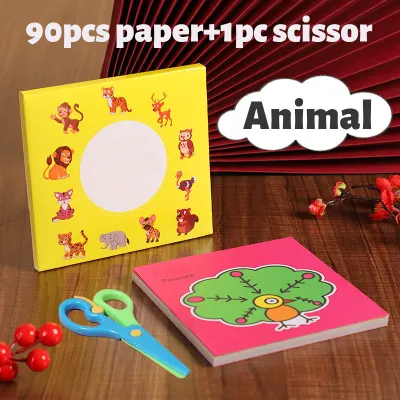
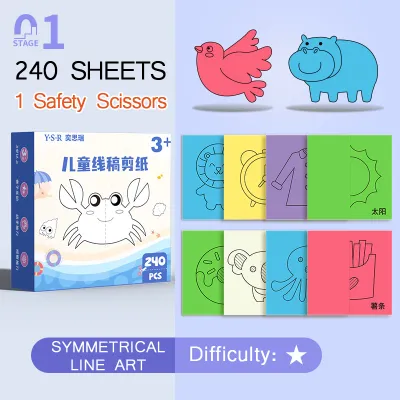
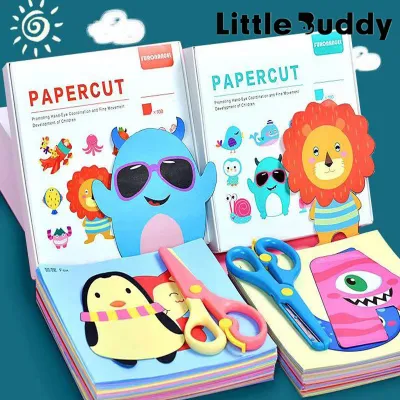
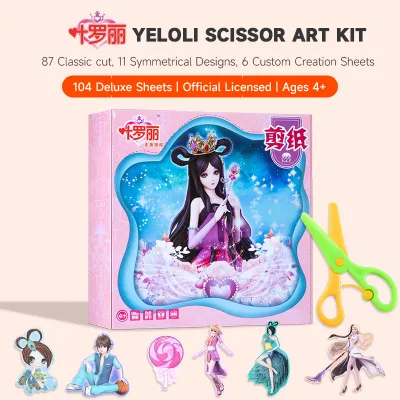
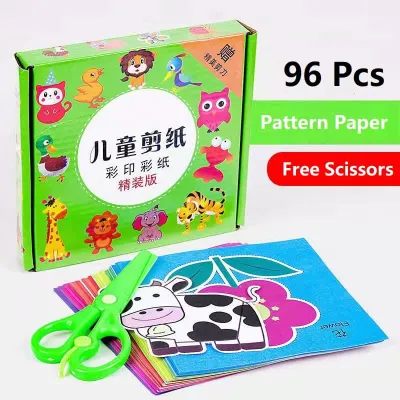
Prices are valid at publication and may change. Please refer to the product page for the latest price.
Toddlers and Preschoolers (Ages 2-4)
At this stage, children are still developing basic hand-eye coordination and bilateral integration, which is the ability to use both hands together cooperatively. For these early learners, standard scissors are highly challenging because young fingers lack the strength and coordination to open the blades after squeezing them shut.
To address this, look for spring-loaded scissors, blunt-tip plastic safety scissors, or loop scissors. Spring-loaded designs feature a small plastic lever that automatically pushes the blades back open after a cut is made, allowing the child to focus entirely on the closing motion. Loop scissors eliminate individual finger holes altogether, utilizing a single flexible plastic loop that kids can squeeze with their entire hand. Fully plastic blades are ideal for this age group, as they can cut thin paper but will not cut skin, hair, or clothing.
Early Elementary (Ages 5-7)
As children enter kindergarten and early elementary school, their hand muscles strengthen, and they gain better finger isolation. They are ready to transition to standard blunt-tip metal scissors with ergonomic handles. These tools feature stainless steel blades wrapped in protective plastic edges, offering a cleaner cut than fully plastic models while keeping the tip rounded to prevent accidental pokes.
Handle design is critical during this transition. Look for handles with soft, rubberized grips that cushion the fingers during repetitive cutting tasks. The loops should be sized appropriately for smaller hands; a loop that is too large forces the child to stretch their fingers, reducing their control and increasing the risk of slipping.
Older Kids (Ages 8+)
By age eight, most children have developed the precision needed for complex craft projects, such as cutting intricate silhouettes, folding origami, or constructing three-dimensional paper models. At this stage, you can introduce decorative edge scissors, which feature interchangeable or fixed blades that cut patterns like waves, zig-zags, or deckled edges.
Older students can also begin using precision craft tools under direct supervision. For advanced art classes that require stencil cutting or internal paper cutouts, a lightweight craft knife with a safety cap may be appropriate. However, these sharper tools should only be introduced once a child has demonstrated consistent focus, maturity, and adherence to safety guidelines.
Observing Readiness and Hand Dominance
Before moving a child to a more advanced cutting tool, observe how they handle everyday objects. If they can easily squeeze a spray bottle, use tongs to pick up small items, or button their own shirt, their hand strength is likely sufficient for standard safety scissors.
It is also vital to determine hand dominance. Forcing a left-handed child to use right-handed scissors—or even poorly designed ambidextrous ones—obstructs their line of sight along the cutting line and causes severe hand fatigue. Observe which hand they naturally reach with when picking up a tool, and ensure they are equipped with scissors that match their dominant hand.
Must-Have Components in a Quality Art Class Cutting Set
A comprehensive paper cutting set should go beyond a single pair of scissors. To provide a complete and enriching experience for school art classes, a high-quality set should bundle several essential components that work together seamlessly.

Age-Appropriate Safety Scissors
The centerpiece of any cutting set is the scissors. When evaluating a set, pay close attention to the handle geometry and blade construction to ensure they align with your child’s needs.
- Symmetrical vs. Asymmetrical Handles: Symmetrical handles feature two identical round loops, which are useful for quick, non-dominant hand adjustments but offer less leverage. Asymmetrical or bent handles feature a smaller round loop for the thumb and a larger, elongated loop for the fingers. This design keeps the lower blade flat against the desk surface, providing superior control and straighter cuts on large sheets of paper.
- Left-Handed vs. Ambidextrous Scissors: Many budget sets claim to be "ambidextrous" simply by shaping the plastic handles symmetrically. However, true left-handed scissors must have the blades reversed so that the left blade is always on top. This configuration allows a left-handed child to see the exact point where the blade meets the cutting line. Using non-reversed blades forces left-handed kids to tilt the scissors awkwardly, resulting in bent paper and hand strain.
- Blade Materials: Fully plastic blades are excellent for absolute beginners because they are physically incapable of cutting skin. However, they struggle with thicker materials and tend to fold or tear thin paper if the child does not hold the tool at a perfect 90-degree angle. Stainless steel blades offer a much smoother, cleaner cutting action, which prevents frustration. For school-aged kids, choose stainless steel blades with a rounded, blunt tip for the ideal balance of performance and safety.
Assorted Craft Paper and Cardstock
A cutting set is only as useful as the medium it cuts. Including a variety of high-quality paper in the kit ensures that kids can practice different cutting techniques right away.
- Paper Types: Look for sets that include a mix of standard construction paper, lightweight origami paper, and medium-weight cardstock. Construction paper is ideal for basic shapes and collage work, while origami paper is perfect for practicing precise folds and delicate cuts. Cardstock provides the structural integrity needed for 3D paper crafts and pop-up cards.
- Paper Weight (GSM): Grams per Square Meter (GSM) indicates the density and thickness of the paper. Standard copy paper is typically 70 to 80 GSM, which is easy to cut but tears easily. Construction paper generally ranges from 100 to 120 GSM, offering a sturdy yet manageable thickness for safety scissors. Cardstock ranges from 160 to 220 GSM; while older kids with sharp steel scissors can handle this weight easily, younger children using plastic safety blades will find it nearly impossible to cut.
- Chemical Safety: Always verify that the paper included in the set is labeled as acid-free and non-toxic. Acid-free paper prevents the artwork from yellowing, fading, or becoming brittle over time. This is particularly important for preserving cherished school projects in the humid Philippine climate, which can accelerate the degradation of low-quality paper fibers.
Protective Mats and Storage Solutions
Art classes can quickly become chaotic without proper organization and workspace protection. A great cutting set includes accessories that keep the workspace clean and the tools in peak condition.
- Self-Healing Cutting Mats: For older children using craft knives or rotary cutters, a self-healing mat is indispensable. These mats are made from specialized polymer materials that allow superficial cuts to close up naturally, protecting the underlying table or desk from damage. Look for mats with printed grid lines, angles, and ruler markings, which help kids learn measurements and cut straight lines without needing a separate ruler.
- Storage Containers: High humidity in the Philippines can cause paper to warp and metal blades to rust if left exposed to the open air. Choose sets that come with a durable storage solution, such as a zippered mesh pouch, a hard plastic compartmentalized box, or a heavy-duty folder. Proper storage keeps paper flat, prevents safety scissors from gathering dust, and ensures that sharp tools are securely locked away when not in use.
- Safety and Organization: Keeping all cutting tools in a dedicated container prevents small accessories, such as spare blades or decorative plastic caps, from getting lost or becoming choking hazards for younger siblings at home.
Critical Safety Features to Verify on Product Labels
When purchasing art supplies for children, safety must always be the top priority. Manufacturers often use marketing terms like “kid-safe” or “child-friendly” loosely, making it essential for parents and teachers to know how to verify these claims through official certifications and physical inspections.
First, look for recognized non-toxic certifications on the packaging. The most common international standards are ASTM D-4236 (Standard Practice for Labeling Art Materials for Chronic Health Hazards) and EN71 (European Standard for Toy Safety). These certifications guarantee that the materials—including any adhesives, plastics, or colorants used in the tools and paper—do not contain harmful levels of heavy metals or toxins that could be absorbed through skin contact or accidental ingestion.
If you are shopping in a physical stationery store, take a moment to physically inspect the tool’s build quality. Gently wiggle the scissor blades side-to-side to check the tension. The blades should be joined securely by a metal pivot screw or a heavy-duty rivet; if there is noticeable play or wobbling between the blades, the scissors will fold the paper instead of cutting it, which often prompts kids to apply excessive force and slip. The handles should be firmly bonded to the metal blades without any sharp plastic seams or rough edges that could cause blisters.
For older children using craft knives, the tools must feature robust safety mechanisms. Look for knives with auto-retracting blades, which slide back into the handle the moment the user releases pressure, or secure screw-lock mechanisms that prevent the blade from sliding out unexpectedly during use. Non-slip rubberized grips are essential for maintaining control, especially in warm, humid tropical environments where hands can easily become sweaty. Remember that regardless of the safety features built into a craft knife, these tools should never be used without direct adult supervision and a clear safety briefing.
Finally, avoid extremely cheap, unbranded sets. These products often utilize low-grade, brittle plastics for the handles, which can snap under pressure and create sharp, jagged edges. Similarly, poorly secured pivot screws on cheap metal scissors can fall out entirely, posing a choking hazard and rendering the tool useless.
Pre-Packaged Kits vs. Building a Custom Classroom Set
When preparing for a school term, parents and teachers must decide whether to purchase a pre-packaged art kit or build a custom cutting set from individual components. Both approaches have distinct advantages and trade-offs depending on your budget, time constraints, and specific project requirements.
Pre-Packaged Kits
Pre-packaged kits are highly convenient and cost-effective. They typically bundle safety scissors, a variety of colorful paper sheets, and sometimes decorative rulers or stencils into a single, travel-ready carrying case.
- Pros: These kits save significant shopping time and are often priced lower than the total cost of buying each item individually. They are excellent for general home use or as a quick, comprehensive solution for a standard school supply list.
- Cons: The primary downside of pre-packaged kits is the potential inclusion of low-quality filler items. For example, the included scissors might be flimsy, or the paper supply may be limited to just a few sheets of thin, easily torn construction paper. Additionally, these kits rarely cater to specific needs, such as providing true left-handed scissors.
Custom Sets
Building a custom cutting set involves purchasing high-quality individual components and assembling them in a personalized storage container. This method is highly recommended for teachers managing bulk classroom supplies or parents who want premium, long-lasting tools.
- Pros: You have complete control over the quality of each item. You can choose a highly durable pair of stainless steel safety scissors with a comfortable, ergonomic grip tailored specifically to your child’s hand dominance. You can also select the exact paper weights (such as thick 120 GSM construction paper) and colors needed for specific school projects, avoiding waste.
- Cons: Assembling a custom kit requires more time and research. The upfront cost can also be higher than buying a pre-packaged kit, though the longevity of the tools often makes it more economical in the long run.
Sourcing and Pricing in the Philippines
In the Philippines, both pre-packaged kits and individual stationery components are widely available. Budget-friendly pre-packaged kits can be found on local online marketplaces and in neighborhood department stores, with prices typically ranging from ₱100 to ₱250. While highly affordable, these budget options should be inspected carefully for blade alignment and plastic durability.
For high-quality custom components, visiting established local stationery stores or reputable online craft retailers is the best approach. A premium pair of ergonomic kids’ safety scissors generally costs between ₱80 and ₱180, a pack of high-quality, acid-free construction paper ranges from ₱120 to ₱250, and a small self-healing cutting mat costs around ₱150 to ₱300. By investing in these individual pieces, you can create a highly durable, safe, and effective custom art kit for approximately ₱350 to ₱700 that will easily last the entire school year.
A Practical Buying Checklist for School and Home Use
To make your shopping experience as straightforward as possible, use this practical checklist when evaluating paper cutting sets online or in-store:
- Verify Age and Skill Level: Ensure the tool's design matches the child's motor skills. Look for spring-loaded or loop scissors for ages 2-4, blunt-tip metal scissors for ages 5-7, and decorative or precision tools for ages 8 and up.
- Confirm Hand Dominance: If your child is left-handed, avoid generic "ambidextrous" claims. Search specifically for true left-handed scissors with reversed blades to prevent hand strain and blocked visibility.
- Check Paper Specifications: Look for sets that include paper with a weight of 100 to 120 GSM for optimal cutting without tearing. Ensure the packaging explicitly states the paper is non-toxic and acid-free.
- Assess Build Quality and Safety: Look for recognized safety seals like ASTM D-4236 or EN71. Check that the scissor blades are joined by a secure metal pivot screw rather than a loose plastic rivet.
- Evaluate the Storage Solution: Ensure the set includes a durable, resealable container—such as a zippered pouch or plastic box—to protect paper from humidity and keep sharp tools safely organized.
- Review Platform Policies: When purchasing from online marketplaces, check customer reviews specifically for mentions of blade sharpness, handle durability, and whether the items arrived complete as advertised. Verify the seller's return policy in case the tool size does not fit your child's hand comfortably.
Frequently Asked Questions (FAQ)
At what age can a child safely start using craft knives instead of scissors?
There is no fixed chronological age at which a child can automatically transition to using a craft knife. Instead, the decision should be based on the child’s demonstrated fine motor control, hand stability, and ability to follow safety instructions consistently. Generally, children around the age of 10 to 12 may begin using craft knives for advanced art projects, but this must always occur under direct adult supervision.
Before allowing the use of a craft knife, teach the child fundamental safety rules, such as always cutting away from the body, keeping the non-dominant hand well clear of the cutting path, and using a self-healing cutting mat to prevent slipping. Ensure the knife has a safety cap or a retractable blade, and store the tool in a secure location immediately after use.
How do I clean and maintain kids' safety scissors to prevent them from sticking?
To keep safety scissors cutting smoothly and prevent the blades from sticking, wipe them down with a dry microfiber cloth after every art session. This simple step removes paper dust, dried glue, and adhesive residue from tape. If sticky residue persists, dampen the cloth with a small amount of rubbing alcohol to clean the blades, then dry them thoroughly to prevent rust.
In the humid climate of the Philippines, metal components are highly susceptible to oxidation. If the scissors become stiff or difficult to open, check the pivot screw. Applying a single, tiny drop of household mineral oil or sewing machine oil directly to the pivot joint can restore smooth movement. Be sure to open and close the scissors several times to distribute the oil, then wipe away any excess completely with a clean cloth to avoid staining your child’s craft paper during their next art class.
Community discussion
Share your experience or ask a question. Comments are reviewed before publication.