
Decorating pens with beads is a creative way to transform everyday writing instruments into personalized, eye-catching accessories. Whether you are crafting custom gifts, preparing unique souvenirs for a local celebration, or setting up a small craft business with a budget of just a few hundred pesos (‛), choosing the right beads is the most critical step in ensuring your pens are both beautiful and functional. The best beads for your project depend entirely on the type of pen you use and how you plan to attach them.
For specialized beadable pens, which feature a built-in metal rod, large-hole silicone, acrylic, or polymer clay beads with an aperture of 2mm to 2.5mm are the ideal choice. If you are decorating standard plastic gel pens or ballpoint pens, smaller beads like glass seed beads, crystals, or flatback rhinestones work best when secured with jewelry wire or high-strength adhesives.
In a warm, humid tropical climate, factors like hand sweat, moisture, and daily wear play a significant role in how your decorated pens hold up over time. Selecting materials that resist fading and choosing secure attachment methods will keep your designs intact through long writing sessions at school or in the office. By understanding how to measure your materials and match them to your pen’s structure, you can create durable, comfortable, and stunning beaded pens.
Products mentioned in this guide
![[erbingz]Plastic Beadable Pens for Women Craft DIY Bead Pens Bead Crystal Spacer Bead Set](https://img.lazcdn.com/g/p/36b5678e6c2f28ecc546a43b08983fc4.jpg_400x400q80.jpg_.webp)
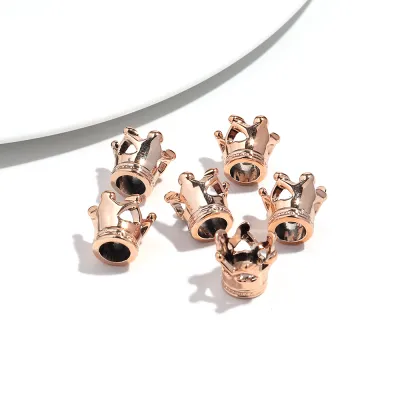
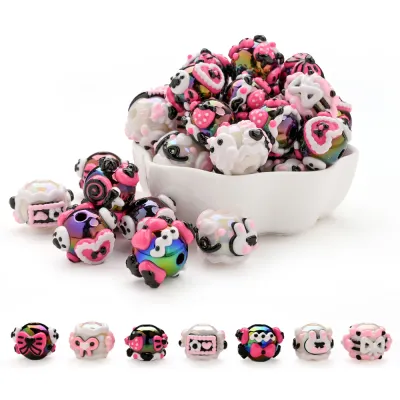
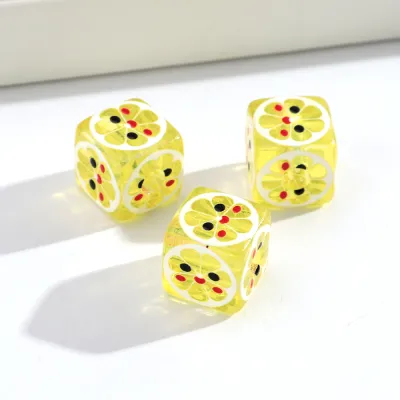
Prices are valid at publication and may change. Please refer to the product page for the latest price.
How to Measure and Match Bead Sizes to Your Pen
Before purchasing any beads from an online marketplace or local craft store, you must measure the physical dimensions of your pen to ensure a perfect fit. The most critical measurement is the outer diameter of the pen barrel or the decorative rod. If you are using a standard plastic pen, use a ruler with millimeter markings or a digital caliper to measure the thickest part of the barrel where you plan to place the beads. For specialized beadable pens, the metal mandrel typically measures around 2mm to 2.5mm in diameter, requiring beads with matching or slightly larger hole sizes.
Checking the bead hole size, or aperture, is just as important as measuring the pen itself. If the bead hole is too small, it simply will not slide onto the pen rod or barrel. Conversely, if the hole is excessively large, the beads will wobble, slide unevenly, and feel unstable when you write. For wire-wrapping projects, the bead holes do not need to fit the pen barrel itself; instead, they must be large enough to accommodate the gauge of your wrapping wire, which is typically 24-gauge (0.51mm) or 26-gauge (0.40mm).
Another vital factor to consider is the overall weight and balance of the completed pen. Writing comfort depends heavily on how the pen feels in your hand during extended use. If you load the top of the pen with heavy glass, ceramic, or metal beads, the pen becomes top-heavy, forcing your hand to grip tighter to maintain control. This imbalance can quickly lead to hand fatigue and muscle strain. To maintain a natural writing flow and ensure the pen tip glides smoothly across the paper without skipping, aim to keep the heaviest beads near the middle or lower section of the pen, or opt for lightweight materials like acrylic and silicone.
Choosing Bead Shapes Based on Your Attachment Method
The shape of your beads dictates how they can be attached to the pen, and matching the shape to the correct technique is essential for a secure finish.

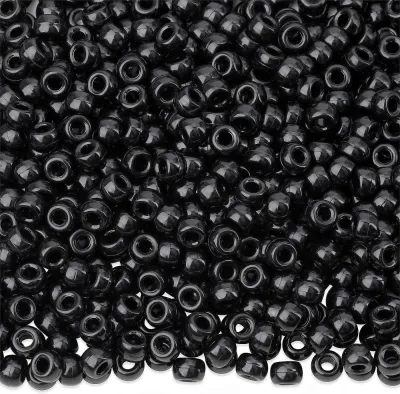
If your project involves sliding beads directly over the pen barrel or a beadable rod, you must use round, spacer, or focal beads with large, clean-cut holes. Pony beads, large-hole wooden beads, and molded silicone focal beads are excellent for this method. Silicone focal beads, which often come in fun shapes like flowers, animals, or tropical designs, slide easily onto metal rods and provide a soft, cushioned feel. When using this method, ensure the beads fit snugly against each other so they do not slide back and forth while you write.
For standard gel pens that do not have a removable rod, wrapping the barrel with wire or cord allows you to use a much wider variety of bead shapes. Small, delicate beads like size 8/0 or 11/0 glass seed beads, bicone crystals, and small round pearls are perfect for this technique. By securing jewelry wire to the top of the pen and wrapping it tightly down the barrel, you can thread these smaller beads in spiral patterns. This method not only secures the beads firmly but also adds a textured, metallic aesthetic to the pen’s grip area.
If you prefer a smooth, sparkling surface without the bulk of wire or large holes, surface gluing is the most effective approach. This method relies on flat-backed beads, such as acrylic rhinestones, resin cabochons, or flatback half-pearls. These beads feature a completely flat underside, allowing them to sit flush against the curved plastic of the pen barrel. Using a high-quality, flexible jewelry adhesive ensures these flatbacks remain bonded to the plastic, even when the pen is dropped or carried in a crowded pencil case.
Comparing Bead Materials for Grip Comfort and Durability
Different bead materials offer varying levels of durability, comfort, and resistance to wear, which is especially important for items handled daily.
Silicone and acrylic are among the most popular materials for DIY pens due to their lightweight nature and high impact resistance. Silicone beads are soft, slightly flexible, and provide an excellent rubbery grip that prevents your fingers from slipping, even in hot and humid weather. Acrylic beads are highly durable, affordable, and come in a vast array of vibrant colors and finishes, though they can scratch over time if tossed into a bag with keys or other metal items.
Glass and metal beads offer a premium, high-end look and excellent scratch resistance, but they come with trade-offs in weight and comfort. Solid metal beads can make the pen heavy and cold to the touch, while glass beads can chip or shatter if the pen is dropped onto a hard tiled floor. If you want to incorporate these materials, use them sparingly as accent pieces or spacers rather than covering the entire pen. Wood is another lightweight option that adds a rustic, natural aesthetic, but unfinished wood can absorb moisture, hand oils, and sweat, leading to discoloration and hygiene issues over time. Choosing sealed or painted wooden beads helps mitigate this problem.
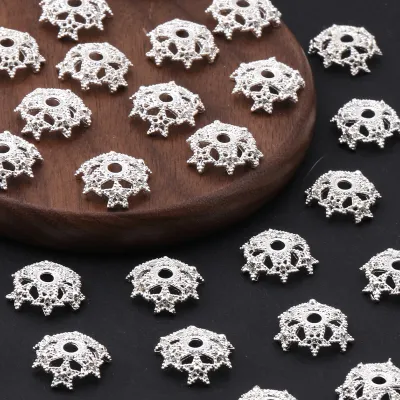
You should also be cautious of cheap metallic-plated plastic beads. The shiny gold or silver coatings on these beads often react with natural skin oils and friction, causing the finish to peel, chip, or turn green within a few weeks of regular use. For a long-lasting design, look for solid-color acrylics, through-colored glass, or high-grade stainless steel spacers that maintain their appearance despite frequent handling.
Step-by-Step Planning for Your Beaded Pen Project
A successful beaded pen project requires careful preparation to avoid wasting materials or damaging your writing instruments.
First, calculate the exact number of beads you will need. Measure the usable length of the pen’s decorative area in millimeters. Divide this total length by the width of your chosen beads to determine how many will fit. For example, if you have a 60mm rod and want to use 15mm silicone beads, you will need exactly four beads. If your pattern includes spacer beads or varying sizes, sketch the layout on paper first and lay the beads out physically next to a ruler to verify the total length before assembly.
Next, prepare the pen surface to ensure a secure bond or smooth fit. If you are gluing flatback rhinestones or wrapping wire, clean the plastic barrel thoroughly with isopropyl alcohol to remove any manufacturing oils, dust, or fingerprints. For gluing projects, lightly scuffing the plastic surface with fine-grit sandpaper creates a rough texture, giving the adhesive a much stronger mechanical grip. If your pen has a pocket clip or a cap that slides over the barrel, check if these parts need to be removed or if you need to leave a gap in your bead pattern so the cap can still close securely.
Finally, always perform a dry run or physical mock-up before applying any permanent adhesives or cutting your wire. Slide the beads onto the rod or wrap them loosely around the barrel to check the fit, spacing, and overall balance. Ensure that the bead placement does not interfere with the pen’s writing tip, the click mechanism, or the twist action, allowing you to replace the ink refill easily when needed. When working with strong jewelry adhesives, always work in a well-ventilated space to avoid inhaling fumes, and wear safety glasses when cutting metal wire to protect your eyes from flying debris. Once you are satisfied with the look and feel, proceed with the final assembly, allowing any glues or sealants to cure fully according to the manufacturer’s instructions before using the pen.
Frequently Asked Questions (FAQ)
Can I use regular jewelry beads for pen decoration?
Yes, but you must verify their dimensions first. Most standard jewelry beads, such as small pearls, gemstone beads, or glass beads, are drilled with very small holes (typically 0.5mm to 1mm) meant for thin jewelry thread or wire. These will not slide over a standard pen barrel or a 2mm beadable pen rod. However, you can easily incorporate these regular jewelry beads into your pen designs by using the wire-wrapping method, where the beads are threaded onto thin wire that is then wrapped securely around the pen’s exterior.
How do I prevent beads from sliding off the pen?
To keep your beads securely in place, you can use a combination of mechanical stops and adhesives. For beadable pens, ensure the top screw-on cap is tightened firmly; you can add a drop of thread-locking compound or clear glue to the threads to prevent it from unscrewing during use. For wire-wrapped or slide-on designs, placing small silicone spacer rings or rubber O-rings at both ends of the bead column acts as a tight, non-slip stopper. If you are using glues, ensure you use a strong, flexible jewelry adhesive and allow it to cure completely to prevent the end beads from popping off under pressure.
Community discussion
Share your experience or ask a question. Comments are reviewed before publication.