
Choosing the right Gundam panel liner depends on your kit’s surface preparation, your experience level, and your workspace setup. Enamel panel liners offer exceptional capillary flow but require careful solvent management and can damage bare plastic if applied incorrectly. Acrylic and water-based options provide safer, highly forgiving alternatives that are ideal for beginners or unpainted builds, especially in warm, humid environments where drying times and solvent evaporation rates vary. By matching the liner formulation to your specific build workflow, you can achieve clean, deep panel lines that make your model kit’s details stand out.
Panel lining is one of the most effective ways to add depth and realism to a Gundam model kit. This process involves running a thin paint or ink formulation into the recessed details of the plastic armor to simulate shadows and structural separation. Because different formulations react uniquely to plastics, primers, and base paints, understanding how these liquids behave is essential for avoiding ruined parts and achieving a professional finish.
Comparing Enamel, Acrylic, and Water-Based Formulations
To select the right panel liner, you must first understand how different formulations behave when they touch the plastic surface. Capillary action is the primary physical force behind panel lining. When a highly fluid paint is touched to a recessed groove, surface tension pulls the liquid along the channel automatically. Enamel formulations excel at this behavior because they have incredibly low surface tension and high pigment density. A single drop of enamel liner can travel several centimeters along a panel line, filling intricate details with minimal physical effort from the builder.
Products mentioned in this guide
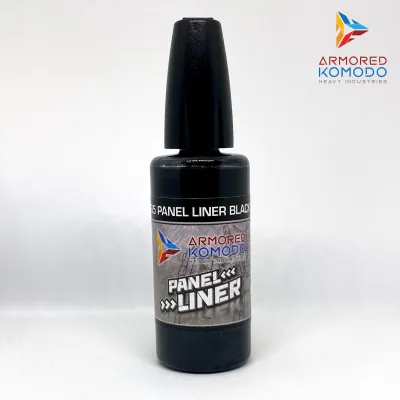
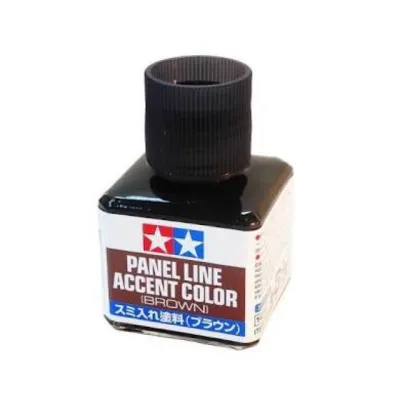
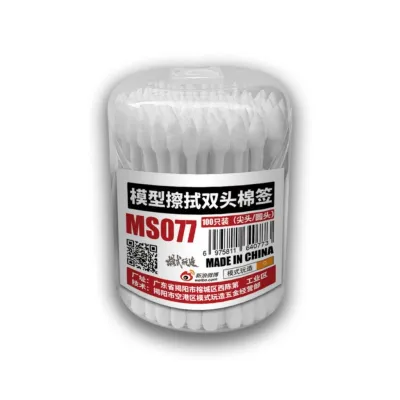
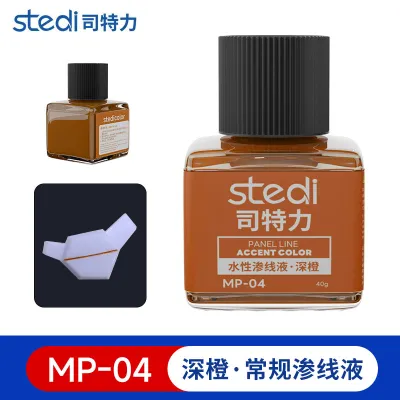
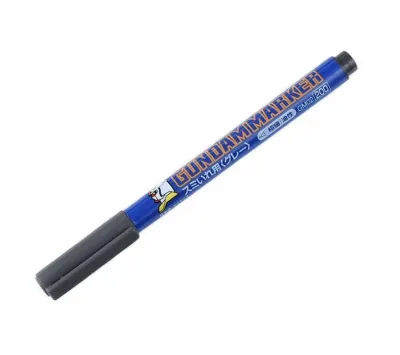
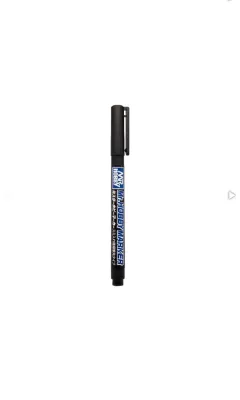
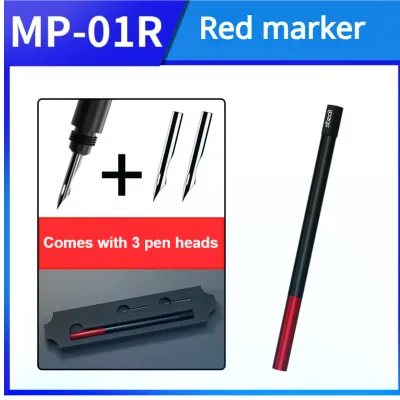
Prices are valid at publication and may change. Please refer to the product page for the latest price.
Acrylic and water-based formulations behave differently due to their higher surface tension. While some specialized acrylic washes flow reasonably well, they generally require more manual guidance along the panel lines. Water-based options, often packaged as fine-tip markers or pens, do not rely on capillary action at all. Instead, you draw directly into the grooves. This gives you absolute control over where the pigment goes, though it requires a steady hand and more physical application time compared to the effortless glide of an enamel wash.
Working time and drying speed are critical factors to verify on product labels before starting your project. Enamel liners dry slowly, often taking 15 to 30 minutes to set completely. This slow drying speed is highly advantageous because it gives you a generous window to clean up any excess or smudges without damaging the underlying surface. Acrylic liners dry much faster, sometimes setting within minutes, which requires quicker cleanup. Water-based markers dry almost instantly on the surface, but the pigment remains erasable with simple friction or a damp applicator for a short period.
Your workspace environment and safety setup should also influence your formulation choice. Enamel liners rely on organic solvents, which emit distinct chemical odors and require active ventilation. If you are working in a closed room, you will need an exhaust fan or an open window to maintain safe air quality. In contrast, acrylic and water-based panel liners are virtually odorless and non-toxic. They are highly suited for indoor workspaces, shared family areas, or tropical environments where air conditioning keeps windows closed for most of the day.
Matching the Panel Liner to Your Base Coat and Primer
Before applying any panel liner, you must evaluate the surface of your model kit. The general rule of hobby painting is that your panel liner solvent must not dissolve the paint layer directly beneath it. If you are working on bare, unpainted polystyrene plastic, water-based pens and acrylic washes are the safest choices. Enamel solvents can penetrate the microscopic pores of unprimed plastic, causing the material to become brittle and crack under stress, especially around tight snap-fit joints.

If you have painted your model kit, you must identify the chemical family of your base coat. Lacquer-based paints, once fully cured, form a highly durable barrier that resists mild enamel and acrylic solvents. This makes lacquer base coats the ideal foundation for enamel panel lining. However, if your base coat is acrylic-based, using an acrylic-based panel liner or a harsh alcohol-based cleanup solvent can dissolve your paint job. In this scenario, an enamel liner is actually safer for the paint, provided the paint layer is thick enough to shield the plastic underneath.
Applying a protective clear coat is an excellent way to prevent chemical reactions and improve your panel lining results. A gloss clear coat serves two vital purposes: it protects the underlying paint layers from the panel liner’s solvents, and it creates an ultra-smooth surface that maximizes capillary action. Matte or flat clear coats have a rough microscopic texture that traps panel liner pigments, leading to messy smudges that are incredibly difficult to clean. For the best results, apply a gloss clear coat, perform your panel lining, and then apply a final matte or satin coat to achieve your desired finish.
When planning your paint layers, always verify the compatibility of your products on a test piece. For example, if you plan to use an enamel wash over an acrylic paint layer, ensure the acrylic paint has cured for at least 24 to 48 hours. In high-humidity regions, curing times can double, so patience is key. Rushing the process can trap solvents between layers, leading to bubbling, peeling, or paint lifting during the cleanup phase.
Aligning Your Choice with Skill Level and Cleanup Preferences
Your experience level and your tolerance for mistakes should guide your final product selection. For beginners, water-based panel lining pens and fine-tip markers are highly recommended. These tools are incredibly forgiving and require no complex mixing or specialized chemical solvents. If you make a mistake or draw outside the lines, you can easily erase the excess pigment using a standard soft pencil eraser or a cotton swab moistened with water. This low-risk application allows new builders to practice detailing without the fear of ruining an expensive model kit.
Advanced builders who want crisp, professional-grade depth usually prefer enamel washes. These formulations require precise solvent control and a structured cleanup process. Because enamel washes are highly fluid, they inevitably leave small pools of excess paint at the entry point where the brush touched the plastic. Cleaning these spots requires dipping a fine-tipped cotton swab into a mild solvent, wiping off the excess liquid so the swab is only damp, and gently sweeping it across the panel line at a 90-degree angle to lift the smudge without removing the paint inside the groove.
To achieve clean results, you must pair your chosen panel liner with its correct cleanup tools and specialized thinners. Enamel liners require mild mineral spirits, specialized hobby enamel thinners, or high-quality lighter fluid. Lighter fluid is a popular choice among experienced builders because it evaporates incredibly fast, reducing the amount of time the solvent sits on the plastic and minimizing the risk of structural damage. Acrylic liners typically clean up with isopropyl alcohol or dedicated acrylic thinners, while water-based markers clean up with water or simple friction.
Using the wrong cleanup solvent can lead to immediate disaster. For instance, using a heavy industrial lacquer thinner to clean up an enamel wash will instantly melt both your paint layers and the underlying plastic. Always use the mildest effective solvent for your cleanup process. Additionally, standard cosmetic cotton swabs are often too loose and fuzzy for hobby work, leaving behind tiny fibers that get trapped in your wet paint. Investing in tightly spun, pointed hobby cotton swabs will make your cleanup significantly more precise.
Finalizing Your Selection and Gathering Essential Supplies
Before you begin detailing your Gundam model kit, establish a reliable testing routine to verify that your chosen panel liner and cleanup solvent are safe for your specific build. This step-by-step checklist will help you avoid costly mistakes on your visible armor pieces:
- Locate a spare piece of plastic runner (sprue) from the same kit, or use a hidden inner frame detail that will not be visible once the model is fully assembled.
- If your model is painted, apply your primer, base coat, and clear coat to the test area using the exact same application methods and drying times as your main model.
- Apply a small drop of your chosen panel liner to the test area and let it dry completely according to the manufacturer's instructions.
- Moisten a cotton swab with your cleanup solvent, ensuring it is damp rather than dripping wet.
- Gently wipe the dried panel liner to test how easily it lifts and check if the underlying paint or plastic shows any signs of softening, color bleeding, or cracking.
Once you have verified compatibility, gather your essential supplies and prepare your workspace. Ensure you have a clean, flat surface with excellent lighting so you can see the fine recessed details of the parts. Keep your cleanup solvents in small, stable containers to prevent accidental spills on your cutting mat. If you are budgeting for your build, high-quality panel lining pens generally cost between ₱100 and ₱250, while bottled enamel washes and specialized thinners range from ₱200 to ₱450, making them highly accessible additions to your hobby toolkit.
Proper storage and maintenance of your panel liners will ensure they remain usable for years. Always seal the bottles tightly immediately after use to prevent the carrier solvents from evaporating, which causes the paint to thicken and lose its capillary flow properties. Store your supplies in a cool, dry place away from direct sunlight, as extreme tropical heat can accelerate solvent degradation. Before every application, shake the bottle or pen vigorously for at least 30 seconds to thoroughly redistribute the settled pigments and ensure a consistent, solid color.
Frequently Asked Questions (FAQ)
Can I apply a panel liner directly over bare, unprimed plastic?
You can apply water-based panel lining pens and certain acrylic-based liners directly onto bare, unprimed polystyrene plastic without any structural risk. However, you should avoid applying enamel-based panel liners directly to bare plastic. Enamel solvents are highly penetrative and can seep into the microscopic stress fractures created during the plastic molding and assembly process. This causes the plastic to become extremely brittle, often leading to parts cracking or snapping under pressure. If you want to use an enamel liner on an unpainted kit, always apply a protective gloss clear coat first to create a safe chemical barrier.
How do I fix panel liner that has dried too quickly or smeared?
To fix dried or smeared panel liner, you must use the specific solvent that matches your liner’s formulation. For enamel liners, moisten a pointed cotton swab with a tiny amount of lighter fluid or enamel thinner, blot it on a paper towel so it is barely damp, and gently wipe across the smear perpendicular to the panel line. For acrylic liners, use a swab dampened with isopropyl alcohol or dedicated acrylic thinner. For water-based markers, a simple soft pencil eraser or a water-dampened swab is usually enough to lift the dried pigment. If a solvent-based liner has deeply stained or dissolved your underlying paint layer, stop immediately, let the area dry completely, and gently sand and repaint the affected section rather than applying more solvent.

Community discussion
Share your experience or ask a question. Comments are reviewed before publication.