
Choosing the right MW acrylic marker variant requires matching the tool to the physical properties of your canvas. Whether you are painting smooth river stones, customizing canvas tote bags, or detailing glassware, the choice of tip size, ink opacity, and formulation directly impacts the longevity and professional finish of your work. Understanding these variables helps you avoid common pitfalls like paint bleeding on fabric, smudging on glass, or rapid wear on rough stone.
By evaluating how different marker tips and ink properties behave on porous and non-porous surfaces, you can select the exact variant that suits your creative needs. This guide breaks down the technical specifications of MW acrylic markers and provides actionable advice for achieving the best results on various materials.
Understanding MW Acrylic Marker Tips and Ink Properties
Selecting the right marker begins with understanding the anatomy of the tip and the behavior of the acrylic ink inside. MW acrylic markers come in several tip configurations, each designed for specific stages of a project. Matching the tip to your task prevents premature wear of the nib and ensures clean ink delivery.
Products mentioned in this guide
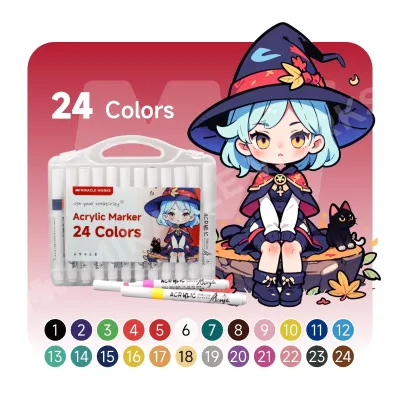
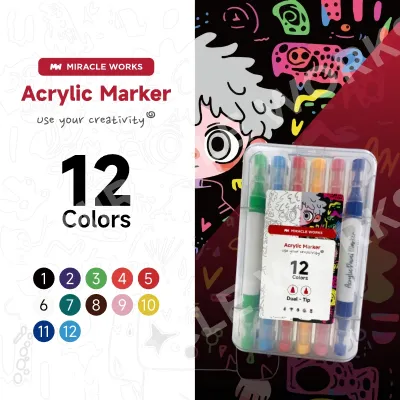
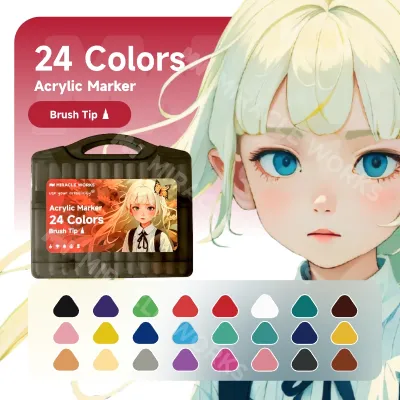
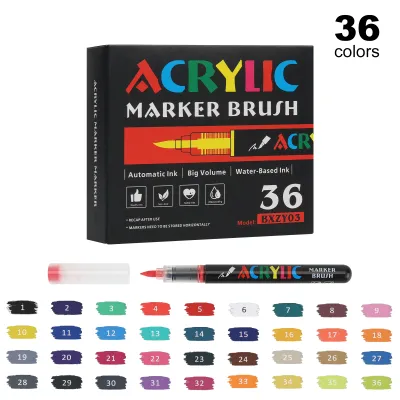
Prices are valid at publication and may change. Please refer to the product page for the latest price.
- Extra-Fine and Fine Tips (0.7mm to 1.0mm): These tips are typically made of hard plastic or dense fiber. They are designed for intricate detailing, fine outlines, and precise lettering. Because they restrict ink flow to a narrow stream, they are ideal for tight spaces but can clog easily if used on dusty or highly textured surfaces.
- Medium Bullet Tips (2.0mm to 3.0mm): The most versatile option for general crafting. These fiber tips provide a consistent, moderate flow of ink, making them suitable for writing, drawing bold outlines, and filling in small to medium-sized shapes.
- Broad and Chisel Tips (4.0mm to 8.0mm): Designed for covering large surface areas quickly. The angled chisel tip allows you to alternate between broad strokes and thinner lines simply by rotating the marker.
- Brush Tips: Made of flexible nylon fibers, brush tips mimic a traditional paintbrush. They respond to hand pressure, allowing you to create variable line widths, elegant calligraphy, and smooth blending.
Beyond the tip, the formulation of the ink determines how the design looks and lasts. MW acrylic markers utilize water-based acrylic ink, which consists of high-quality pigment suspended in an acrylic polymer emulsion. When wet, the ink is water-soluble, allowing for easy cleanup and minor corrections. Once fully cured, the polymer molecules cross-link to form a water-resistant, flexible, and permanent film.
When examining the product packaging, look for key indicators of ink quality. High opacity is essential for covering dark backgrounds without requiring multiple coats. The final finish is typically matte, satin, or glossy; matte finishes are excellent for photography as they do not reflect light, while glossy finishes offer a vibrant, polished look. Always check the label to verify if the marker is rated as “multi-surface” or if it has been optimized for specific materials like textiles or glass.
Best MW Acrylic Marker Choices for Rock Painting
Rock painting is a popular craft that demands a highly durable marker tip and exceptionally opaque ink. Natural stones are inherently porous, uneven, and often dark or heavily patterned. To achieve vibrant designs that stand up to the elements, you must select your marker variants and prepare your surface with care.

Because natural stone surfaces are abrasive, soft fiber tips can fray rapidly. For laying down base coats and filling in large background areas, a medium to broad bullet tip is the most efficient choice. These tips deliver a generous volume of ink, saturating the porous stone and creating a smooth, solid foundation. Save your extra-fine and fine tips strictly for the final detailing, such as outlines, highlights, and delicate dot work, to preserve the integrity of the delicate nibs.
Opacity is the most critical factor when working on dark basalt or speckled river stones. Standard transparent inks will sink into the stone and virtually disappear. Look for MW variants that specify high pigment load or maximum opacity. If you are working with a standard color set, a highly effective technique is to apply a solid base coat of opaque white or light gray across the entire design area first. Once this base layer dries completely, your colored inks will appear significantly brighter and truer to tone.
Proper surface preparation and finishing are vital for outdoor durability, especially in tropical climates. Follow these steps to ensure your painted rocks survive humid conditions and heavy rains:
- Scrub and Clean: Wash your stones thoroughly with soapy water and a stiff brush to remove dirt, algae, sand, and oils.
- Dry Completely: Let the rocks dry in direct sunlight for several hours. Porous stones retain moisture deep inside; if you paint over a damp stone, the trapped moisture can cause the acrylic paint to bubble, crack, or peel as it cures.
- Paint in Layers: Apply thin, even coats of ink, allowing each layer to dry before adding the next to prevent smearing.
- Seal the Design: Once your artwork is completely dry (ideally cured for 24 hours), apply a clear, UV-resistant acrylic spray sealer. Apply two to three thin coats rather than one thick coat to avoid running or dissolving the ink. This protective barrier prevents the tropical sun from fading the pigments and shields the paint from moisture.
Selecting MW Acrylic Markers for Fabric Art
Applying acrylic ink to textiles like canvas tote bags, cotton t-shirts, or denim jackets requires a marker that offers both flexibility and wash resistance. Standard acrylic paint dries into a rigid, plastic-like layer that is prone to cracking and peeling when the fabric bends, stretches, or goes through a washing machine cycle.
When choosing MW markers for fabric, look for variants explicitly labeled for textile or fabric use. These specialized formulations contain flexible acrylic binders that move with the fibers of the cloth. If you must use standard multi-surface MW markers, keep your paint layers as thin as possible to minimize stiffness.
Tip selection is equally important when working on woven textures. Hard plastic tips or worn, scratchy fiber nibs will snag on fabric threads, causing frustrating ink splatters and uneven lines. Flexible nylon brush tips or soft, dense fiber bullet tips are highly recommended. They glide smoothly over the weave of the fabric, depositing ink evenly without catching on loose threads.
To ensure your fabric project remains permanent and washable, you must verify the heat-setting requirements on the marker packaging. Most fabric-compatible acrylic inks require heat activation to fully bond the pigment to the textile fibers. Follow this standard heat-setting procedure once your design has dried for at least 24 hours:
- Prepare the Iron: Set a household iron to a medium, dry setting with absolutely no steam. Steam introduces moisture that can ruin the uncured ink.
- Protect the Art: Place a piece of parchment paper or a thin cotton pressing cloth over the painted design. Alternatively, turn the garment inside out to iron the reverse side of the artwork.
- Apply Heat: Press the iron firmly over the design, moving it constantly for three to five minutes. Avoid leaving the iron in one spot to prevent scorching the fabric.
- Wash with Care: Wait at least 72 hours after heat-setting before washing the item. Wash inside out on a gentle cycle with cold water, and air dry rather than using a high-heat dryer.
Before committing to your final project, always perform a trial run on a scrap piece of the exact same fabric. This test allows you to observe how much the ink bleeds along the fabric grain (feathering), how many coats are needed to achieve your desired color vibrancy, and whether the dried paint alters the drape and feel of the fabric uncomfortably.
Decorating Glass and Smooth Surfaces with MW Markers
Glass, glazed ceramics, glazed tiles, and polished metals are non-porous surfaces. Unlike wood or fabric, these materials cannot absorb any of the liquid binder, meaning the acrylic ink must adhere entirely to the surface. This presents unique challenges regarding drying times, adhesion, and durability.
Because the ink sits entirely on top of smooth surfaces, drying times are significantly longer than they are on porous media. Accidental smudging is a constant risk during the painting process. To prevent this, work from the top-left corner to the bottom-right (or top-right to bottom-left if you are left-handed) to keep your hand away from wet ink. Avoid applying a second layer of paint until the first layer is completely dry to the touch; otherwise, the wet nib of the marker can scrape off the semi-dry underlying paint, leaving unsightly bald spots.
For smooth surfaces, select a medium bullet tip with a controlled, moderate ink flow. Avoid over-priming your marker. Pumping the tip repeatedly on a slick surface will cause excess ink to pool, run, and drip, ruining clean lines. If you need to cover a large area on glass, use light, overlapping strokes with a broad tip, and resist the urge to go over wet areas repeatedly.
It is important to distinguish between temporary and permanent glass decoration. Standard water-based acrylic markers can be scraped off glass relatively easily or washed away with warm water and soap, making them perfect for temporary window art or seasonal holiday displays. For permanent home decor items, such as decorative jars or display plates, look for MW variants designed for glass and porcelain that can be baked to cure.
To prep your glass surface for maximum ink adhesion, follow this quick cleaning routine:
- Wash and Dry: Clean the glass with warm, soapy water to remove surface grime.
- Degrease: Wipe the entire surface thoroughly with rubbing alcohol (isopropyl or ethyl alcohol) and a lint-free microfiber cloth. This step removes invisible oils from your fingers and manufacturing residues that prevent the acrylic polymer from gripping the glass.
- Handle by the Edges: Once cleaned, avoid touching the areas you plan to paint.
Cross-Project Compatibility and Marker Maintenance
If you are a mixed-media crafter who enjoys working across different surfaces, investing in multiple specialized marker sets may not be practical. In this case, a high-quality set of medium bullet tip (2.0mm) MW multi-surface acrylic markers offers the best compromise. This variant provides enough detail control for rocks and glass, sufficient ink flow for small fabric designs, and excellent compatibility with paper, wood, and plastic.
Regardless of which variant you choose, proper storage and maintenance are essential for extending the lifespan of your markers, especially in tropical climates.
- Store Horizontally: Always store your acrylic markers horizontally. Storing them vertically tip-up causes the heavy color pigments to settle at the bottom of the barrel, resulting in watery, translucent ink when you write. Storing them vertically tip-down causes the pigments to pool in the nib and valve assembly, leading to severe clogging, leaks, or splattering when you open the cap.
- Keep Caps Tight: Ensure the cap clicks firmly into place immediately after use. Acrylic ink dries quickly when exposed to air; leaving a marker uncapped for even a few minutes can dry out the nib.
- Revive Dried Tips: If a marker tip becomes dry or clogged with paint residue or fabric fibers, do not throw it away. Gently pull the nib out of the marker body. Rinse the nib under warm tap water, rubbing it gently between your fingers until the water runs clear. Blot the nib thoroughly with a clean paper towel, reinsert it into the marker, cap it, and let it sit horizontally for an hour before gently priming it on scrap paper.
Crafters in the Philippines must also manage the effects of high humidity and temperature shifts. High humidity slows down the evaporation rate of water in the ink, meaning your projects will take longer to dry between layers. Avoid working outdoors on humid or rainy days, as atmospheric moisture can settle on your canvas and interfere with the curing process. Always work in a well-ventilated, indoor space—preferably with a ceiling fan or air conditioning—to help the ink dry evenly and prevent condensation from forming inside your marker caps.
Frequently Asked Questions (FAQ)
Can I use standard MW acrylic markers on skin or face?
No, standard MW craft acrylic markers should never be used on the skin or for face painting. Unless a marker is explicitly labeled as cosmetic-grade, non-toxic, and dermatologically tested for skin safety by the manufacturer, it is not safe for topical use. Craft acrylic inks contain binders and preservatives designed for industrial and artistic surfaces; these chemicals can cause allergic reactions, contact dermatitis, or severe irritation, particularly on the sensitive skin of children.
How do I fix a clogged MW acrylic marker nib?
To fix a clogged nib, gently pull the nib out of the marker barrel using your fingers or a pair of tweezers. Soak the nib in a small cup of warm water for five to ten minutes to dissolve any dried acrylic polymer. Blot the nib dry with a clean paper towel, reinsert it into the marker, and shake the marker well with the cap on. Press the tip down gently on a piece of scrap paper a few times to reactivate the internal valve and draw fresh ink into the clean nib. If the internal valve is permanently damaged or leaking, the marker should be replaced.
Do I need to seal my acrylic marker projects?
Sealing is conditional and depends entirely on the project’s final environment and usage. For indoor, low-touch items like framed art, wooden signs, or decorative glass bottles, sealing is optional. For outdoor projects like painted garden rocks, frequently handled items like phone cases, or ceramic mugs that will be hand-washed, applying a compatible clear sealer is highly recommended. Always verify that your chosen sealer is compatible with acrylic ink by testing it on a small sample first to ensure it does not smear or dissolve your hard work.
Community discussion
Share your experience or ask a question. Comments are reviewed before publication.