
Selecting the ideal permanent marker involves matching the ink’s chemical properties and the tip’s physical design to your specific substrate and working environment. Whether you are labeling plastic food containers for a home kitchen in a humid tropical climate, marking raw steel in an industrial fabrication shop, or decorating a ceramic mug for a creative project, the Pilot lineup offers highly specialized writing instruments designed for distinct tasks. Relying on a single, general-purpose marker for every task often leads to smudged labels, ruined tips, or faded markings. By understanding the distinct performance characteristics of Pilot’s alcohol-based, paint-based, and heavy-duty markers, you can choose the exact tool that ensures legibility and durability for your specific application.
Understanding Pilot Permanent Marker Ink and Tip Types
To make an informed decision, it is essential to look closely at the underlying ink chemistry and tip construction of these writing instruments. Pilot permanent markers generally fall into three primary categories: standard alcohol-based inks, liquid paint-based markers, and solid paint markers. Standard alcohol-based permanent inks are highly valued for their quick-drying properties and low-odor formulations. These inks contain colorants dissolved in an alcohol solvent, which evaporates rapidly upon contact with the surface, leaving behind a water-resistant layer. However, because these inks are translucent, they are best suited for light-colored, porous, or semi-porous surfaces.
In contrast, paint-based markers utilize suspended pigments within a liquid binder. This formulation yields a highly opaque, vibrant mark that can cover dark or non-porous surfaces, such as glass, metal, and dark plastics. Liquid paint markers typically require shaking to distribute the pigments evenly and a pumping action to prime the tip. Solid paint markers, on the other hand, consist of solidified paint sticks that do not require priming; they write by shearing off layers of highly durable paint onto extremely rough or dirty surfaces.
Products mentioned in this guide
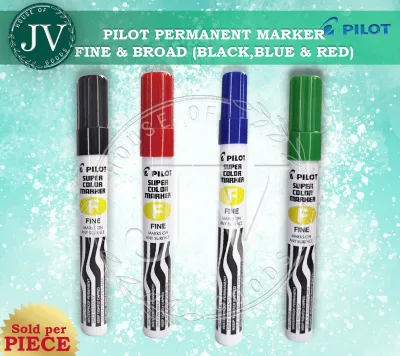
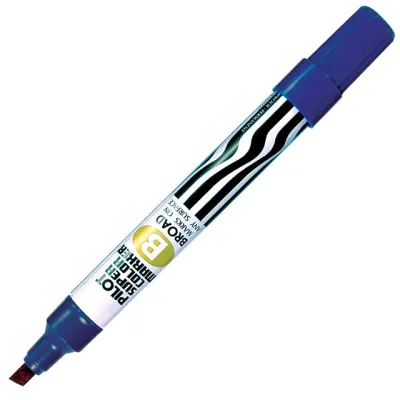
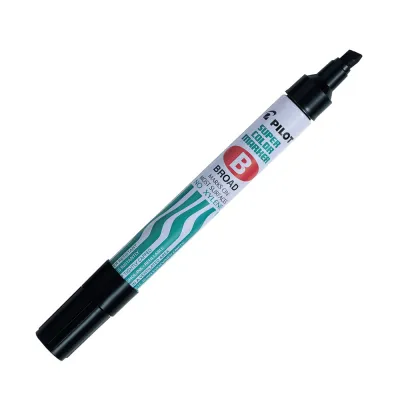
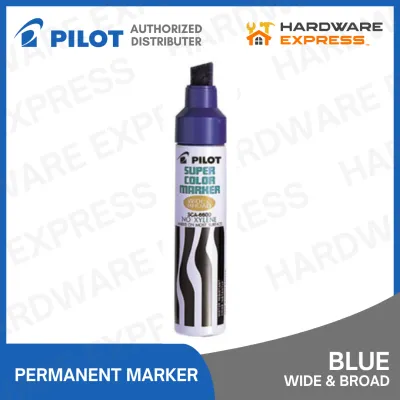
![Pilot Marking Pen Pilot Super Color Permanent Marker Writing Pen Pentel Pen BLACK BLUE RED Fine Tip Sold Per (1) Pc [Future Industries]](https://img.lazcdn.com/g/p/e54d02118f21323cec99b0041b560549.jpg_400x400q80.jpg_.webp)
Prices are valid at publication and may change. Please refer to the product page for the latest price.
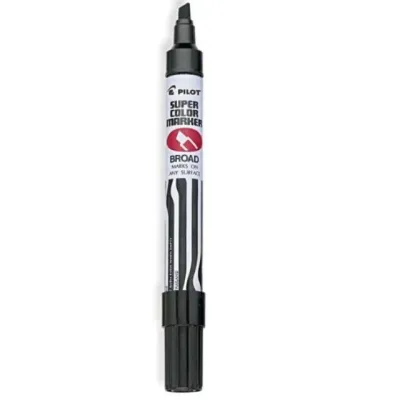
The physical tip of the marker dictates the precision and style of your markings. Bullet tips provide a consistent, rounded line width that is ideal for standard writing and labeling. Chisel tips feature an angled edge, allowing the user to switch between broad strokes for high-visibility signage and fine lines for smaller text. Fine and extra-fine tips are engineered for high-precision tasks, such as detailing crafts or writing on small tags. Before purchasing, always check the manufacturer’s specifications for tip dimensions and surface compatibility. Remember that performance claims such as “waterproof,” “fade-resistant,” or “weatherproof” are highly dependent on the specific substrate and environmental exposure, meaning you should always verify these properties against the product label for your intended application.
Best Pilot Permanent Markers for Everyday Labeling and Office Use
For standard indoor tasks—such as organizing office files, labeling cardboard storage boxes, marking plastic bins, or writing price tags for a retail shop—the primary requirements are rapid drying, low odor, and high legibility. In these everyday scenarios, standard alcohol-based markers are the most practical choice. They dry almost instantly on porous paper and cardboard, minimizing the risk of ink transferring to your hands or adjacent documents.

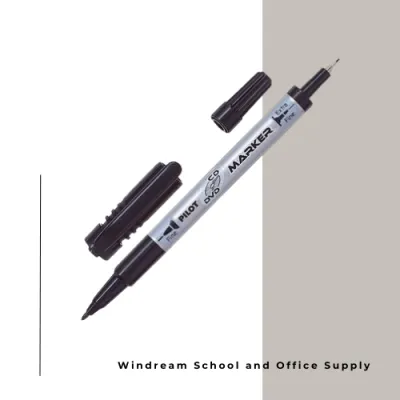
The Pilot Super Color marker series is a staple in office environments due to its reliable ink flow and robust tip options. For tasks requiring versatility, twin-tip markers—which feature a fine bullet tip on one end and an extra-fine tip on the other—are exceptionally convenient. These allow you to transition seamlessly from writing bold labels on large storage boxes to marking small tabs on plastic file folders.
When using these markers on standard office paper, typically ranging from 70gsm to 80gsm, it is important to conduct a quick test for bleed-through. High-flow permanent ink can penetrate thin paper fibers, potentially ruining the pages underneath. Additionally, when labeling glossy folders, laminated sheets, or smooth plastic containers, verify the drying speed. Give the ink a few seconds to cure, then perform a gentle smudge check with a dry fingertip. Finally, always pay close attention to the marker’s cap design. A high-quality cap with an airtight seal or a distinct “click” closure is crucial for preventing the solvent from evaporating, ensuring the marker remains ready for use even during long periods of intermittent writing.
Best Pilot Permanent Markers for Crafting and Creative Projects
Creative applications demand a completely different set of performance characteristics. When working on fabric, untreated wood, ceramics, glass, or polished stones, standard permanent ink often falls short. It can bead up on non-porous surfaces, bleed excessively along wood grain, or appear dull on dark backgrounds. For these projects, crafters require markers that deliver vibrant opacity, precise control, and excellent adhesion to diverse and textured mediums.
The Pilot Pintor series is highly regarded for creative endeavors. Utilizing a water-based pigment paint ink, these markers offer a wide palette of colors, including pastels and metallics, that remain highly visible on both light and dark surfaces. Because the ink is rich and opaque, it acts more like traditional acrylic paint, sitting on top of the material rather than soaking in. This makes it ideal for decorating smooth surfaces like glass jars or glazed ceramics, as well as textured materials like canvas and terra cotta.
Before starting a creative project, always test the marker on a scrap piece of the exact material you plan to use. This trial allows you to observe the ink’s opacity, check the drying time, and verify that the color does not bleed or feather. Before applying any marker or post-treatment to your craft project, always check the applied product’s label and the treated item’s manufacturer instructions. If instructions conflict, or if the item’s material is unidentified, stop and consult the manufacturer or a qualified professional before proceeding. Keep in mind that while these paint markers offer excellent adhesion, certain materials require post-treatment to make the designs truly permanent. For instance, decorated fabrics may need to be heat-set with an iron, and ceramic or glass items might require baking in a home oven or the application of a clear protective sealant. Always consult the manufacturer’s packaging instructions to determine the correct curing and sealing steps for your specific substrate.
Best Pilot Permanent Markers for Industrial and Heavy-Duty Marking
Industrial environments present some of the harshest challenges for writing instruments. In construction sites, metal fabrication shops, automotive garages, and outdoor utility yards, markers must perform on surfaces that are wet, oily, rusted, rough, or exposed to extreme temperatures. Standard office markers will quickly fail in these conditions, as oil and moisture prevent the ink from adhering, while rough surfaces like concrete or rusted iron will grind down standard acrylic tips in seconds.
For these heavy-duty applications, specialized industrial markers, such as the Pilot Super Color Industrial or solid paint markers, are indispensable. These tools are engineered with specialized solvents and highly durable tips that can cut through surface oil, moisture, and rust to leave a highly visible, permanent mark. Solid paint markers are particularly effective on rough lumber, concrete blocks, and oxidized steel pipes, as they lay down a thick layer of actual paint that cures into a weather-resistant barrier.
When selecting an industrial marker, it is critical to verify the manufacturer’s technical specifications regarding temperature resistance, UV fading, and chemical exposure. Do not assume that a standard “permanent” label means the mark will survive prolonged outdoor exposure under the intense tropical sun or contact with industrial solvents. Before marking critical equipment or structural components, always check the applied product’s label and the treated item’s manufacturer instructions. If instructions conflict, or if the item’s surface material is unidentified, stop and consult the manufacturer or a qualified professional. Safety is also a paramount consideration in industrial settings. Many heavy-duty markers utilize strong organic solvents that emit potent fumes. Always ensure proper ventilation when marking in confined spaces, and strictly follow safety guidelines by keeping these markers away from high heat sources, sparks, or open flames.
Cross-Scenario Compatibility: Can One Marker Do It All?
Faced with various marking tasks, you might wonder if it is possible to simplify your toolkit and use a single, general-purpose permanent marker for everything. While a high-quality, standard permanent marker is incredibly versatile, attempting to use a single tool across wildly different scenarios involves significant trade-offs.
For example, if you attempt to use a standard office marker on an oily steel pipe in an outdoor workshop, the ink will bead up, fail to adhere, and likely clog or ruin the polyester tip permanently. Conversely, if you use a heavy-duty, solvent-rich industrial paint marker to label standard paper documents or file folders in an office, you will encounter severe bleed-through that can ruin multiple sheets of paper, accompanied by a strong, unpleasant solvent odor that is unsuitable for enclosed, poorly ventilated spaces.
To determine your needs, consider a simple decision framework. If your daily tasks are limited to general household organization, labeling plastic food containers, and occasional school or office work, a high-quality twin-tip permanent marker is highly cost-effective and more than sufficient. However, if your work involves specialized applications—such as outdoor labeling exposed to monsoon rains, heavy industrial fabrication, or detailed artistic crafting on non-porous glass and ceramics—investing in purpose-built markers is essential. Using the correct tool not only saves time and prevents ruined materials but also ensures that your markings remain legible and intact over the long term.
Practical Tips for Testing and Maintaining Your Markers
To maximize the lifespan of your Pilot permanent markers and ensure consistent performance, implementing a proper testing and maintenance routine is highly beneficial, especially in challenging environmental conditions. Before applying any marker to a finished project or valuable item, establish a low-risk testing protocol. Always apply a small mark to an inconspicuous area or a scrap piece of the same material. This simple step allows you to verify ink compatibility, drying speed, bleed resistance, and color accuracy without risking damage to your primary object.
Proper storage is equally critical to prevent premature drying. Most standard permanent markers and paint markers should be stored horizontally. This horizontal positioning keeps the ink solvents and pigments evenly distributed throughout the reservoir, preventing the tip from either drying out or becoming oversaturated. However, always check the specific manufacturer’s instructions on the packaging, as some specialized markers may require tip-down or tip-up storage to maintain optimal ink flow.
Environmental factors play a significant role in marker performance. In hot, humid climates like those in the Philippines, high relative humidity can noticeably slow down the drying and curing times of both water-based and solvent-based paint inks on non-porous surfaces like plastic, metal, and glass. To prevent accidental smudging, allow extra drying time—sometimes several minutes longer than the packaging indicates—before handling the marked item.
If a standard alcohol-based marker’s tip begins to dry out due to a loose cap, you can sometimes revive it by tightly re-capping the marker and storing it tip-down for 24 hours to let the gravity-fed solvent saturate the fibers. For paint markers that have stopped flowing, a gentle shake and a careful re-priming of the tip on a scrap piece of cardboard can often restore the ink flow. However, if the internal solvent has completely evaporated or the tip has become frayed and clogged with cured paint, the marker is beyond recovery and should be safely disposed of in accordance with local waste management guidelines.
Community discussion
Share your experience or ask a question. Comments are reviewed before publication.