
Selecting the ideal POSCA acrylic marker for your creative projects depends on matching the specific tip size and ink flow to the texture and porosity of your chosen surface. Because these markers utilize a water-based pigment ink that behaves differently depending on whether a material is porous or non-porous, understanding how the ink interacts with your medium is the key to achieving vibrant, long-lasting results. Whether you are customizing a cotton tote bag, detailing a smooth glass jar, painting a rough river stone, or illustrating on heavy cardstock, choosing the correct marker configuration ensures smooth application without ruining your materials.
By evaluating the physical characteristics of your project surface alongside the design details you want to achieve, you can easily narrow down the vast array of available marker tips. From ultra-fine pin tips designed for intricate technical drawings to massive chisel tips built for covering large outdoor murals, each variant serves a distinct purpose. This guide breaks down the essential selection criteria, surface preparation steps, and sealing methods to help you get the absolute most out of your acrylic paint markers.
Core Selection Framework for Your Project Material
To make an informed decision, you must first understand how water-based acrylic ink interacts with different materials. Porous surfaces, such as raw wood, uncoated paper, cardboard, and natural fabrics, naturally absorb the liquid binder of the ink. This absorption pulls the pigment deep into the fibers, creating a highly stable and permanent bond once dry. On these surfaces, the ink dries relatively quickly, though high environmental humidity can slow down the evaporation process.
Products mentioned in this guide
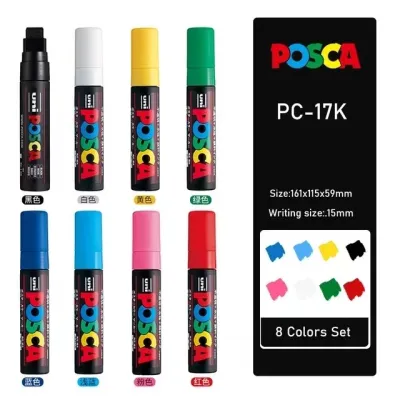
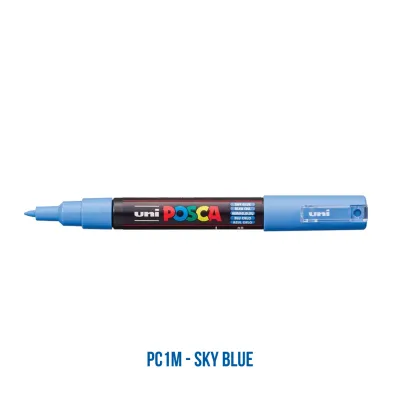
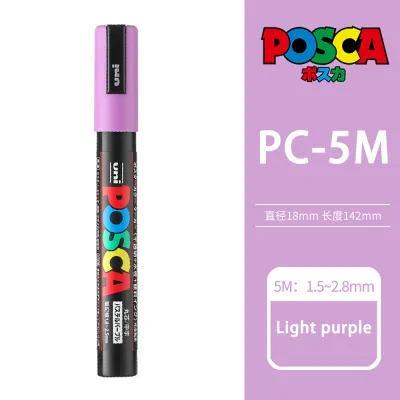
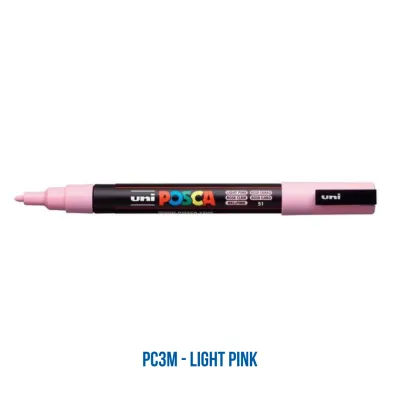
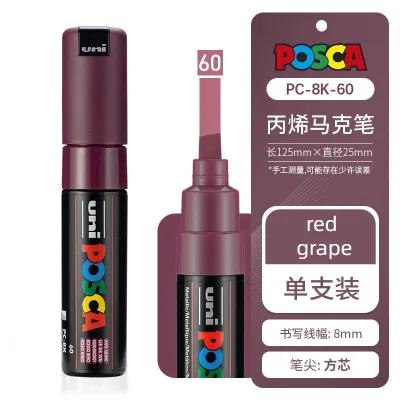
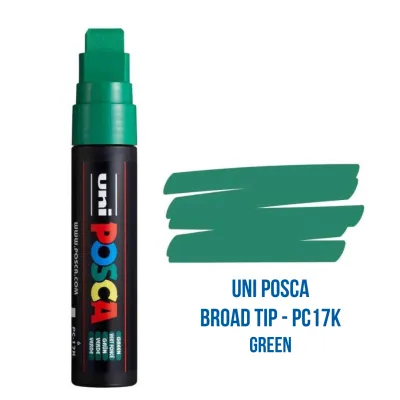
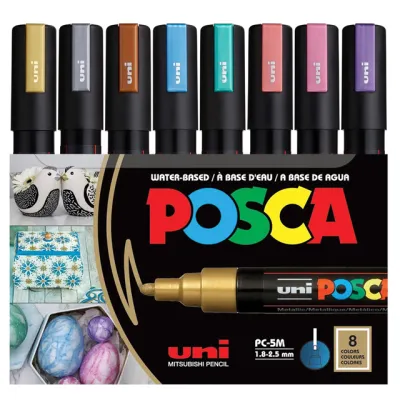
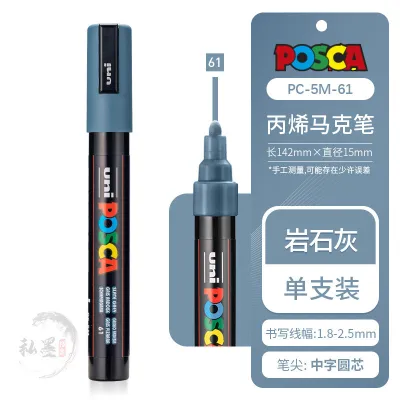
Prices are valid at publication and may change. Please refer to the product page for the latest price.
Conversely, non-porous surfaces like glass, glazed ceramics, plastics, and metals do not absorb any liquid. The ink sits entirely on top of the material as a thin, dried plastic film. Because there is no physical penetration, the dried paint remains vulnerable to scratching, scraping, or water damage unless it is cured with heat or protected with a clear sealant. When working on these slippery surfaces, controlling the ink flow is critical to prevent pooling or running.
Tip size and shape also dictate the success of your project. Fine tips (ranging from 0.7mm to 1.3mm) are ideal for outlines, writing, and intricate patterns, but they can easily clog or wear down if used on rough, abrasive surfaces. Medium and broad tips (ranging from 1.8mm to 15mm) deliver a generous flow of ink, making them perfect for filling large color blocks, blending gradients, and working on textured materials. Additionally, specialty ink variants like metallics and fluorescents offer varying levels of opacity; metallic pigments tend to be highly opaque and reflective on dark backgrounds, while fluorescent colors are semi-translucent and require a white base coat to achieve maximum vibrancy.
Matching Tip Sizes and Ink Types to Specific Surfaces
Paper and Cardstock Projects
When working on paper, the primary challenge is managing moisture to prevent the fibers from warping, pilling, or bleeding. For detailed illustrations, lettering, and fine outlines, ultra-fine tips like the PC-1MR (0.7mm metal-calibrated tip) or the PC-1M (0.7mm bullet tip) are highly recommended. These tips release a controlled, minimal amount of ink, allowing you to draw precise lines without oversaturating the paper fibers. For filling medium-sized illustrations or creating bold hand-lettering, the PC-3M (0.9–1.3mm) or PC-5M (1.8–2.5mm) bullet tips offer the perfect balance of coverage and control.

Before starting, always check the weight and texture of your paper. Standard printer paper or thin notebook pages (typically under 100 GSM) will almost certainly warp or bleed through when subjected to wet acrylic paint. For the best results, opt for heavy-weight cardstock, mixed-media paper, or watercolor paper with a weight of at least 200 GSM. Smooth, hot-pressed papers allow the marker tip to glide effortlessly, while textured, cold-pressed papers can cause slight friction but offer excellent ink grip.
If your design requires multiple layers or blended colors, patience is essential. Applying a wet layer of acrylic ink directly over another wet layer can tear the delicate surface of the paper, creating unsightly paper pills. Allow each layer to dry completely before applying the next. In humid environments, such as during the tropical rainy season, you may want to use a craft heat gun or a hair dryer on a low, cool setting to speed up the drying process between layers.
Fabric and Textile Customization
Customizing clothing, canvas sneakers, and tote bags requires a marker tip that can handle the rough, woven texture of textiles without catching or fraying. The PC-5M (medium bullet) and PC-8K (8mm broad chisel) are the preferred choices for fabric projects. Their durable polyester nibs are designed to glide smoothly over coarse threads, ensuring a consistent flow of ink without spraying or splattering paint when the tip releases from the fabric weave. Fine tips should generally be avoided on coarse fabrics, as the sharp nibs can snag on the fibers and disrupt your lines.
Before you begin painting, always wash the garment or fabric item to remove any manufacturing starches, sizing agents, or fabric softeners. These chemical coatings create a barrier that prevents the acrylic pigment from bonding directly with the textile fibers, which can lead to premature fading or peeling in the wash. Once the fabric is clean and completely dry, insert a piece of thick cardboard inside the shirt or tote bag to prevent the wet ink from bleeding through to the back layer of fabric.
To make your fabric designs permanent and washable, you must follow proper heat-setting procedures. Once your artwork is completely dry—ideally after waiting 24 hours—iron the fabric on the reverse side for several minutes using a dry iron (no steam) set to a temperature suitable for the fabric type. If the item cannot be ironed, a hair dryer can be used to apply consistent heat to the painted area. For added protection, wash the customized item inside out on a gentle cycle using cold water, and avoid harsh detergents or tumble drying.
Rock Painting and Outdoor Crafts
Rock painting requires markers that can withstand highly abrasive, uneven, and porous surfaces. Broader, more durable tips like the PC-5M, PC-7M (4.5–5.5mm bold bullet), and PC-8K are ideal for this medium. The robust polyester construction of these nibs allows them to survive repeated friction against rough stone, natural pits, and dusty crevices. If a nib does become worn or dirty from the rock surface, many of these markers feature replaceable or reversible tips that can be pulled out, washed, or flipped around to extend their lifespan.
Achieving vibrant colors on dark or naturally patterned rocks requires strategic layering. Because raw stone absorbs paint unevenly, starting with a base coat of white acrylic paint or a dedicated primer is highly recommended. This base layer seals the porous stone and provides a bright, neutral canvas that makes your subsequent colors pop. If you prefer to paint directly on the rock, apply the ink in thin, multiple layers, allowing each layer to dry thoroughly to build up solid, opaque coverage.
Because outdoor crafts are constantly exposed to environmental elements like intense tropical sunlight, high humidity, and heavy rainfall, sealing your finished rock painting is mandatory. Unprotected water-based acrylic paint will quickly fade, crack, or wash away when left outdoors. Apply a clear, non-yellowing, UV-resistant acrylic spray sealer over the dry paint. Applying multiple light coats of spray sealer rather than one heavy coat prevents the ink from running or smearing during the sealing process.
Glass, Ceramics, and Smooth Surfaces
Painting on non-porous surfaces like glass, glazed mugs, and polished ceramics requires a delicate touch and precise ink control. Fine and medium bullet tips, such as the PC-1M and PC-3M, are highly effective for these slippery materials. Because the surface does not absorb any liquid, a tip that releases too much ink can cause the paint to pool, puddle, or run, ruining clean lines. Fine tips allow you to lay down controlled, thin lines that dry quickly and adhere evenly to the smooth surface.
Proper surface preparation is the most critical step for glass and ceramic projects. Even invisible oils from your fingertips can prevent the water-based acrylic ink from adhering to the surface, leading to immediate peeling or bubbling. Thoroughly clean the object with warm, soapy water, dry it completely, and then wipe the entire painting area with isopropyl alcohol. Once cleaned, avoid touching the painting surface with your bare hands; hold the object by the edges or wear clean cotton gloves while working.
Because acrylic paint does not naturally bond with glass or glazed ceramic, the design remains temporary and fragile unless cured. To make your creations semi-permanent or resistant to light washing, you must bake the item in a household oven. Place the painted ceramic or glass piece into a cold oven, heat it to the manufacturer’s recommended temperature (typically 160°C), bake it for 45 minutes, and then let the oven cool down completely before removing the item. For non-bakeable glass or plastic items, applying a clear, protective spray varnish formulated for smooth surfaces is the best alternative.
Preparing Surfaces and Sealing Your Finished Artwork
No matter which material you choose for your project, proper preparation and sealing are the twin pillars of longevity. For porous materials like raw wood, terracotta, or plaster, start by lightly sanding the surface with fine-grit sandpaper to remove splinters and rough spots. Wipe away all dust with a dry cloth, and apply a thin coat of clear or white acrylic primer (gesso). This priming step prevents the porous material from drinking up excessive amounts of your marker ink, saving your markers from running dry prematurely and ensuring a much smoother application.
For non-porous materials like plastics, metals, and polished stones, a light sanding with ultra-fine sandpaper can actually help by creating microscopic grooves for the paint to grip onto. After sanding, always degrease the surface using isopropyl alcohol or a dedicated surface cleaner. Once your artwork is complete, evaluate how the item will be used to determine the best sealing method. Decorative items that sit safely on a shelf may only need a light dusting of clear spray varnish, while items subject to frequent handling, outdoor weather, or moisture require robust protection.
When selecting a clear sealant or varnish, compatibility is paramount. Because these markers use water-based ink, applying a heavy, wet coat of solvent-based spray varnish can reactivate the paint, causing your hard work to smear, bleed, or discolor. To prevent this, always apply the sealant in very light, misting coats from a distance of at least 30 centimeters. Let each mist coat dry completely before applying the next. Most importantly, always perform a compatibility test by applying your marker and the sealant to a hidden area of your project or a scrap piece of the same material first to ensure they do not react negatively.
Pre-Purchase Checklist for Authentic and Fresh Markers
To ensure your creative projects go smoothly, it is vital to verify the authenticity, freshness, and physical condition of your markers before you buy them. Counterfeit art supplies are common on online marketplaces, and using sub-par markers can lead to watery ink, clogged tips, and poor color payoff. Use this practical checklist whether you are shopping at a local stationery store or browsing online:
- Inspect the Packaging: Look closely at the branding, font alignment, and color labels on the marker barrel. Authentic markers feature clean, high-quality printing, clear model numbers (such as PC-3M or PC-5M), and often come with intact plastic shrink-wrap around the individual marker or the boxed set.
- Listen for the Mixing Ball: Pick up the marker and shake it. You should hear a clear, sharp rattling sound from the metal mixing ball inside the barrel. This ball is essential for re-suspending the heavy acrylic pigments in the water-based binder. If the rattle sounds dull, sluggish, or is completely silent, the pigment may have settled and dried out due to improper or prolonged storage.
- Examine the Nib: If shopping in-store, check that the nib is clean, dry, and completely white or neutral in color. A pre-colored nib indicates the marker has already been primed or used, which can shorten its shelf life. The nib should feel firm and hold its shape without fraying or splitting.
- Verify the Seller and Storage: When purchasing from online marketplaces, avoid listings with prices that seem too good to be true, as individual markers typically retail for a consistent price range of around ₱120 to ₱250 depending on the tip size. Check the seller's ratings, read customer reviews specifically mentioning dried-out stock, and verify their return policy so you can easily exchange any defective or dry markers.
Frequently Asked Questions (FAQ)
Can I use the same marker on both paper and glass?
Yes, you can use the exact same marker on both paper and glass, as the water-based acrylic ink formula remains identical across different tip sizes. However, the ink will behave completely differently on each surface due to their physical properties. On porous paper, the ink is absorbed into the fibers and becomes permanent once dry, resisting water and light handling without any extra steps. On non-porous glass, the ink simply dries as a film on the surface; it remains temporary and can be easily scraped off with a damp cloth or a plastic blade unless you cure it in an oven or apply a protective clear sealant.
How do I revive a dried-out acrylic paint marker?
To revive a marker that has stopped flowing, start by putting the cap on tightly and shaking it vigorously for at least 30 seconds to redistribute the settled pigment. Next, gently press the tip down repeatedly on a scrap piece of cardboard to pump the internal valve and encourage fresh ink flow. If the nib itself has become dry, crusty, and clogged with hardened paint, carefully pull the polyester nib out of the marker with your fingers or tweezers. Rinse the nib under warm running water to dissolve the dried acrylic paint, dry it thoroughly with a paper towel, reinsert it into the marker, and repeat the priming process. If the nib is frayed or split, replace it with a fresh manufacturer-approved replacement nib rather than discarding the entire marker.
Are these markers safe for items that contact food or children's toys?
No, these markers are not safe for surfaces that come into direct contact with food, beverages, or areas of toys that children might put in their mouths. While they carry general non-toxic art certifications (such as the AP seal), which prove they are safe for normal skin contact and do not emit harmful fumes during use, they are not food-grade or FDA-approved. You should never paint the inside of cups, bowls, or plates, nor the rims where lips make contact. If you customize ceramic mugs or plates, keep your designs restricted to the outer surfaces well away from the rim, and ensure any painted children’s toys are intended strictly for older children who no longer mouth their playthings.
Community discussion
Share your experience or ask a question. Comments are reviewed before publication.