
Choosing the right sticker paper for printing journal stickers at home depends on matching your specific printer type with a material that complements your journaling style. A suitable choice balances your printer’s ink delivery system with the texture, thickness, and finish of the paper. By selecting the correct media, you can create vibrant, durable designs that lay flat in your notebook without bulk or smudging.
To achieve clean results, you must evaluate how different finishes interact with your everyday writing tools. Whether you prefer a vintage, writable surface or a glossy, high-contrast look, understanding the technical limits of your home setup is the first step toward successful DIY sticker production.
Verify Your Home Printer's Compatibility Before Buying
Before purchasing any sticker paper for printing, you must identify whether your home setup uses inkjet or laser technology. Inkjet printers rely on liquid ink that must absorb into a receptive coating on the paper surface to dry properly. If you feed glossy laser paper into an inkjet printer, the ink will pool on the surface and smear instantly. Conversely, laser printers use intense heat to fuse dry toner powder onto the page. Running inkjet-specific vinyl or plastic-based sheets through a laser printer can melt the material, causing severe damage to your fuser unit.
Products mentioned in this guide
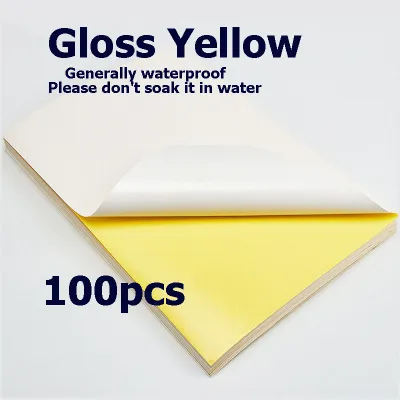
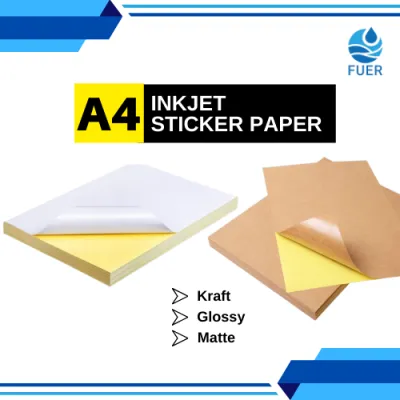
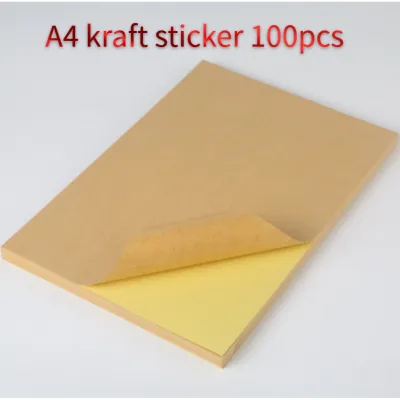
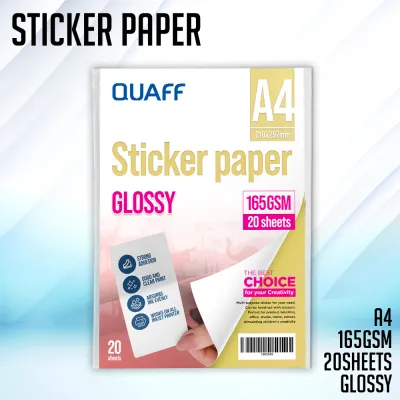
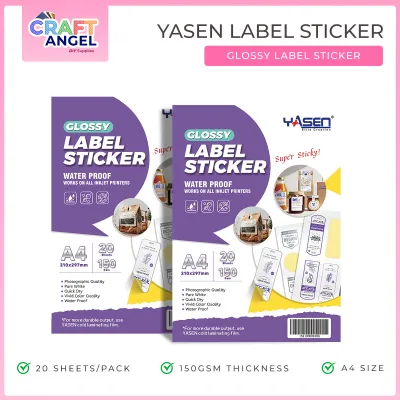
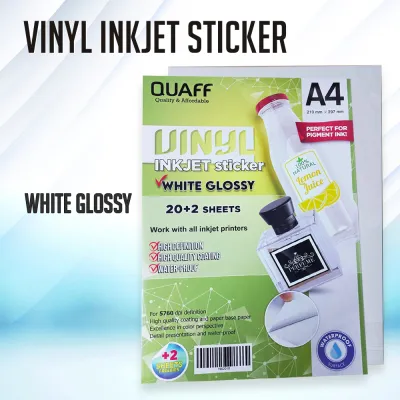
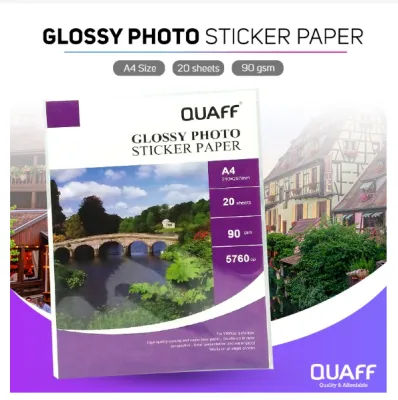
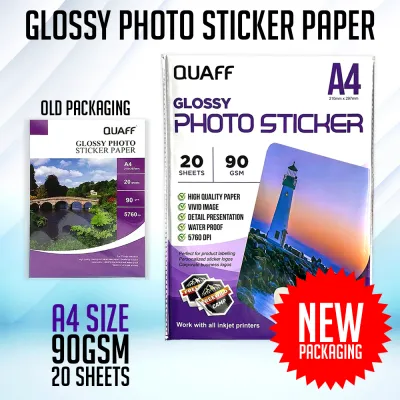
Prices are valid at publication and may change. Please refer to the product page for the latest price.
Next, consult your printer’s user manual to verify the maximum paper weight, usually measured in grams per square meter (GSM), and physical thickness limits. Sticker sheets are inherently thicker than standard copy paper because they consist of three distinct layers: the face paper, the adhesive layer, and the backing liner. Heavyweight sheets can easily cause feed jams, misalignments, or roller slippage in standard rear-feed or bottom-tray printers. If your printer features a straight-through manual feed slot, use it for thicker sticker media to minimize bending during the printing process.
You should also check if your printer supports borderless printing. Many standard home printers require a minimum margin of several millimeters on all sides, which can cut off edge-to-edge designs or shift your sticker layouts. If your printer does not support borderless printing, you will need to adjust your digital templates to keep all printable elements well within the printable boundary lines.
Choose the Right Material and Finish for Your Journal Style
The material and finish you select will define both the visual aesthetic of your journal spreads and how you interact with them. Matte sticker paper is popular for daily planning and bullet journaling because of its paper-like texture. This finish offers a vintage, muted appearance that blends seamlessly with book pages without reflecting harsh indoor light. The primary advantage of matte paper is its writability; you can easily write over printed designs using gel pens, fine liners, markers, or stamps without experiencing ink pooling or skipping.

Glossy sticker paper provides high contrast and vibrant color reproduction, making it well-suited for decorative illustrations, photos, and colorful icons. However, the glossy coating limits your ability to write on the sticker afterward, as most water-based pens will smear on the slick surface. When using glossy sheets, you must verify the drying time required for your specific ink. In humid tropical climates, glossy coatings can retain moisture longer, requiring several minutes of undisturbed drying before you can safely handle or cut the printed sheet.
For stickers that need to withstand handling, vinyl and synthetic options offer high durability. These materials are naturally tear-resistant and are often marketed as water-resistant. However, you must check the packaging carefully to ensure compatibility with your printer type. Some synthetic sheets are exceptionally thick and require specialized ink formulations to bond correctly. If you plan to use these stickers in a journal that travels with you daily, synthetic sheets provide a robust option, though they add more physical bulk to your notebook pages than standard paper.
Transparent or clear sticker paper is well-suited for creating a seamless look where only the printed design is visible, making it appear as though you printed directly onto the journal page. This is particularly useful for botanical illustrations, hand-lettering quotes, and delicate borders. Before choosing clear media, confirm that your printer can detect transparent sheets, as some optical paper sensors will register a clear sheet as empty space and refuse to feed. Additionally, keep in mind that standard home printers do not print white ink; any white areas in your digital design will print as completely transparent, and the colors will appear semi-translucent when applied over colored journal pages.
Optimize Printer Settings for Smudge-Free Results
Achieving high-quality prints at home requires adjusting your printer software settings rather than relying on default configurations. When you send a print job to your machine, open the printer preferences menu and select the correct media type, such as “Photo Paper,” “Matte Paper,” or “Labels.” This selection instructs the printer to calibrate its ink delivery, adjusting the volume of ink sprayed and the speed at which the paper feeds to allow proper absorption and drying.
Before printing on your actual sticker sheets, always run a test page on standard copy paper. This step allows you to verify alignment, check for color accuracy, and ensure that your designs are sized correctly for your journal layout. You can hold the printed test sheet up to a light source behind your sticker paper to confirm that the margins and cutting boundaries align accurately, saving you from wasting expensive sticker media.
Once the sticker sheet prints, resist the urge to touch the surface immediately. Inkjet prints require adequate drying time to set completely, especially in humid environments where moisture in the air slows down evaporation. Leave the printed sheets flat on a clean surface for at least ten to fifteen minutes. If you plan to apply a protective sealant or cut the stickers, waiting a few hours or even overnight ensures the ink is fully cured and will not smear under pressure.
Cut, Seal, and Store Your Custom Stickers Properly
The method you use to cut your stickers depends on your budget and the complexity of your designs. Manual cutting tools, such as fine-tip scissors, craft knives, and precision rotary trimmers, are very effective for simple geometric shapes and straight borders. If you prefer a quick, automated process, electronic cutting machines can handle intricate kiss-cuts with ease. However, automated cutters require you to print registration marks on your sticker sheets, which reduces the usable printing area on each page.
If your journal is subject to frequent handling, moisture, or friction, applying a protective sealant can extend the life of your stickers. You can apply a clear self-adhesive laminating sheet over the printed page before cutting, or spray the sheet with a light coat of clear acrylic sealant. Always test your chosen sealant on a small printed scrap first. Some solvent-based sprays can react chemically with inkjet inks, causing the colors to bleed, run, or turn cloudy.
Proper storage is vital to maintaining the adhesive quality and flatness of your sticker sheets over time. High humidity can cause the backing paper and the face paper to expand at different rates, leading to edge curling and warping. Store your unused sticker sheets completely flat inside a resealable plastic bag or a dedicated storage folder. Keep them in a cool, dry environment away from direct sunlight to prevent the adhesive from degrading or the paper from yellowing before you have a chance to print.
Frequently Asked Questions (FAQ)
Can I use regular paper and glue instead of sticker paper?
Yes, you can print your designs on standard copy paper and apply them using glue sticks, double-sided tape runners, or adhesive sprays. However, this DIY method introduces several trade-offs. Liquid glues and standard glue sticks can cause thin copy paper to wrinkle, warp, or bubble as it dries. Additionally, some adhesives may bleed through the paper over time, discoloring your designs. Pre-coated sticker paper features a uniform adhesive layer that keeps your journal pages flat, smooth, and free from messy residue.
Why is my ink smudging on the sticker paper?
Ink smudging is usually caused by a mismatch between your printer type and the sticker paper coating. For example, if you use glossy paper designed for laser printers in an inkjet machine, the liquid ink cannot penetrate the non-porous surface and will remain wet indefinitely. To resolve this, ensure your paper packaging explicitly matches your printer type. If the compatibility is correct but smudging persists, try reducing the ink saturation in your printer settings or selecting a lighter paper profile to decrease the volume of ink deposited.
Do I need to seal my printed stickers?
Sealing is generally optional if your stickers are meant for dry, indoor journal use where they face minimal wear. However, if you carry your journal daily, write in outdoor environments, or want to protect your spreads from accidental spills, sealing provides valuable protection. Before applying any laminate or spray, check the manufacturer’s instructions to ensure compatibility with your specific ink and paper type to prevent chemical smearing or clouding.

Community discussion
Share your experience or ask a question. Comments are reviewed before publication.