
Creating a visually striking ita bag requires a careful balance between your cherished merchandise and the background that showcases it. While enamel pins, acrylic keychains, and character badges are the stars of the display, the background insert sets the stage, providing color, depth, and cohesion. Washi tape has emerged as a favorite medium for decorating these inserts because it is highly customizable, relatively inexpensive, and generally easy to reposition. However, not every roll of decorative tape is suited for the unique environment inside a clear plastic display window. Selecting the right patterns, colors, and adhesive properties is essential to ensure your favorite characters stand out rather than getting lost in a sea of visual clutter.
Using decorative tape allows you to transform a plain paper or plastic insert into a themed backdrop tailored to a specific character or series. Because these displays are enclosed, they are protected from external dust, but they are also subjected to unique physical conditions like trapped heat and light exposure. Choosing the wrong materials can lead to peeling tape, faded colors, or even damaged merchandise. By understanding how to evaluate tape designs and adhesive quality, you can build a beautiful, long-lasting display that keeps your collection safe and looking its best.
Evaluating Washi Tape Designs for Ita Bag Backgrounds
To build a successful background, you must first understand how different tape designs interact with your merchandise. The primary goal of an insert background is to complement, not compete with, your pins and badges. This requires a careful evaluation of visual weight, color relationships, and the physical properties of the tape itself under a clear plastic window.
Products mentioned in this guide
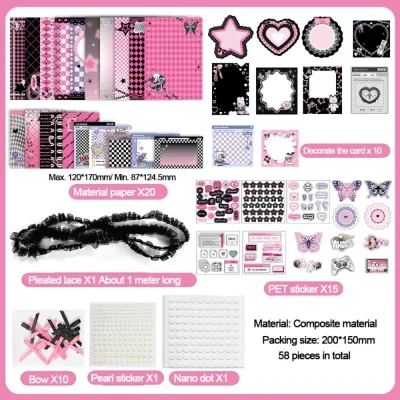
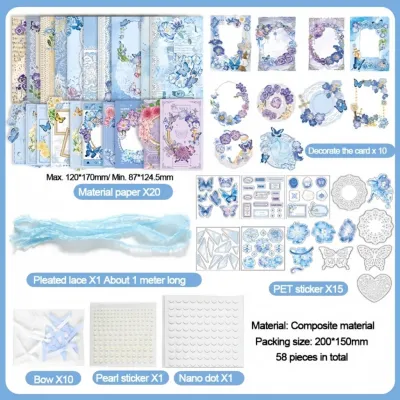
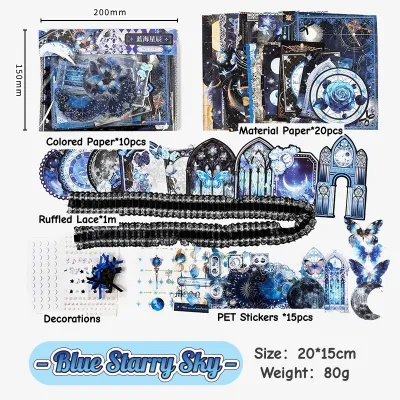
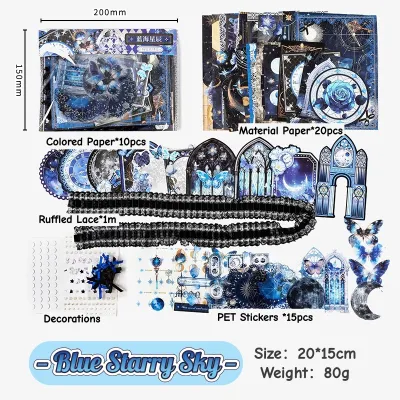
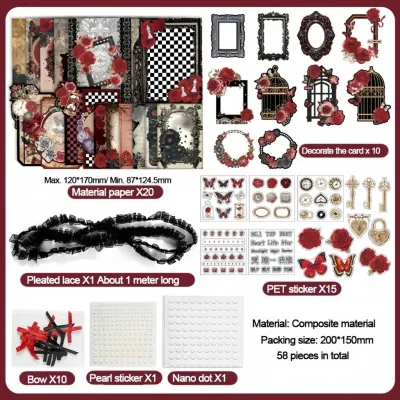
Prices are valid at publication and may change. Please refer to the product page for the latest price.
Visual weight refers to how much attention a specific design element commands. In the context of an ita bag, high-contrast patterns—such as bold black-and-white stripes, large geometric shapes, or highly detailed illustrations—possess significant visual weight. When used as a full background, these designs draw the eye away from your merchandise, making the display look chaotic and disorganized. To prevent this visual clutter, opt for low-contrast, subtle, or small-scale patterns. Delicate grid lines, tiny polka dots, or soft, repeating motifs allow the eye to glide over the background and settle directly on your pins.
Color theory plays a vital role in tying your display together. Before purchasing tape, analyze the dominant colors of the merchandise you plan to exhibit. You can choose a monochromatic color scheme, using shades of the same color family as your character’s design to create a unified, dedicated theme. Alternatively, an analogous color scheme—using colors that sit next to each other on the color wheel, such as blue and purple—offers a harmonious yet slightly more dynamic look. If you want your pins to pop dramatically, consider a complementary color scheme, pairing a cool-toned background with warm-toned merchandise, though you should keep the background saturation low to avoid overpowering the items.
Beyond aesthetics, you must consider the physical characteristics of the tape, specifically its opacity and texture. Washi tape is traditionally made from natural fibers, which gives it a characteristic translucency. When applied to a white or light-colored insert, the colors may appear lighter or more pastel than they do on the roll. If you are using a dark insert, the background color of the tape might shift or disappear entirely. Furthermore, pay close attention to the surface finish. Matte tapes are generally preferred for ita bag inserts because they do not reflect light. Glossy tapes, or those featuring heavy metallic foil accents, can catch the light and create distracting glare behind the clear PVC window of your bag, making it difficult to see your collection clearly in bright environments.
Matching Tape Patterns to Your Merchandise Themes
Selecting a tape design that aligns with the thematic essence of your collection elevates the entire presentation. Different genres of media, character personalities, and color palettes pair naturally with specific styles of decorative tape. By matching these aesthetics intentionally, you create a narrative flow within your display.

Minimalist and geometric patterns are incredibly versatile and serve as an excellent starting point for many collectors. Grid patterns, simple dot matrices, and thin, parallel stripes provide a clean, modern structure. These designs are particularly effective for highly detailed merchandise, such as intricate enamel pins or busy official art prints, as they offer a stable, non-distracting backdrop. They also work exceptionally well for sci-fi, tech, or modern-themed characters, where a clean and structured aesthetic feels appropriate.
If your collection centers around slice-of-life anime, cute mascots, or vintage-themed merchandise, soft and textured tapes are highly suitable. Watercolor washes, soft gradients, and tapes that mimic the texture of handmade paper or linen add warmth and depth without introducing distracting shapes. A gentle pastel gradient can mimic a sunset or a soft sky, providing a dreamy atmosphere that enhances the emotional appeal of your display. These textured designs are also forgiving when it comes to alignment, as minor seams between tape strips tend to blend seamlessly into the organic patterns.
Thematic accents offer a way to incorporate more specific, illustrative tapes without overwhelming the display. Tapes featuring distinct motifs—such as cherry blossoms, stars, gothic lace, or even small character silhouettes—are highly appealing but can quickly clutter a background if used to cover the entire insert. Instead, use these highly detailed tapes as decorative borders, frames, or focal points. By running a single strip of a detailed star-patterned tape along the bottom or top edge of a simpler grid background, you can hint at a cosmic theme while keeping the central display area clean and focused on your pins.
Checking Adhesives and Materials to Protect Your Bag
While visual appeal is crucial, protecting your investment is equally important. Ita bags and their inserts are made from various plastics and papers that can react negatively to certain adhesives over time, especially when subjected to environmental factors like heat and humidity.
In tropical climates, such as the high humidity experienced in the Philippines, adhesive behavior can change dramatically. Standard adhesives can soften, become gooey, or degrade, leading to permanent staining or damage to your insert. When shopping for washi tape, check the product packaging or online descriptions for terms like “repositionable,” “low-tack,” or “acid-free.” High-quality washi tape uses a mild, acrylic-based or natural rubber adhesive that is designed to peel away cleanly. Avoid extremely cheap, unbranded decorative tapes that feel excessively sticky or have a strong chemical smell, as these are more likely to leave a stubborn residue or bond permanently to your insert over time.
Before committing to a full layout, always perform a simple adhesive test. Cut a small strip of your chosen tape and apply it to a spare piece of the insert material, or to an inconspicuous corner on the back of the insert. Leave the test strip in place for a few days, ideally exposing it to the typical temperature and humidity of your room. When you peel it off, observe whether it removes cleanly without splitting, tearing the backing paper, or leaving a tacky film behind. If the tape tears easily or leaves a residue, it is best to use a different brand or apply a protective layer, such as a clear plastic sleeve, over your insert before taping.
Selecting the right tape width can also save you time and reduce physical imperfections in your background. Standard washi tape typically measures 15mm in width, which is excellent for detailed border work but requires many parallel strips to cover a standard-sized ita bag insert. Each seam between strips introduces a potential point of peeling or visual misalignment. For full-background coverage, look for wide-format washi tapes, which are available in widths of 30mm, 50mm, or even as large adhesive sheets. Using wider tape minimizes the number of overlapping seams, resulting in a smoother, more professional finish and reducing the overall amount of tape wasted during alignment.
Planning Layouts and Taping Techniques for the Insert
Achieving a seamless, professional-looking background requires careful planning and precise execution. Applying tape directly to your insert without a plan often leads to crooked lines, uneven overlaps, and wasted material.
The first decision you must make is whether to opt for full coverage or a framed layout. Full coverage involves taping the entire surface of the insert, creating a solid, continuous background block. This is ideal if you want to completely change the color of your insert or if you have a high density of pins that will cover most of the surface anyway. A framed layout, on the other hand, leaves the center of the insert exposed—perhaps showcasing a high-quality colored cardstock—and uses decorative washi tape only around the perimeter to create a border. Framing is highly efficient, saves tape, and works beautifully when you want to draw attention to a centralized, symmetrical arrangement of merchandise.
Because washi tape is translucent, managing overlapping seams is critical to maintaining a uniform appearance. When you lay down parallel strips of tape, any area where the edges overlap will appear darker or more saturated because of the double layer of paper. To minimize this effect, you can attempt a “butt-joint,” where the edges of the tape sit perfectly side-by-side without overlapping. However, this can be difficult to achieve over long distances. A more practical approach is to create a deliberate, highly consistent overlap of about one millimeter. By keeping the overlap width uniform across the entire insert, the slightly darker lines will look like an intentional part of the pattern rather than a mistake.
Before peeling any adhesive, create a physical mockup of your layout. Trace the dimensions of your ita bag insert onto a plain piece of scrap paper. Use this paper template to plan your pin placement, marking the spots where your badges and keychains will hang. Once you have established where your merchandise will sit, you can sketch out your tape lines with a pencil. This step allows you to see exactly how the tape patterns will interact with your pins. You might find that a beautiful border pattern will be completely covered by a large acrylic keychain, allowing you to adjust your layout before wasting any of your decorative tape. Once you are satisfied with the paper mockup, transfer the design to your actual insert, using a plastic ruler to ensure your tape lines remain perfectly straight and level.
Frequently Asked Questions (FAQ)
Can I use regular masking tape instead of washi tape for ita bag backgrounds?
Using standard utility masking tape from a hardware store is not recommended for decorating ita bag inserts. Utility masking tape is designed for temporary industrial or painting applications and uses a different type of adhesive that is prone to yellowing and degrading over time, especially when exposed to heat and light inside a plastic bag. This degradation can release oils that stain your insert or leave a thick, sticky residue that is incredibly difficult to remove. Additionally, utility masking tape lacks the refined, smooth texture of genuine washi paper and is rarely available in the diverse, aesthetically pleasing colors and patterns necessary to create an attractive background for your collection.
How do I remove washi tape residue from a plastic ita bag insert?
If you encounter sticky residue on a clear PVC or plastic insert after removing old tape, it is vital to clean it gently to avoid scratching or clouding the plastic. Start by applying a small amount of a mild, plastic-safe cleaning agent, such as highly diluted isopropyl alcohol or a specialized sticker remover labeled safe for plastics, to a soft microfiber cloth. Avoid using harsh solvents like acetone or nail polish remover, as these will permanently melt or cloud PVC and acrylic surfaces. Gently wipe the sticky area in a circular motion without applying excessive pressure, and avoid using abrasive scrubbing pads or metal scrapers. Always check your ita bag manufacturer’s care instructions before applying any liquid cleaners to ensure compatibility with the specific materials used in your bag.
Community discussion
Share your experience or ask a question. Comments are reviewed before publication.