
Choosing a schedule planner notebook is a highly personal decision that directly impacts your daily productivity. The most suitable layout is not the most popular format on social media, but the one that matches your actual task volume, cognitive load, and planning horizon. If you buy a layout that clashes with your natural workflow, you will likely end up with an expensive, half-empty notebook within a few months. To find the right fit, you must analyze how you process time and tasks, then match those habits to a daily, weekly, or monthly structure.
Assess Your Planning Horizon and Task Volume
Before purchasing a new schedule planner notebook, evaluate how far ahead you need to look. Some professionals and students in the Philippines manage immediate, hour-by-hour tasks, while others focus on long-term project milestones spread across several weeks. If your work involves rapid, unpredictable daily requests, a monthly view will not provide enough space. Conversely, if your schedule consists of a few major deadlines per month, a daily page will leave you staring at intimidating, empty white space.
Next, consider the density of your daily commitments. Count the average number of appointments, micro-tasks, and reminders you write down each day. If you regularly have more than ten distinct items, a standard weekly layout will force you to write in microscopic print, leading to hand fatigue. This is especially true if you prefer using bold gel pens or fountain pens, which require more physical paper space to remain legible.
Products mentioned in this guide
Prices are valid at publication and may change. Please refer to the product page for the latest price.
Identify the friction points in your current planning routine. If you find yourself constantly scribbling notes in the margins, pasting sticky notes over existing text, or running out of room entirely, your current layout is too restrictive. On the other hand, if you feel overwhelmed by the pressure of filling out a highly structured page every single day, your layout is likely too demanding.
Finally, determine whether your workflow requires rigid time-blocking or flexible, priority-based task listing. Time-blocking works best for those with back-to-back meetings, classes, or client appointments. If your days are self-directed and project-based, a flexible checklist format will serve you much better than a rigid hourly timeline.
Daily Planner Layouts: For Detailed Hour-by-Hour Tracking
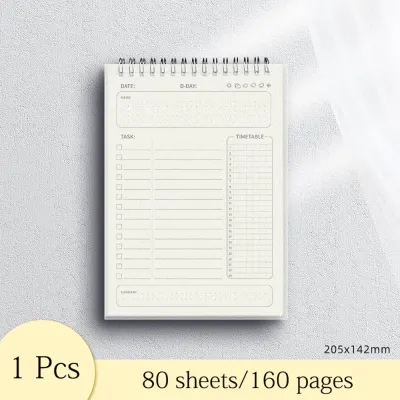
Daily planner layouts dedicate an entire page—sometimes even two—to a single day. This format is well-suited for individuals with highly packed, hour-specific schedules, such as corporate managers, medical professionals, or students balancing heavy course loads. It provides ample space for detailed habit tracking, gratitude journaling, and extensive daily to-do lists alongside your scheduled appointments.

However, this level of detail comes with physical and behavioral trade-offs. Daily planners are inherently bulkier and heavier, making them less portable if you commute daily via public transit in humid tropical weather. They also require a serious daily commitment; skipping just a few days leaves large blocks of empty pages, which can trigger planning guilt and lead to abandoning the notebook altogether.
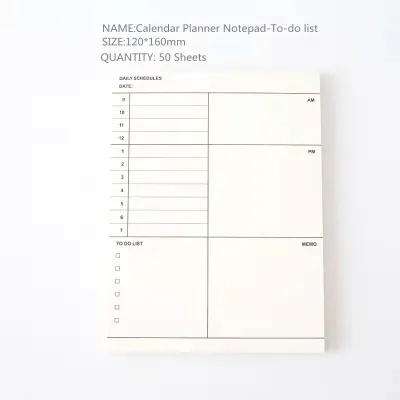
When shopping, look at the layout variations. Some daily planners feature structured hourly timelines running from 6:00 AM to 9:00 PM, while others offer a split page with a blank grid on one side and a simple checklist on the other. Choose the structure that matches your daily rhythm.
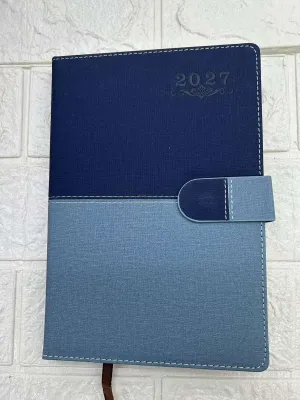
You must also perform physical checks on the notebook’s construction. Because you will turn these pages every day, look for a durable lay-flat thread binding or a sturdy twin-ring spiral binding. Ensure the paper weight is at least 80 gsm—preferably 100 gsm or higher—to handle heavy daily writing. In the humid climate of the Philippines, high-humidity environments can slow down ink drying times, so testing how your favorite gel pens or fountain pens interact with the paper is crucial to prevent smudging and ghosting.
Weekly Planner Layouts: For Balancing Overview and Daily Action
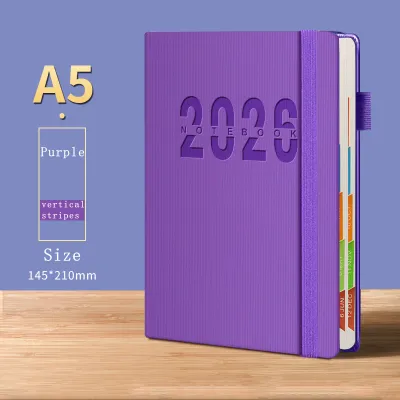
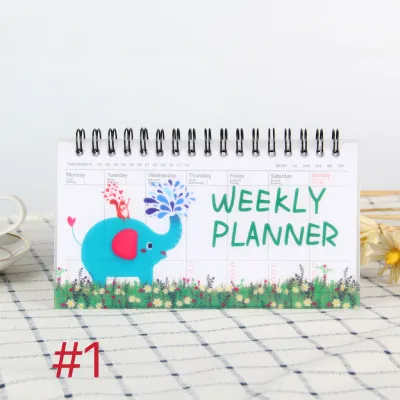
Weekly planner layouts strike a balance between macro-level planning and daily execution. By displaying an entire seven-day week across a two-page spread, this format allows you to see upcoming deadlines, meetings, and social events at a glance without the physical bulk of a daily planner. It is a popular choice for general office workers, freelancers, and educators who need to pace their workload across a five-to-seven-day cycle.
These layouts generally fall into two categories: vertical and horizontal. Vertical weekly layouts present each day as a column, often with hourly time slots, making them excellent for visual time-blocking and tracking sequential appointments. Horizontal layouts divide the pages into horizontal blocks, providing a more traditional diary feel that is well-suited for short, priority-based task lists and open-ended daily journaling.
The primary limitation of a weekly layout is the restricted daily writing space. If you have a day packed with ten meetings and a dozen micro-tasks, a weekly box will quickly overflow. You will have to compromise by writing only the most critical priorities and keeping detailed sub-tasks elsewhere.
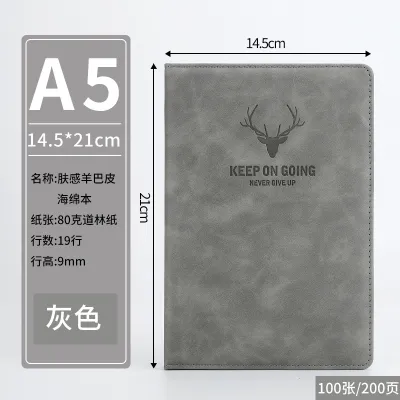
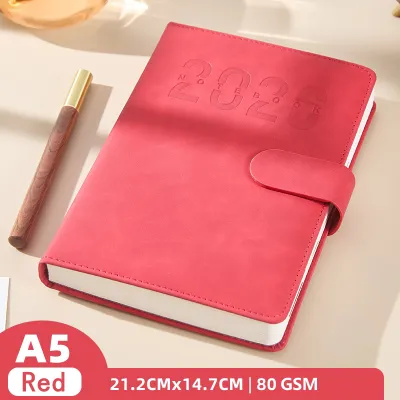
When selecting a weekly schedule planner notebook, check the overall page dimensions and spread ratios. An A5 size is often the sweet spot for weekly planning, offering a portable footprint while still providing enough physical space for legible writing. Ensure that the weekend slots (Saturday and Sunday) are given equal space to weekday slots if your personal life or weekend errands require active scheduling.
Monthly Planner Layouts: For Big-Picture Goals and Deadlines
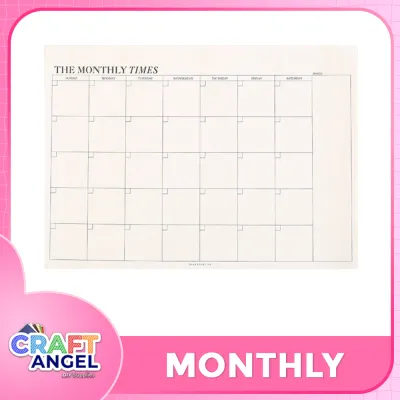
Monthly planner layouts offer a bird’s-eye view of your year, dedicating a two-page grid to each month. This format is highly effective for tracking long-term deadlines, project milestones, travel plans, exam schedules, and recurring monthly events like utility bills or subscription renewals. It is a highly low-maintenance planning tool, requiring only a few minutes of updating every week.
However, a standalone monthly layout is rarely sufficient for active daily task management. The small grid boxes cannot accommodate detailed hourly schedules or long daily to-do lists. Attempting to force daily micro-tasks into a monthly grid results in cluttered, unreadable pages that fail to keep you organized.
Instead, many successful planners use monthly layouts as a high-level index or dashboard within a broader, multi-notebook system. You can use the monthly view to map out major project phases, then transfer the immediate daily steps to a separate notepad or digital tool.
If you choose a monthly planner, pay close attention to the grid size and paper quality. Because the writing boxes are small, you will need to use fine-tip pens, such as 0.38mm or 0.5mm gel pens. Verify that the paper surface is smooth enough to prevent fine tips from catching or scratching, and ensure the ink dries quickly to avoid smudging when you close the notebook.
How to Test and Adjust Your Planner Layout Choice
Before investing in a premium, bound schedule planner notebook, it is wise to test your chosen layout. You can easily download and print free daily, weekly, or monthly templates online, or use a loose-leaf binder system to test different formats for two weeks. This trial run will reveal your actual planning habits without any financial risk.
During this trial, watch for clear signs that a layout is failing your routine. If you consistently leave daily pages blank, you do not need a daily planner; a weekly layout is a better match. If you find yourself constantly writing outside the lines or running out of space, you need to scale up to a larger page size or a more detailed layout.
Do not hesitate to adopt hybrid solutions if a single layout does not fit your life. For example, you can use a slim weekly notebook to keep track of your main appointments and pair it with a simple, tear-off daily notepad on your desk for messy, high-volume daily to-do lists. This keeps your main planner clean while providing a flexible outlet for daily chaos.
Finally, use the trial period to verify paper compatibility with your preferred writing instruments. Test your pens for bleeding (ink soaking through to the other side), feathering (ink spreading sideways along the paper fibers), and ghosting (the writing being visible on the reverse side). In the humid climate of the Philippines, paper can absorb ambient moisture, which can exacerbate these issues. Finding a paper and pen combination that resists these effects will ensure a clean, satisfying planning experience all year round.
Frequently Asked Questions (FAQ)
Can I use a blank or dotted notebook instead of a pre-printed planner layout?
Yes, using a blank or dotted notebook—often associated with bullet journaling—offers high flexibility. You can draw a daily layout on Monday, a weekly spread on Tuesday, and a monthly tracker whenever you need it, scaling the space dynamically based on your changing workload. However, this approach requires a significant time investment and a set of basic stationery tools, such as a reliable ruler and fine-liner pens. If you prefer immediate convenience and a structured guide, a pre-printed schedule planner notebook is a more efficient choice.
What if my routine changes frequently between daily and weekly planning needs?
If your schedule is highly unpredictable, look into modular or discbound planner systems. These systems allow you to add, remove, or rearrange daily and weekly inserts as your workload shifts throughout the year. Alternatively, you can use a weekly layout as your stable, permanent base and supplement heavy days with sticky notes or a separate daily scratchpad. Avoid forcing yourself into a strict hourly daily layout if your tasks are largely fluid and project-based, as this will only lead to frustration.
How do I transition my existing tasks to a new schedule planner notebook?
To transition smoothly, start using your new planner at a natural temporal boundary, such as the first day of a new month or the beginning of a new work week. When migrating your system, only copy over active, future-focused tasks, deadlines, and appointments. Avoid the temptation to copy past, incomplete to-do lists that are no longer relevant, as this will immediately clutter your fresh pages. Keep your old planner on your desk for two to three weeks so you can easily reference past notes or context without feeling pressured to transfer everything at once.
Community discussion
Share your experience or ask a question. Comments are reviewed before publication.