
Starting your first DIY scrapbook is an exciting way to preserve memories, but walking into a craft store can quickly become overwhelming. With shelves packed with specialized punches, endless rolls of decorative tape, and complex cutting machines, it is easy to think you need a massive budget to begin. In reality, you only need a few fundamental, high-quality materials to create a beautiful and lasting memory book. By focusing on a core set of reliable basics, you can protect your photos from aging while keeping your workspace organized and your budget intact.
In tropical climates like the Philippines, high humidity can cause cheap papers to warp and low-quality glues to fail or become sticky over time. This makes choosing the right foundational materials even more critical. Investing in acid-free paper and moisture-resistant adhesives ensures your hard work survives the climate and remains intact for years to come. Let us look at the essential checklist that will get you started on your scrapbooking journey without unnecessary expenses.
The Core DIY Scrapbook Materials You Actually Need
To complete your first scrapbook page, you do not need a dedicated craft room filled with tools. A minimal, focused kit allows you to master the basic layout techniques without getting distracted by too many design choices. Keeping your supplies simple also means you can easily pack up your materials and work at a dining table or a local cafe.
Products mentioned in this guide
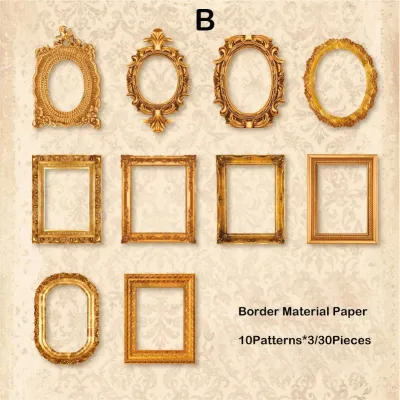
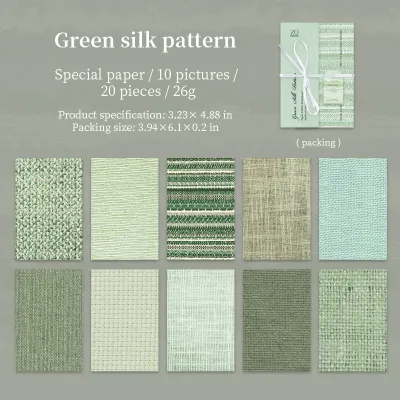
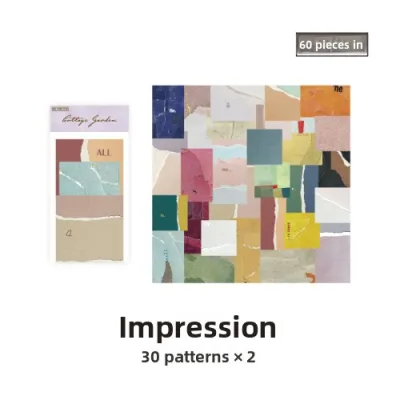
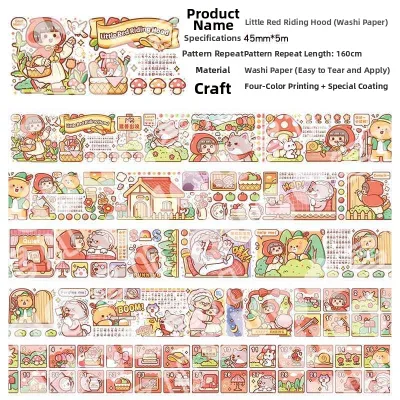
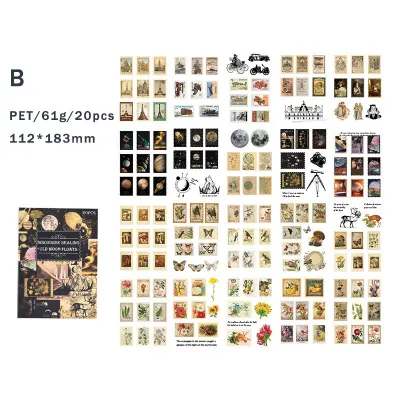
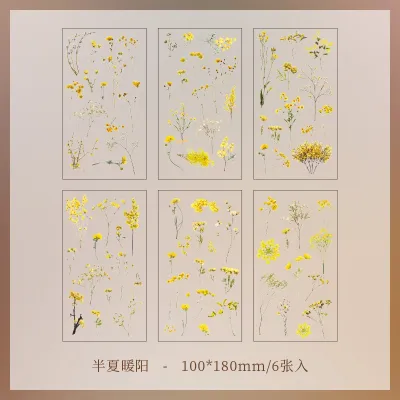

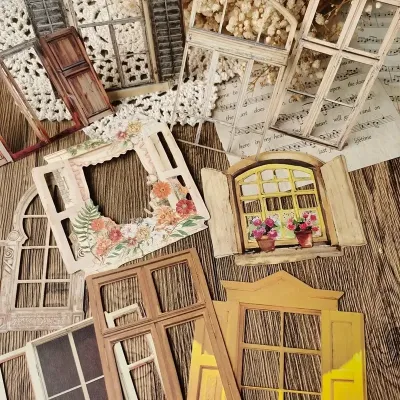
Prices are valid at publication and may change. Please refer to the product page for the latest price.
The absolute essentials for a beginner’s scrapbooking kit consist of five core categories:
- An Album or Base: This serves as the home for your pages. A simple ring-bound or post-bound album allows you to add, remove, or rearrange pages easily.
- Cardstock and Patterned Paper: Heavyweight paper acts as the sturdy background for your photos and writing.
- Photo-Safe Adhesive: A reliable bonding agent that secures your photos and paper layers without damaging them over time.
- A Precision Cutting Tool: Clean edges are vital for a neat layout, making a sharp pair of scissors or a basic paper trimmer indispensable.
- Archival-Safe Journaling Pens: Pens with fade-resistant, water-resistant ink are necessary for writing down dates, names, and stories that accompany your photos.
Starting with just these five items prevents workspace clutter and helps you focus on the storytelling aspect of scrapbooking. Once you feel comfortable arranging layouts and securing elements, you can gradually introduce decorative items. For your first few pages, let this streamlined checklist guide your shopping list so you do not overspend on tools you might never use.
Selecting the Right Album Size and Paper Weight
Choosing the physical dimensions of your scrapbook is the first major decision you will make. The standard scrapbook size is 12×12 inches, which offers a large canvas for multiple photos, extensive journaling, and elaborate decorations. However, this size can be intimidating for beginners because filling that much empty space requires more materials and design planning. It also requires larger storage shelves, which can be a challenge in compact living spaces.

For those just starting out, smaller formats like 8×8 inches or A5 are highly recommended. An 8×8-inch album is square, making it incredibly easy to balance one or two standard 4×6-inch photos per page with a small block of text. An A5 album is even more compact and portable, fitting easily into a backpack. It is perfect for travel scrapbooks or daily memory keeping, and it pairs beautifully with smaller photo prints, such as 2×3-inch instant prints or cropped photos.
Beyond size, the weight and quality of your paper determine how well your scrapbook will age. Paper weight is measured in grams per square meter (gsm). Standard printer paper is usually around 70 to 80 gsm, which is far too thin for scrapbooking; it will buckle, wrinkle, and tear when you apply glue or heavy photos. Instead, look for cardstock that is at least 160 to 220 gsm. This thickness provides a rigid, durable base that can support multiple layers of paper, photos, and embellishments without warping.
Most importantly, always verify that your paper is labeled “acid-free” and “lignin-free.” Acid and lignin are naturally occurring compounds in wood pulp used to make paper. Over time, these compounds break down and release acids that migrate into your photographs, causing them to turn yellow, fade, or develop brown spots. Using certified acid-free and lignin-free cardstock acts as a protective shield, ensuring your photos remain clear and vibrant for decades.
Matching Adhesives and Tools to Your Materials
Not all glues are created equal, and using the wrong adhesive can ruin hours of careful layout work. Adhesives generally fall into two categories: wet and dry. Wet adhesives, such as liquid craft glue or standard glue sticks, are excellent for paper-to-paper bonding. However, liquid glue must be used very sparingly. In humid environments, excess liquid glue takes longer to dry and can introduce unwanted moisture, causing your cardstock to ripple or warp.
Dry adhesives are generally much safer and easier for beginners to handle. Double-sided tape, adhesive rollers (runner tapes), and glue dots provide an instant, strong bond without introducing any moisture to the paper. Adhesive rollers are particularly convenient because they allow you to roll a clean strip of dry glue exactly where you need it. Glue dots are perfect for securing small, dimensional items like buttons, ribbons, or thick cardstock die-cuts.
You must avoid standard household cellophane tapes, yellowing school glues, or industrial hot glues for your photos. These adhesives are highly acidic and will eventually eat through the back of your pictures, leaving greasy stains or causing the photos to peel off and fall out of the album. Always look for adhesives explicitly labeled “photo-safe” or “archival-safe” to protect your prints.
When it comes to cutting your materials, precision is key to a polished look. While a pair of household scissors is fine for rough cuts, a dedicated craft knife paired with a metal ruler or a basic slide paper trimmer will give you perfectly straight, professional edges. If you are using a craft knife, always work on a self-healing cutting mat to protect your table. Keep your fingers well behind the edge of your metal ruler, and apply light, steady pressure, making two shallow passes rather than trying to force the blade through thick cardstock in a single cut. Regularly check your blades; a dull blade will drag and tear the paper fibers instead of slicing them cleanly. Keep all sharp tools and blades safely stored out of reach of children when not in use.
When to Buy Embellishments and Specialty Tools
It is incredibly easy to get swept up in the aesthetic appeal of decorative supplies. Washi tape, rubber stamps, ink pads, die-cut machines, and decorative edge scissors are fun to look at, but they are not necessary to start. Many beginners buy these specialty items prematurely, only to find they do not match their personal style or the theme of their photos.
Before spending money on commercial embellishments, look around your home for free, meaningful alternatives. Ticket stubs from a movie or a concert, boarding passes, cafe receipts, wrapping paper scraps, and even handwritten notes make excellent decorative elements. You can also press local leaves or flowers between the pages of a heavy book to dry them completely before adding them to your pages. If you do this, ensure they are fully dry to prevent mold growth in humid weather, and seal them behind a clear plastic pocket or a layer of acid-free tape so they do not touch your photos directly.
Save your budget for specialty tools until you have completed a few pages and identified your specific pain points. For example, if you find that sharp paper corners constantly snag or bend, investing in a simple corner rounder punch is a practical upgrade. If you enjoy creating interactive elements like fold-out flaps or custom pockets, a scoring board and bone folder will make folding thick cardstock clean and effortless. Only invest in expensive equipment, like electronic cutting machines or heavy-duty binding tools, once you are certain scrapbooking is a long-term passion.
Building Your First Starter Kit on a Budget
Creating a beautiful scrapbook does not have to be an expensive endeavor. To build your starter kit affordably, start by exploring local stationery shops and online marketplaces. When shopping for paper, buying a coordinated “paper pad” (a bound pack of patterned and solid sheets) is often much more cost-effective than purchasing individual sheets. These pads are designed by artists to ensure all the colors and patterns complement each other, taking the guesswork out of color coordination.
When setting your initial budget, a reasonable target of ₱500 to ₱1,500 is more than enough to secure high-quality, archival-safe basics. Allocate the majority of this budget to your album, photo-safe double-sided tape, and acid-free cardstock. You can save money on writing tools by using standard pigment-based fineliners you might already own for school or office work. Just perform a quick test on a scrap piece of your cardstock: write a few words, let it sit for a few seconds, and rub it gently to check the drying speed and smudge resistance. Also, turn the paper over to verify that the ink does not bleed through to the other side.
Finally, remember that the most valuable elements of a scrapbook are entirely free. Your personal handwriting, your memories, and the physical mementos of your daily life carry far more emotional weight than expensive store-bought stickers. By prioritizing photo preservation and clean layouts over trendy decorative gadgets, you will create a meaningful keepsake that stands the test of time without straining your wallet.
Frequently Asked Questions (FAQ)
Can I use regular printer paper for scrapbooking?
Standard printer paper is not recommended for final scrapbook pages because it is typically not acid-free or lignin-free. Over time, the acids in printer paper will migrate to your photos, causing them to yellow and deteriorate. Additionally, standard 70 to 80 gsm printer paper is too thin to support the weight of photos and will warp easily when adhesive is applied. You should only use printer paper for sketching out your page layouts, practicing your handwriting, or creating temporary templates before cutting your expensive cardstock.
What is the best scrapbook size for a beginner?
The best scrapbook size for a beginner is either 8×8 inches or an A5 format. These smaller sizes are much less intimidating than the traditional 12×12-inch format because they require fewer photos and less decorative material to fill a page. They also require less adhesive, dry faster, and are much easier to store in standard household shelving. Starting with a smaller album helps you complete pages quickly, giving you a sense of accomplishment and reducing the layout anxiety that often causes beginners to abandon their projects.
Community discussion
Share your experience or ask a question. Comments are reviewed before publication.