
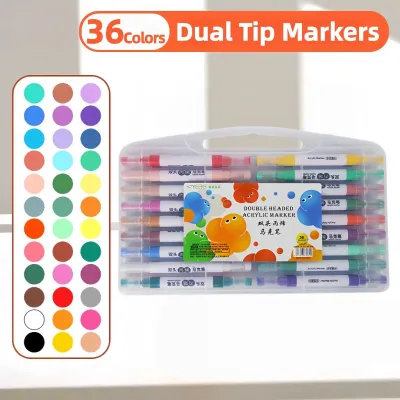
Double-headed acrylic markers offer exceptional versatility by combining two distinct nib styles in a single barrel, allowing artists to switch seamlessly between fine details and broad strokes. Understanding their technical specifications—such as tip types, ink formulas, and size conventions—is essential for selecting the right tool for your creative projects. In tropical climates like the Philippines, where high humidity can influence ink drying times and surface adhesion, decoding these specifications ensures your artwork remains vibrant and durable. By learning how to read these labels, you can make informed decisions that match your specific medium, whether you are painting on canvas, wood, glass, or stone.
Decoding Tip Types: Brush vs. Chisel Nibs
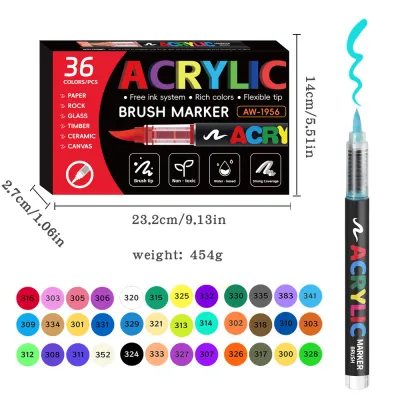
Brush tips are designed with a flexible, tapered structure that mimics a traditional paintbrush. This flexibility allows for dynamic line variation; by adjusting the pressure you apply, you can transition from a hairline stroke to a thick sweep in a single motion. This makes brush tips ideal for organic shapes, calligraphy, detailed illustrations, and blending colors.
Chisel tips, by contrast, feature a rigid, angled edge. This physical structure provides three distinct line widths depending on how you hold the marker: the broad flat side for wide coverage, the sharp edge for medium lines, and the pointed corner for precise details. Chisel tips are highly efficient for blocking in large areas of color, creating sharp geometric edges, and bold lettering.
Products mentioned in this guide
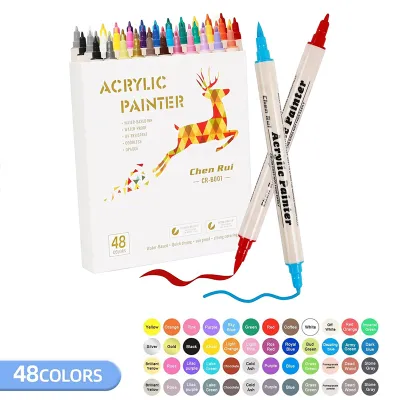
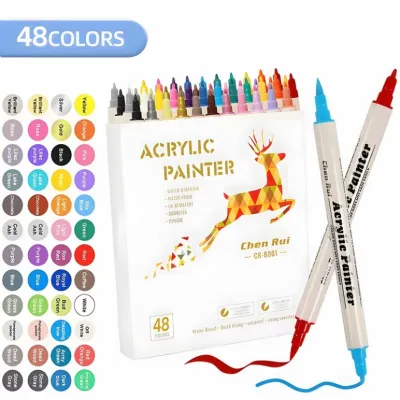
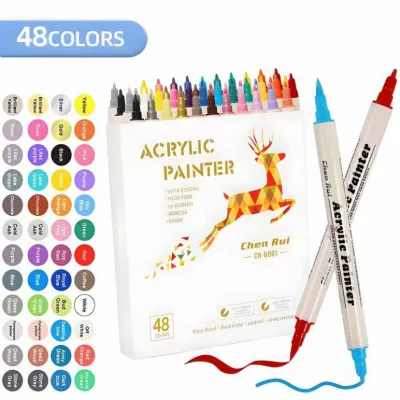
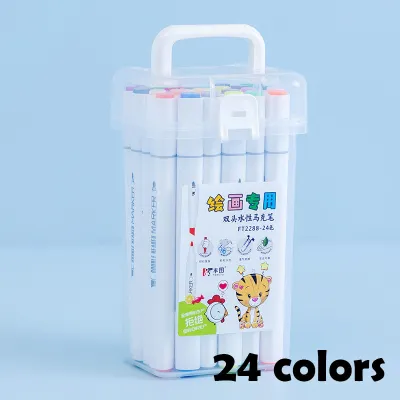

Prices are valid at publication and may change. Please refer to the product page for the latest price.
When purchasing markers, especially from local stationery shops or online marketplaces, you can perform simple observable checks to verify nib quality. Gently press the brush tip against a scrap piece of paper to ensure it springs back to its original shape without fraying. For chisel tips, check that the edges are clean and sharp. When testing ink flow, look for a consistent, smooth release of pigment without pooling or skipping, which indicates a well-saturated and properly functioning valve system.
Understanding Acrylic Ink Properties and Finishes
The ink formula inside an acrylic marker determines its opacity, finish, and durability. Opacity refers to how well the ink hides the surface underneath. High-opacity markers allow you to layer light colors over dark ones, which is a hallmark of quality acrylic paint. However, coverage levels vary significantly between brands. Instead of assuming universal performance, verify opacity claims by checking the manufacturer’s label or testing a sample on a dark scrap material.

Acrylic marker finishes typically fall into three categories: matte, gloss, and metallic. A matte finish dries with a flat, non-reflective surface, excellent for scanning artwork. A gloss finish offers a shiny, vibrant appearance, while metallic finishes contain fine shimmering particles. The final texture depends heavily on the material; porous wood may absorb gloss finishes, dulling their shine, whereas non-porous glass preserves the high-gloss effect.
In humid environments, checking specifications for water resistance, lightfastness, and curing requirements is critical. Lightfastness indicates how well the pigment resists fading under sunlight. Water resistance ensures that once the ink is fully cured, it will not smudge when exposed to moisture. Always check the packaging for specific curing instructions, as some formulas require air-drying for several days or baking to achieve permanent adhesion on non-porous surfaces.
Nib Sizes and Line Width Variations
Nib sizes on double-headed acrylic markers are typically designated by millimeter measurements or by letter codes like F (Fine), M (Medium), and B (Broad). Because there is no universal industry standard, an “M” tip from one manufacturer might produce a different line width than an “M” tip from another. Always consult the brand-specific size chart on the packaging to confirm the exact millimeter dimensions before purchasing.
The actual line width you achieve is not determined solely by the physical size of the nib; it is also highly dependent on your drawing angle and applied pressure. With a flexible brush tip, light pressure yields a delicate line, while firm pressure spreads the fibers to create a wider stroke. With a chisel tip, rotating the marker in your hand allows you to alternate between broad blocking strokes and crisp, thin borders.
Selecting the right size combination depends on the scale of your project. For detailed illustrations or fine outlines, a combination of an extra-fine (EF) tip and a fine (F) tip is ideal. For large-scale canvas work, background filling, or bold lettering, choosing a marker that pairs a medium brush tip with a broad chisel tip ensures you can cover large areas quickly.
Matching Specifications to Your Creative Projects
To get the best results from your double-headed acrylic markers, you must match their specifications to the surface you are decorating. Porous surfaces like paper, canvas, and raw wood naturally absorb ink. For these materials, look for markers with highly opaque ink formulas to prevent the surface from soaking up the pigment and dulling the color. A flexible brush tip is excellent for navigating the textured weave of canvas or the grain of raw wood without damaging the nib.
Non-porous surfaces such as glass, glazed ceramics, plastic, and polished stone require a different approach. Because the ink cannot penetrate these materials, it must adhere to the surface. When working on these items, look for specifications that explicitly state compatibility with non-porous surfaces. You must also verify the curing instructions on the product label; many require a protective clear sealant spray or heat-setting to prevent the dried paint from scratching or peeling off over time.
By prioritizing specific nib sizes and finishes, you can achieve professional-looking artistic effects. For example, if you are painting decorative stones, a fine brush tip allows you to follow the natural curves of the rock, while a metallic finish can highlight natural textures. Always match the marker’s physical and chemical properties to your medium to ensure your artwork remains durable.
Frequently Asked Questions (FAQ)
Can I use double-headed acrylic markers on fabric?
Yes, but you must verify fabric compatibility and washability claims directly on the manufacturer’s label first. Not all acrylic inks are formulated to bind permanently with textile fibers. To prepare your fabric, pre-wash it without fabric softener to remove any sizing agents that might block ink absorption. After drawing, most manufacturers recommend heat-setting the design with an iron on a low, dry setting, using a protective pressing cloth. Always defer to the specific product instructions for exact temperatures, times, and safety precautions.
How do I prevent the nibs from drying out?
To maximize the lifespan of your double-headed acrylic markers, always snap the caps on tightly immediately after use until you hear a distinct click. Because these markers have nibs on both ends, storing them horizontally is highly recommended. Horizontal storage ensures that the ink remains evenly distributed to both tips, preventing one side from drying out while the other becomes oversaturated. If a nib does dry out, check the manufacturer’s guidelines; some brands allow you to pull the nib out and flip it, or dip it briefly in warm water to revive the flow. If the ink inside the barrel is completely depleted, the marker has reached the end of its usable life.
Community discussion
Share your experience or ask a question. Comments are reviewed before publication.