
Finding the right creative tools can completely transform your crafting experience, whether you are detailing a custom bullet journal, painting smooth river stones, or decorating glass jars. Double tip acrylic markers have become highly popular in the Philippines because they combine two distinct tip sizes or shapes into a single pen. This dual-tip design eliminates the need to buy separate fine-line and broad-stroke sets, saving both budget and storage space.
However, selecting the right set requires understanding how these markers behave under different conditions. In a tropical climate with high humidity, factors like ink drying time, surface adhesion, and tip durability become critical to your project’s success. By focusing on key specifications, surface compatibility, and proper maintenance, you can find a versatile set of markers that delivers vibrant, long-lasting results on almost any medium.
Understanding Double Tip Acrylic Marker Specifications
Before purchasing a set of double tip acrylic markers, it is essential to understand the physical specifications of the tips and how they deliver paint. The most common configuration pairs a fine tip with either a brush tip or a broader bullet tip. Fine tips, usually measuring between 0.7mm and 1.0mm, are made of hard plastic or dense felt and are designed for precise outlines, fine details, and writing. Brush tips offer flexible, pressure-sensitive line widths that are ideal for calligraphy and organic shapes, while bullet tips (around 2.0mm) provide consistent, medium-width lines for coloring.
Products mentioned in this guide
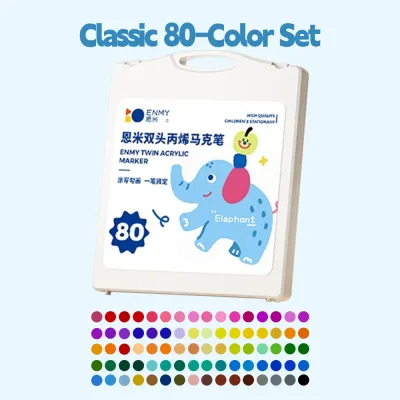
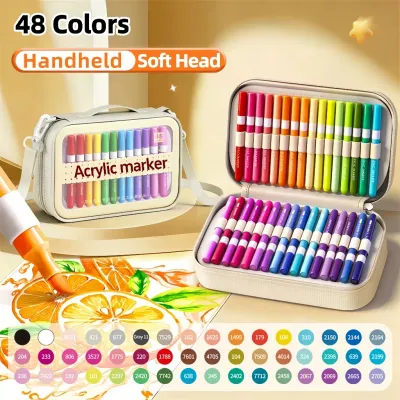
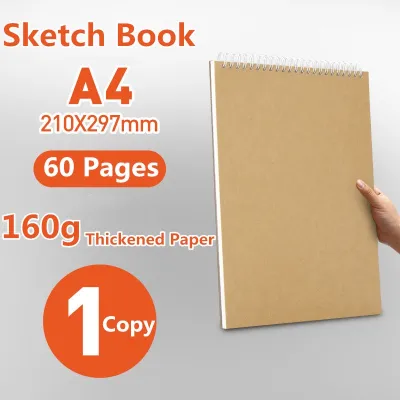
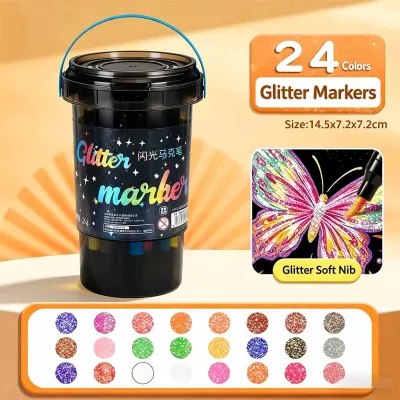
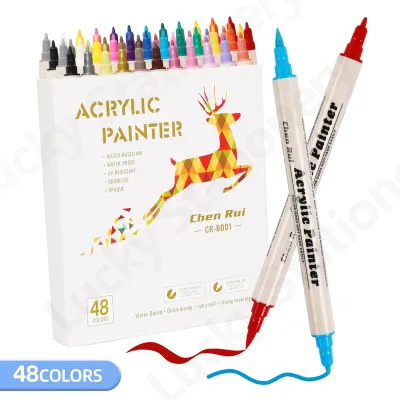
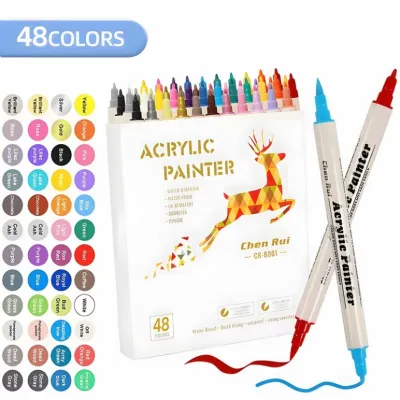
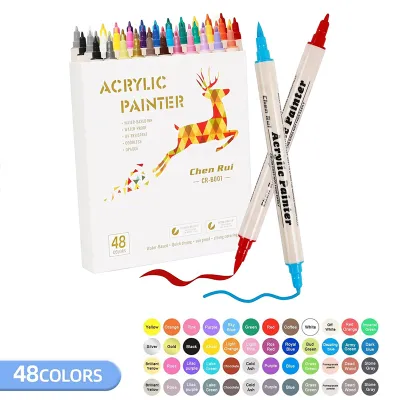
Prices are valid at publication and may change. Please refer to the product page for the latest price.
Another critical factor is the ink delivery mechanism, which generally falls into two categories: valve-action and free-flow. Valve-action markers require you to shake the pen and press the tip down onto a surface to release the paint into the nib. This system is excellent for maintaining a highly opaque, thick paint layer, but it requires careful handling to avoid accidental pooling. Free-flow or filter-type markers do not require priming; the ink flows continuously to the tips, offering immediate use and a smoother writing experience, though sometimes with slightly less opacity.
Acrylic ink itself differs significantly from standard dye-based or alcohol-based inks. Because acrylic ink consists of pigment particles suspended in an acrylic polymer emulsion, it sits on top of the material rather than soaking deeply into it. This characteristics is what gives acrylic markers their signature opacity, allowing you to layer light colors over dark colors once the base coat is dry. The final finish can range from a flat, velvety matte to a semi-gloss, depending on the specific binder used in the ink formulation.
Choosing Markers for Bullet Journaling and Paper Crafts
Using acrylic markers on paper requires a careful balance to prevent the ink from ruining your pages. Because acrylic paint is water-based and relatively heavy, standard notebook paper—which typically ranges from 70 gsm to 80 gsm—will easily warp, ghost, or bleed through to the other side. For successful bullet journaling and paper crafts, look for journals or sketchbooks with a paper weight of at least 120 gsm, though 160 gsm is highly recommended for heavy layering.

Before starting a major project, always perform an observable bleed-through check on a back page or a scrap piece of the same paper. Apply a solid block of color and wait for it to dry completely. Check the reverse side of the page for ghosting (where the color is visible through the paper) or actual bleeding (where the wet ink has physically penetrated the fibers). If you notice feathering—where the ink spreads sideways along the paper fibers—it is a sign that the paper is too porous or the marker is releasing too much wet paint.
For paper-based projects, the dual-tip design is incredibly efficient. You can use the fine tip to sketch out your layout, write daily headers, and draw intricate borders. Once the outline is complete, flip the marker to the brush or bullet tip to quickly fill in color blocks, create decorative banners, or add vibrant illustrations. Because paper absorbs moisture, the drying time is relatively fast, but in humid tropical environments, it is still wise to wait a full minute before closing your journal or layering a second color to prevent accidental smudging.
Selecting Markers for Glass, Rocks, and Dark Surfaces
When working on non-porous or highly textured surfaces like glass, glazed ceramics, polished stones, and dark plastics, the demands on your markers change dramatically. To achieve vibrant designs on dark rocks or transparent glass, the ink must have an exceptionally high pigment load. If the ink is too watery, your designs will look streaky and translucent. You can verify opacity by drawing a single stroke over a dark line on a test surface; a high-quality acrylic marker should completely obscure the dark line beneath it in one or two coats.
Surface texture also dictates how well your marker tips will hold up over time. Rough, porous surfaces like unpolished river stones, terracotta pots, or raw wood act like sandpaper on delicate marker nibs. Writing on these surfaces with a soft fiber brush tip will quickly cause the fibers to fray and split, ruining the tip’s precision. For rough surfaces, utilize the harder, more durable plastic or dense felt bullet tips, saving your flexible brush tips exclusively for smooth surfaces like glass, metal, or high-quality paper.
Adhesion and durability are the final hurdles for non-paper projects. While acrylic paint dries to the touch quickly, it takes several days to fully cure and form a permanent bond with non-porous surfaces like glass or ceramic. During this curing window, the paint can easily scratch or peel off if handled roughly. For items that will be handled frequently or placed outdoors—such as painted garden stones or decorative glassware—always check if the paint is water-resistant once cured, and apply a clear, weather-resistant acrylic sealer to protect your artwork from tropical rain and intense sunlight.
Maintaining Ink Flow and Tip Durability
To get the longest possible lifespan out of your double tip acrylic markers, proper priming and storage are essential. If you are using valve-action markers, always shake the pen thoroughly with the cap securely on before use to mix the settled pigment with the acrylic binder. To prime the marker, press the tip gently down on a scrap piece of cardboard or heavy paper, holding it down for a few seconds, then releasing. Repeat this pumping action slowly until you see the paint begin to saturate the nib; rushing this process or pressing too hard can crush the tip or cause a sudden flood of paint.
Because double tip markers have nibs on both ends, storage requires a specific approach. Storing these markers vertically—either tip-up or tip-down—causes gravity to pull the ink toward one end. This leaves the top tip dry and prone to clogging, while the bottom tip becomes oversaturated, watery, or prone to leaking. To maintain an even distribution of ink to both ends, always store your double tip acrylic markers horizontally in a flat case or drawer, away from direct sunlight and heat sources that can dry out the plastic barrels.
If a marker tip does become clogged with dried paint, you do not need to discard the pen. Gently pull the nib out of the marker barrel using tweezers, if the design allows, and rinse it under warm water to dissolve the dried acrylic binder. Avoid using harsh solvents or boiling water, which can degrade the synthetic fibers of the tip. Once the tip is clean, blot it thoroughly with a paper towel, reinsert it into the barrel, cap the marker tightly, and let it sit horizontally for a hour to allow the ink to saturate the fibers again.
Pre-Checkout Checklist for Online Purchases
When shopping for double tip acrylic markers on e-commerce platforms, navigating the vast array of options requires a systematic approach to ensure you receive a quality product. Use the following checklist before finalizing your purchase:
- Verify Seller Authenticity: Look for official brand stores or highly rated local stationery distributors. Check the seller's overall rating and read recent customer reviews specifically looking for feedback on ink consistency and packaging quality.
- Examine Real Swatch Photos: Avoid relying solely on digital color charts provided by the manufacturer. Look at user-uploaded photos in the review section to see how the actual ink colors look when applied to paper or dark surfaces.
- Check Package Inclusions: Verify if the set comes with useful accessories, such as a horizontal carrying case (essential for proper storage), replacement nibs, or a blank swatch card for testing.
- Calculate Price-per-Marker: Divide the total price in ₱ by the number of markers in the set. Compare this value against single-tip alternatives to ensure you are getting a genuine deal for the added convenience of a dual-tip design.
- Confirm Tip Sizes: Double-check the product description to ensure the tip combination matches your intended use (e.g., a fine tip for detailing paired with a brush tip for lettering, rather than two identical medium tips).
Frequently Asked Questions (FAQ)
Can I use double tip acrylic markers on fabric?
Yes, you can use double tip acrylic markers on fabric, but the results will vary depending on the fabric type and how you treat it. Acrylic paint adheres well to cotton and canvas, but it can make the fabric feel stiff once dry. To make your design permanent and washable, allow the paint to dry completely for 24 hours, then heat-set it by placing a clean cloth over the design and ironing it on a medium setting without steam for several minutes.
How do I fix a dried-out acrylic marker tip?
If a marker tip has dried out because the cap was left off, you can often revive it by removing the nib and soaking it in warm water for a few minutes to dissolve the hardened acrylic binder. After soaking, press the nib firmly between paper towels to remove excess water, reinsert it into the marker, and shake the pen thoroughly. If the marker uses a free-flow system without a removable nib, gently wiping the tip with a damp, lint-free cloth can help clear surface blockages.
Are acrylic markers safe for children's crafts?
Many water-based acrylic markers are labeled as non-toxic and acid-free, making them suitable for older children’s school projects and crafts. However, because acrylic paint is highly permanent once dry and can permanently stain clothing, carpets, and wooden furniture, adult supervision is highly recommended. Always check the product packaging for safety certifications and age recommendations before allowing children to use them.
Community discussion
Share your experience or ask a question. Comments are reviewed before publication.