
A beginner clay molder does not need a massive budget or a professional studio to start creating beautiful sculptures, jewelry, or pottery. The absolute essentials boil down to a reliable work surface, a few basic shaping instruments, and the correct medium for your home setup. By identifying your specific project goals first, you can avoid buying unnecessary, expensive equipment and focus on mastering the physical properties of your chosen medium.
Selecting the wrong tools or purchasing advanced machinery too early can lead to frustration and wasted funds. Starting with a minimal, highly functional toolkit allows you to develop hand-eye coordination and learn how different clays respond to pressure, moisture, and heat.
Diagnose Your Project: Which Clay Medium Fits Your Setup?
Before purchasing any tools, you must determine which type of clay aligns with your workspace, budget, and creative goals. Different clay bodies require entirely different curing methods and environments, meaning a tool that is indispensable for one medium might be completely useless for another. Ask yourself these three diagnostic questions to identify your path:
Products mentioned in this guide
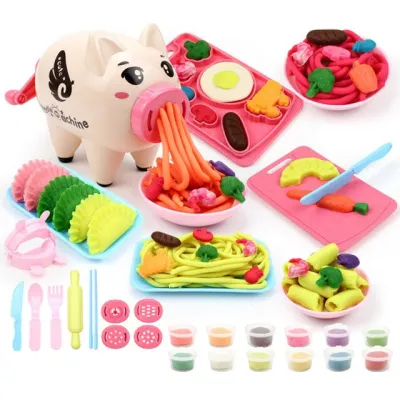
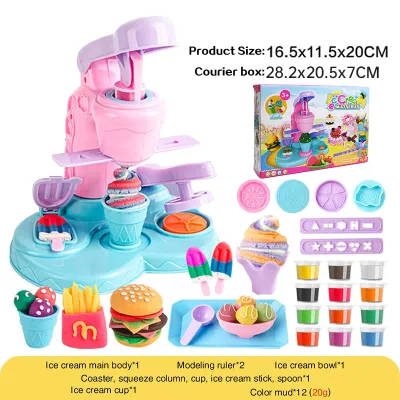
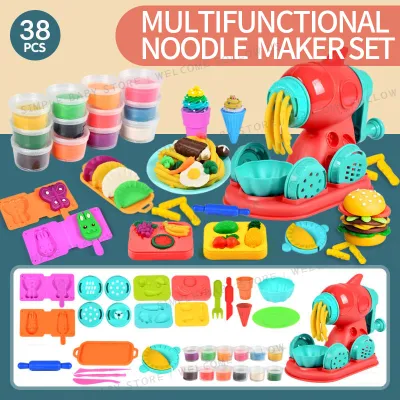
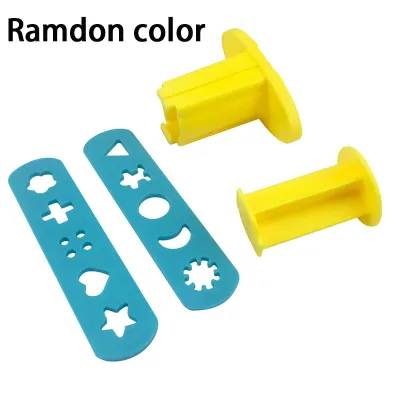
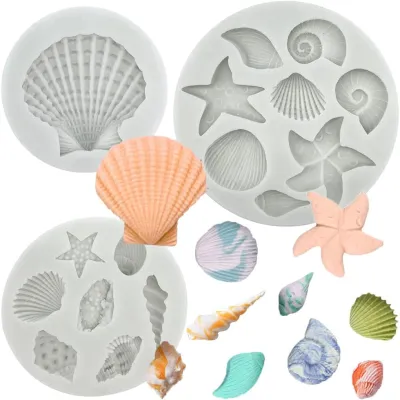
Prices are valid at publication and may change. Please refer to the product page for the latest price.
- Do you have access to a professional kiln? If yes, you can explore traditional ceramic clay. If no, you must choose a medium that cures at room temperature or in a household oven.
- Do you want to bake your pieces in a home oven? If you have a standard kitchen oven or a dedicated countertop toaster oven, polymer clay is an excellent, highly detailed option.
- Do you prefer a completely heat-free process? If you want to avoid ovens and kilns entirely, air-dry clay is the most accessible choice.
To help you decide, consider how these three primary beginner mediums compare across space, budget, and project requirements:
| Clay Type | Curing Method | Ideal Projects | Budget Level | Key Limitation |
|---|---|---|---|---|
| Air-Dry Clay | Room temperature air (24–72 hours) | Decorative dishes, relief sculptures, simple figurines | Low (₱150 – ₱500) | Not water-resistant or food-safe; fragile |
| Polymer Clay | Home oven (110°C – 130°C) | Earrings, detailed miniatures, keychains, charms | Medium (₱300 – ₱1,000) | Brittle if under-baked; not food-safe |
| Ceramic Clay | Studio kiln (1000°C+) | Functional mugs, bowls, heavy planters, vases | High (₱2,000+ for studio access) | Requires professional firing services |
Air-dry clay is water-based and incredibly easy to handle, making it a popular choice for casual crafting. However, because it cures via evaporation, its drying speed is highly dependent on environmental humidity. In the warm, tropical climate of the Philippines, high humidity can extend drying times significantly, sometimes requiring up to three days for thicker pieces to cure completely.
Polymer clay is an oil-based plastic medium that remains completely workable until it is exposed to heat. Because it does not dry out in the air, you can leave a project unfinished on your desk for weeks without it hardening. This makes it incredibly forgiving for beginners who want to work slowly and refine fine details.
Traditional ceramic clay offers unmatched durability and is the only medium that can create genuinely food-safe, dishwasher-safe kitchenware. However, because it must be fired at extreme temperatures to vitrify, it is highly impractical to cure at home without professional studio equipment.
The Universal Essentials: Core Tools Every Beginner Clay Molder Needs
Regardless of the clay medium you choose, a small selection of low-cost tools will form the foundation of your sculpting toolkit. These items are designed for shaping, cutting, smoothing, and protecting your workspace.

Shaping and Sculpting Tools
- Wooden Modeling Tools: A basic set of double-ended wooden tools (often featuring spatula, curve, and point tips) is essential for carving, shaping, and creating clean planes on your sculpt. They act as extensions of your fingers, allowing you to reach tight crevices.
- Silicone Shapers: These tools feature flexible rubber tips in various shapes, such as cups, chisels, and cones. They are invaluable for blending seams between two pieces of clay without leaving unsightly fingerprints or texture marks.
- Hand-Building Techniques: Before relying on complex tools, practice using your hands to pinch, coil, and flatten your clay. Your fingers are the most sensitive and versatile shaping tools you own.
Cutting and Measuring Tools
- Craft Knives: A simple utility or craft knife with replaceable steel blades is necessary for making sharp, clean cuts. Always exercise caution when handling sharp blades; cut away from your body and keep your fingers clear of the cutting path.
- Flexible Wire Cutters or Dental Floss: To slice clean blocks of clay from a larger brick, or to release a finished piece from your work surface, pull a piece of unflavored dental floss or a flexible wire cutter taut and draw it steadily underneath the clay.
- Metal Rulers: A basic stainless steel ruler helps you measure dimensions accurately and serves as a straightedge for cutting clean borders.
Smoothing and Detailing Tools
- Cosmetic Sponges: Small, dense synthetic sponges are perfect for smoothing out rough surfaces. When lightly dampened, they can erase minor surface imperfections on water-based clays.
- Rib Tools: Made of flexible plastic or soft metal, rib tools are used to smooth larger curves and compress clay particles, which helps prevent cracking during the drying process.
- Fine Spray Bottle: A small plastic misting bottle filled with clean water is indispensable when working with water-based clays. A light mist prevents the clay from drying out and cracking while you work, especially in warm home environments.
Work Surface Protection
- Non-Stick Silicone Mats: A dedicated silicone craft mat provides an excellent, heat-resistant, and easily washable workspace.
- Wax Paper or Acrylic Sheets: If you do not have a silicone mat, tape a sheet of wax paper or a smooth acrylic sheet to your desk. For polymer clay, non-porous surfaces like glass or glazed ceramic tiles are ideal because they prevent the clay's plasticizers from leaching out into porous wooden tables.
Conditional Additions: Medium-Specific Supplies Based on Your Choice
Once you have selected your clay medium, you will need to acquire a few specialized supplies. Buying only what your specific clay requires keeps your budget low and your workspace organized. Always read the manufacturer’s instructions on your clay packaging to verify baking temperatures, drying times, and chemical compatibility with paints or sealants.
Air-Dry Clay Additions
- Slip Preparation: To join two pieces of air-dry clay securely, you must create "slip" by mixing a small scrap of your clay with water until it reaches a paste-like consistency. Scoring the joining surfaces with a tool and applying slip ensures a strong bond that will not pull apart as the clay shrinks during drying.
- Finishing Materials: Once fully cured, air-dry clay is highly porous and fragile. You will need acrylic paints to add color, followed by a high-quality, water-based acrylic varnish or sealant to protect the surface from atmospheric humidity.
- Airtight Storage: Because air-dry clay cures upon exposure to air, keep unused portions wrapped in a damp cloth and sealed tightly inside a zip-top plastic bag or an airtight plastic container.
Polymer Clay Additions
- Dedicated Curing Setup: Polymer clay must be baked to harden. A small, dedicated countertop toaster oven is ideal for keeping craft fumes out of your primary kitchen oven. You must use an independent, metal oven thermometer placed inside the baking chamber; built-in toaster oven dials are notoriously inaccurate and can easily lead to under-baking or scorching.
- Conditioning Tools: Polymer clay is stiff out of the package and must be kneaded, or conditioned, to become pliable. A solid acrylic roller is the standard beginner tool for flattening clay sheets. Avoid wooden rolling pins, as the clay's oils can ruin the wood, and the wood grain can transfer unwanted textures to your clay.
- Bakeable Adhesives: To attach raw-to-raw or raw-to-baked polymer clay pieces securely, apply a small amount of liquid polymer clay or bakeable clay glue before baking.
Ceramic and Kiln-Fired Additions
- Studio Firing Services: Because home ovens cannot reach the temperatures required to cure ceramic clay, look for local community art studios or pottery workshops that offer kiln firing services. They typically charge a small fee based on the weight or size of your pieces.
- Glazes and Brushes: To make your fired ceramic pieces waterproof and colorful, you will need liquid glazes. Opt for beginner-friendly, non-toxic, lead-free commercial brush-on glazes and a few soft-bristle brushes for even application.
- Respiratory Protection: Working with dry ceramic clay and mixing powdered glazes generates fine silica dust. A well-fitting N95 respirator mask is essential to protect your lungs from inhaling hazardous airborne dust during cleanup or dry-handling.
The "Skip It" List: Advanced Tools to Avoid When Starting Out
It is easy to get carried away by social media tutorials showing elaborate studios filled with high-end machinery. As a beginner, avoiding these expensive, highly specialized tools will save you thousands of pesos while helping you focus on core hand-building skills.
- Clay Extruders and Heavy-Duty Pasta Machines: While professional polymer clay artists use steel pasta machines for conditioning and extruders for complex geometric patterns, these are unnecessary when starting. Hand-conditioning and a basic acrylic roller are more than sufficient for learning how the material behaves under pressure.
- Electric Pottery Wheels: A quality electric pottery wheel is a major financial investment, often starting at ₱10,000 or more, and requires a steep learning curve. Hand-building techniques like pinch pots, coil building, and slab construction are highly educational and require zero machinery.
- Specialty Texture Stamps and Bulk Mold Sets: Commercial plastic molds and stamps limit your creative voice and quickly inflate your budget. Instead, look around your home for textured fabrics (like burlap or lace), leaves from your garden, old keys, or kitchen utensils to press unique, organic patterns into your clay.
- High-End Personal Kilns: Buying a personal electric or gas kiln is highly impractical for a beginner. The high electrical requirements, safety installation needs, and initial cost (often exceeding ₱50,000) make community studio firing services a far more practical and economical choice.
Workspace and Safety Checks for Home Clay Molding
Setting up a safe, clean, and organized workspace is crucial for protecting both your health and your home environment.
- Ventilation and Air Quality: When baking polymer clay, ensure your room is well-ventilated by opening windows or using a fan to direct air outdoors. While non-toxic when baked at the correct temperatures, overheated polymer clay can release irritating fumes. For ceramic work, always wipe down surfaces with a damp sponge rather than sweeping to prevent fine, hazardous silica dust from becoming airborne.
- Food Safety Boundaries: Never mix your clay tools with kitchen utensils. Once a tool, plate, roller, or oven is used for clay molding, it must be permanently designated for craft use only. Do not use polymer clay or air-dry clay to create functional cups, plates, or utensils, as these materials are not food-safe and cannot withstand washing or hot liquids.
- Plumbing Protection: Never wash raw water-based clay or ceramic slip directly down your household sink, as the heavy sediment will settle in the U-bend and cause severe plumbing clogs. Instead, use a "two-bucket" system: rinse your hands and tools in a bucket of water first, let the clay sediment settle to the bottom overnight, pour the clear top-water down the drain, and scoop the settled sludge into the trash.
Frequently Asked Questions (FAQ)
Can I use regular kitchen tools for clay molding?
No, you should never reuse kitchen tools for clay molding if they will ever be used for food preparation again. Polymer clay leaves behind plasticizer residues, and ceramic clays contain silica dust and metal oxides that are harmful if ingested. Instead, purchase cheap, dedicated utensils, rolling pins, and plastic knives from local stationery shops or home stores to keep your craft tools completely separate from your kitchenware.
How much should a beginner budget for their first clay kit?
In the Philippines, a beginner can easily assemble a complete starter kit for ₱300 to ₱800. This budget easily covers a 500g block of air-dry clay or a few basic colors of polymer clay, a multi-piece wooden sculpting tool set, a craft knife, and a simple silicone mat or acrylic roller. Focus on buying only these universal essentials first, then expand your toolkit as you identify your specific creative needs.
Do I need a pottery wheel to start making ceramic clay molds?
No, you do not need a pottery wheel to work with ceramic clay. Hand-building techniques such as pinch pots, coil construction, and slab building are the traditional, foundational methods of pottery. Starting with hand-building is highly recommended for beginners because it teaches you how to feel the clay’s structural strength, manage moisture levels, and understand the drying process without the added complexity of a spinning wheel.
Community discussion
Share your experience or ask a question. Comments are reviewed before publication.