
Starting a new hobby like jewelry making is incredibly exciting, but walking into a craft store or browsing an online veeds store can quickly become overwhelming. The sheer variety of glittering beads, metallic findings, and specialized tools can easily tempt you to overspend on items you might not use for months. To build a functional, budget-friendly setup, you only need a few versatile essentials that allow you to practice fundamental techniques without frustration. By focusing on a core set of reliable tools, structural findings, and forgiving beads, you can master the basics of assembly, wire wrapping, and stringing before expanding your collection.
Developing your skills requires hands-on practice, and having the right foundation makes all the difference. Instead of buying massive assortments of decorative elements, prioritizing the structural components of your jewelry ensures that your creations are not only beautiful but also durable. Let’s break down the exact tools and materials you need to make your first purchase focused, efficient, and highly rewarding.
Core Hand Tools for Basic Assembly
Every beginner jewelry maker needs a reliable set of hand tools to manipulate wire, open jump rings, and cut materials cleanly. Rather than purchasing a massive array of specialized equipment, you can accomplish almost any basic project with a non-negotiable trio of pliers and cutters. Investing in these three core tools will save you time and prevent the frustration of damaged materials.
Products mentioned in this guide
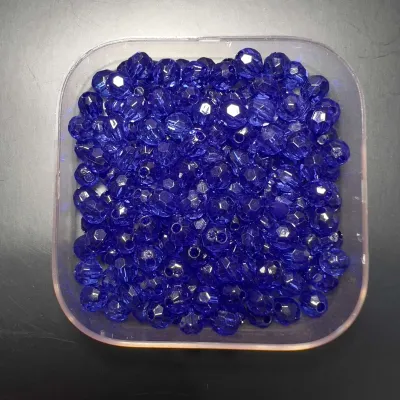
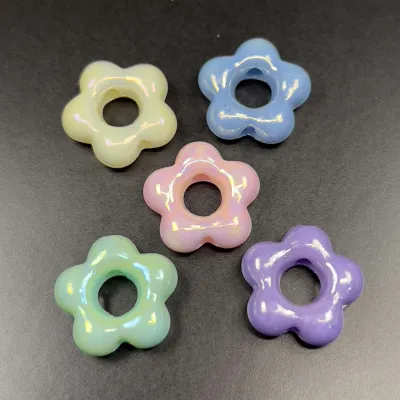
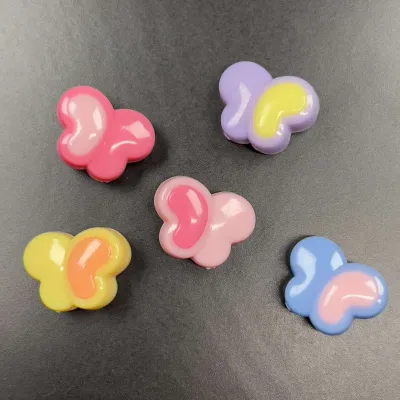
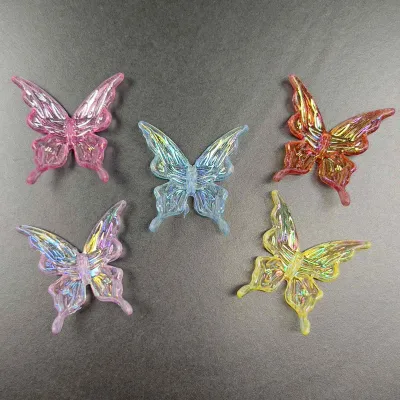
Prices are valid at publication and may change. Please refer to the product page for the latest price.
Chain-nose pliers are the absolute workhorse of jewelry making. Unlike standard household pliers, their jaws are completely smooth on the inside, which is critical because textured jaws will mar, scratch, or dent soft jewelry wire and findings. The tapered tips allow you to reach into tight spaces, open and close jump rings with precision, and tuck away stray wire ends so they do not scratch the wearer’s skin.
Round-nose pliers feature two perfectly conical jaws that taper to fine points. These are not designed for gripping; instead, they are used exclusively for shaping wire. By wrapping wire around the rounded jaws, you can create consistent loops, eye pins, and decorative curves. The position of the wire on the jaw determines the size of the loop, giving you complete control over your designs.
Flush cutters are engineered to make clean, flat cuts on soft jewelry wire. Standard wire cutters often leave a sharp, V-shaped peak on the cut end, which can snag clothing or scratch skin. A high-quality flush cutter has one completely flat side, allowing you to cut wire flush against a bead or finding for a professional finish. Always ensure you use these cutters only on soft metals like copper, brass, or sterling silver, as hard metals like steel will nick the delicate blades.
When selecting these tools at a beads store, physical inspection is key. Pick up the pliers and test the grip in your hand. Look for a smooth, spring-loaded return mechanism that automatically opens the jaws when you release pressure, as this significantly reduces hand fatigue during long crafting sessions. Close the jaws completely and hold them up to the light; the tips should align perfectly with no visible gaps along the meeting edges. Avoid heavy, industrial-sized tools or highly specialized equipment like crimping pliers, wire mandrels, or looping jigs until you have mastered basic hand coordination and decided to pursue advanced wire-working techniques.
Must-Have Findings and Clasps
Findings are the unsung heroes of jewelry making, serving as the structural backbone that transforms a loose string of beads into a wearable piece of art. For beginners, the most reliable and versatile closure is the classic lobster clasp. These clasps feature a spring-loaded gate that is easy to operate with one hand, making them ideal for necklaces and bracelets alike. They are sturdy enough to withstand daily wear and tear without accidentally opening.

To connect your clasps to your stringing material, you will need open jump rings. Jump rings are simple metal loops with a small cut that allows them to be twisted open and closed. When purchasing jump rings, pay close attention to the wire gauge and the inner diameter. A gauge of 18 or 20 is generally sturdy enough for most beginner projects, ensuring the ring will not bend out of shape under the weight of your beads. The inner diameter must be large enough to accommodate both the loop of your clasp and the end of your stringing wire comfortably.
Crimp beads or crimp tubes are tiny, soft metal beads used to secure the ends of flexible beading wire. By sliding a crimp bead onto the wire, looping the wire through a clasp, and passing it back through the crimp, you create a secure loop. Squeezing the crimp bead flat with your chain-nose pliers locks the wire firmly in place. This simple mechanical connection is much more reliable than tying knots in metal wire, which can easily slip or snap.
To ensure your finished jewelry looks cohesive and professional, always match your metal finishes across all findings. If you choose silver-tone lobster clasps, pair them with silver-tone jump rings and crimp beads. In tropical climates like the Philippines, high humidity can accelerate the tarnishing of base metals. When shopping, look for findings labeled as tarnish-resistant or opt for stainless steel and brass components, which tend to hold up better against moisture and sweat than cheap plated alloys.
Beginner-Friendly Beads and Stringing Materials
The choice of beads determines the visual style of your jewelry, but for a beginner, the physical properties of the beads are just as important as their appearance. Glass beads are an excellent starting point because they offer a satisfying weight, vibrant colors, and smooth, consistent holes. They are durable enough to withstand repeated handling as you practice threading and spacing.
Wooden beads are another fantastic option, especially for casual or bohemian designs. They are incredibly lightweight, making them comfortable for larger, multi-stranded necklaces or chunky bracelets. Standard seed beads, which are small, uniformly shaped glass beads, are indispensable for learning basic patterns, creating spacers between larger beads, or practicing delicate bead-weaving techniques.
Your choice of stringing material dictates how your jewelry will drape, stretch, and hold its shape. Flexible beading wire, which consists of multiple miniature stainless steel strands coated in nylon, is the industry standard for necklaces and structured bracelets. It offers incredible strength and a graceful, natural drape, but it must be secured with crimp beads rather than knots.
For quick, clasp-free projects like stretch bracelets, high-quality elastic cord is the perfect medium. It is highly forgiving for beginners because it eliminates the need for clasps and findings entirely; you simply string your beads, tie a secure surgeon’s knot, and hide the knot inside a large-hole bead. Nylon thread, on the other hand, is highly flexible and ideal for traditional pearl knotting or intricate bead weaving, though it requires a needle and a bit more patience to handle.
Before finalizing your purchase at a beads store, always cross-check the bead hole sizes against the thickness of your chosen stringing material. If you purchase a spool of 0.8mm elastic cord, your beads must have a hole diameter of at least 0.9mm to allow for smooth threading. Attempting to force a thick cord through a tiny bead hole will fray the material and lead to premature breakage, while using a thread that is too thin can cause the beads to wobble or slide unevenly.
Building a Focused Starter Kit on a Budget
When starting out, it is easy to get swept away by trendy, highly specific beads or complex findings that only work for one specific project. To maximize your budget, prioritize multi-purpose tools and neutral-colored findings. Silver-tone and warm brass finishes are incredibly versatile, matching almost any color palette from cool blues to warm earth tones. By sticking to a single metal finish for your first few projects, you avoid the need to buy duplicate sets of clasps and jump rings in multiple colors.
Many beginners wonder whether they should purchase a pre-packaged starter kit or select individual items. While pre-made kits offer the convenience of having everything in one box, they often cut corners on tool quality. The pliers included in cheap bundles may have rough jaws that scratch your wire, or cutters that dull after just a few uses. Investing in a few high-quality individual tools and pairing them with a curated selection of loose beads and findings usually yields a much better crafting experience and saves money in the long run.
Establish a strict initial budget—such as ₱1,000 to ₱1,500—and focus entirely on the essentials needed to complete two or three simple projects, such as a basic beaded necklace and a couple of stretch bracelets. This disciplined approach prevents your workspace from becoming cluttered with unused materials. Once you have completed your first few pieces, you will have a much clearer understanding of which techniques you enjoy most, allowing you to make highly targeted purchases when you return to the beads store.
Frequently Asked Questions (FAQ)
How should I store my beads and tools to prevent tangling and tarnishing?
Proper storage is essential for protecting your investment and keeping your creative space organized. Compartmentalized plastic boxes with adjustable dividers are the gold standard for sorting beads by size, shape, and color, preventing them from mixing together during storage or transport. For metal findings, which are highly susceptible to oxidation and tarnishing in humid tropical climates like the Philippines, store them in small, airtight plastic zip bags. Adding a small anti-tarnish strip or a packet of silica gel inside the container will absorb excess moisture and keep your silver- and gold-tone components looking bright and polished. Additionally, keep your elastic cords and nylon threads stored in a dark drawer or opaque container, as prolonged exposure to direct sunlight and high temperatures can degrade the synthetic fibers, causing them to become brittle and snap easily.
Is it better to buy a pre-made jewelry kit or shop for individual supplies?
Choosing between a pre-made kit and individual supplies depends on your budget and long-term interest in the craft. Pre-made kits are highly convenient because they provide matched components, a variety of beads, and basic tools all at a single, often lower, price point. However, these kits frequently include low-quality tools with rough edges or weak springs that can make learning difficult and may require quick replacement. Shopping for individual supplies at a dedicated beads store allows you to select higher-quality, comfortable hand tools that will last for years. It also gives you complete creative control over your materials, ensuring you only buy the specific bead styles, colors, and metal finishes that align with your personal taste, rather than paying for filler items you may never use.
Community discussion
Share your experience or ask a question. Comments are reviewed before publication.