
Making your own vibrant, personalized jewelry is a core part of the electronic music and festival community. To start crafting these colorful accessories, you need a few essential materials: high-quality plastic beads, a durable elastic cord, and basic cutting tools. Having the correct supplies ensures your creations can withstand long hours of dancing, trading, and the intense tropical heat of outdoor venues.
The tradition of crafting and trading these pieces—collectively known as kandi—is built on the principles of Peace, Love, Unity, and Respect (PLUR). While the designs can range from simple single-strand bracelets to massive, multi-tiered cuffs and elaborate masks, they all rely on a shared foundation of reliable materials. Selecting the right components prevents your hard work from snapping mid-event and ensures that the pieces you trade remain cherished keepsakes for years to come.
Core Bead Types and Their Uses in Kandi
To build a versatile crafting kit, you must first understand the primary bead varieties and how their physical properties affect your designs.
Products mentioned in this guide
Prices are valid at publication and may change. Please refer to the product page for the latest price.
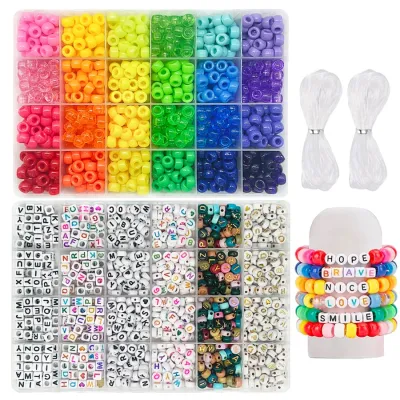
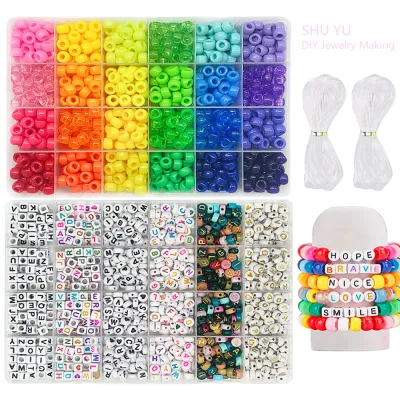
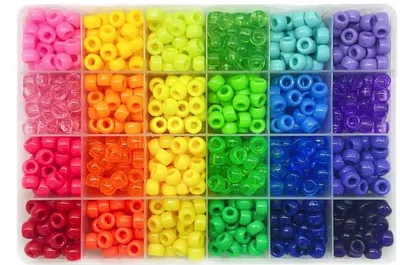
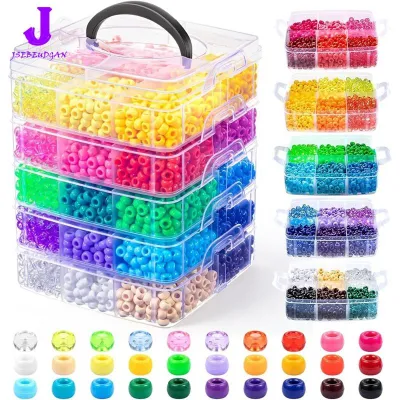
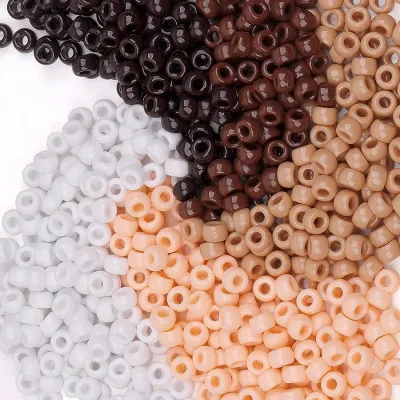
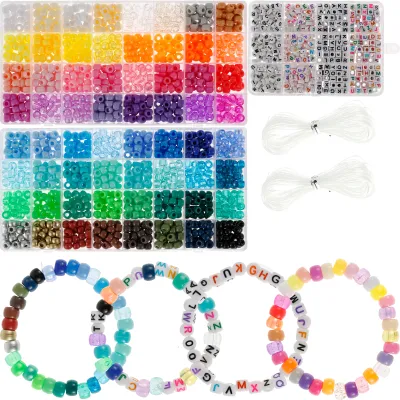
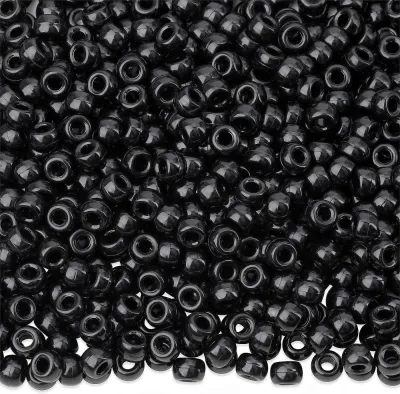
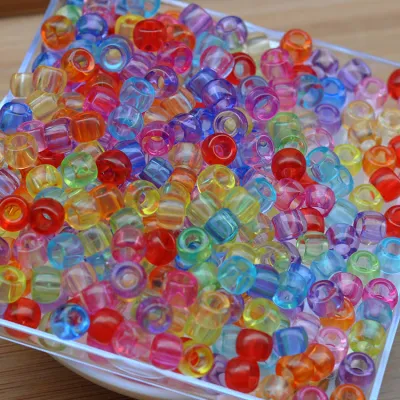
Pony Beads Pony beads are the undisputed foundation of traditional kandi culture. These barrel-shaped plastic beads typically measure 6mm by 9mm, with a generous inner hole diameter of about 4mm. This large inner channel is crucial because it allows you to pass thick elastic cords through the bead multiple times, which is a necessity for complex weaving patterns. When sourcing pony beads, you will encounter several distinct finishes. Opaque beads offer bright, solid colors that provide excellent visual contrast. Translucent or “jelly” beads catch the light beautifully under festival lasers, while glitter and metallic-coated variations add a shimmering texture. Note that cheaper metallic finishes may peel over time when exposed to acidic sweat and friction, so verifying the coating quality beforehand is highly recommended.
Letter and Alphabet Beads Personalizing your bracelets with names, phrases, or inside jokes requires a steady supply of alphabet beads. These are commonly available as 7mm flat coin shapes or 6mm cubes. When purchasing alphabet beads, pay close attention to the direction of the threading holes. Horizontal holes are designed for standard single-strand bracelets where the letters sit side-by-side. Vertical holes are intended for vertical peyote stitch cuffs, where the beads are stacked vertically. Always check the print quality and contrast of the letters; high-contrast black text on white or glow-in-the-dark backgrounds ensures your messages remain readable even in dim festival environments.
Perler or Fuse Beads For advanced crafters, Perler or fuse beads open up a world of detailed pixel art. These tiny plastic tubes are arranged on a pegged board and melted together using a household iron to create flat, rigid shapes. These fused pieces are then integrated into larger kandi structures, such as necklaces or “kandi masks.” Because fused beads do not have functional threading holes once melted, you must plan your attachment points carefully. Crafters typically leave specific edge beads unfused or use a small needle to pierce the plastic, allowing a thin cord to secure the charm to the main bracelet.
Seed Beads Seed beads are small, round glass beads ranging from size 6/0 (approx. 4mm) down to 11/0 (approx. 2mm). While not typically used as the primary material for classic chunky bracelets, they serve as excellent detailed fillers or delicate spacers between larger pony beads. Working with seed beads requires specialized, ultra-thin tools such as collapsible-eye beading needles, as their tiny holes will not accommodate standard elastic cords. Incorporating seed beads adds a refined, intricate texture to your designs, but it demands significantly more patience and precision during assembly.
Structural Drape and Balance Mixing different bead sizes within a single project directly impacts the drape and structural integrity of the finished piece. If you string heavy glass or metal accent beads alongside lightweight plastic pony beads, the weight imbalance can cause the elastic to stretch unevenly, resulting in a saggy, misshapen bracelet. To maintain a clean, circular shape that sits comfortably on the wrist, distribute heavier accent beads symmetrically throughout the design and frame them with sturdy pony beads to absorb the physical tension.
Selecting the Right String and Elastic Cord
The longevity of your bracelet depends almost entirely on the quality and thickness of the cord you choose.

Elastic Cord Elastic cord is the standard choice for slip-on kandi because it allows the jewelry to stretch over the hand and snap back snugly against the wrist. When shopping, you will generally choose between round rubber elastic and flat polymer elastic. Round elastic, often covered in a protective polyester fabric jacket, is highly recommended for beginners. The fabric outer layer creates friction, which helps knots stay securely tied without slipping. Solid TPU (thermoplastic polyurethane) cords are clear and ideal for translucent beads, but they are slicker and require specialized knots to prevent untying.
- 0.5mm to 0.6mm: Best suited for small seed beads or multi-strand weaving where the cord must pass through a single hole three or more times.
- 0.7mm to 0.8mm: The absolute sweet spot for standard pony beads. It offers an optimal balance of strength, stretch, and knot security.
- 1.0mm: A heavy-duty option reserved for large, multi-row cuffs or heavy 3D structures. While incredibly strong, 1.0mm cord is stiff and can be difficult to tie into small, neat knots.
Non-Stretch String and Thread For pieces that do not need to stretch—such as long necklaces, bag charms, or adjustable sliding-knot bracelets—non-stretch cords are the superior choice. Nylon cord (such as Chinese knotting cord or micro-macrame cord) is exceptionally durable and resists fraying. Natural options like hemp or cotton cord offer a rustic look but can absorb moisture and sweat, which may lead to degradation in humid environments. Embroidery floss is colorful and budget-friendly, but it lacks the structural stiffness required to keep heavy plastic beads from sagging.
Wire and Memory Wire Memory wire is a pre-coiled, rigid steel wire that retains its circular shape regardless of wear. It is excellent for creating rigid, multi-layered coil bracelets or chokers that do not require elastic stretch. Working with memory wire requires specialized tools, including heavy-duty wire cutters (as standard craft cutters will be ruined by the hardened steel) and round-nose pliers to loop the sharp ends safely.
Testing Cord Strength and Stretch Recovery Before committing your beads to a length of cord, always perform a quick stretch recovery test. Cut a 10-centimeter segment of your chosen elastic and stretch it firmly to about twice its length, holding it for five seconds. Release the tension and measure the segment again; high-quality cord should immediately snap back to exactly 10 centimeters without any visible fraying, thinning, or permanent sagging. If the cord remains stretched out or shows split fibers, discard it, as it will quickly fail under the physical demands of festival wear.
Essential Tools for Assembly and Organization
While you can technically make a basic bracelet with just beads and string, having the right tools makes the assembly process faster, safer, and much more organized.
Cutting Tools Clean cuts are vital when working with elastic. Dull household scissors tend to crush and fray the ends of fabric-covered elastic, making it incredibly frustrating to thread through bead holes. Invest in a pair of sharp precision craft scissors or thread snips. A clean, angled cut seals the fibers temporarily, allowing you to slide beads on effortlessly without the cord splitting.
Work Surface Round plastic beads have a tendency to roll off flat tables and disappear under furniture. To prevent this, use a textured work surface such as a silicone bead mat, a piece of felt fabric, or a dedicated wooden bead board. Grooved bead boards are particularly useful because they feature curved channels where you can lay out your pattern and verify the overall length before you begin stringing.
Handling Tools When working with complex patterns or smaller beads, handling tools are invaluable. Collapsible-eye beading needles are made of flexible wire that squeezes flat to pass through tiny bead holes, then springs open to hold your elastic. Tweezers are also helpful for retrieving dropped beads from tight spaces or holding a knot in place while you apply adhesive.
Measuring and Sizing A flexible tailor’s tape measure is essential for taking accurate wrist measurements. Additionally, a physical bead sizing gauge or a simple ruler helps you verify the outer diameter and hole size of mystery beads in your collection, ensuring you do not accidentally mix incompatible sizes in a single pattern.
Hardware If you are branching out into non-elastic designs, you will need basic jewelry hardware. This includes crimp beads (small metal tubes squished with pliers to secure cord ends), lobster clasps, and jump rings. However, for traditional stretch kandi, these hardware pieces are unnecessary; a properly tied surgeon’s knot is more comfortable against the skin and far more secure on elastic cord than metal crimps, which can cut into the soft polymer over time.
Customizing with Charms, UV Beads, and Accents
Once you master the basic single-strand bracelet, adding unique accents allows you to express your personal style and stand out in festival crowds.
UV-Reactive and Glow-in-the-Dark Beads These specialty beads are incredibly popular for nighttime events. UV-reactive beads appear translucent or white indoors but transform into vibrant colors when exposed to sunlight or blacklights. Glow-in-the-dark beads absorb ambient light and emit a soft glow in pitch-black environments. When sourcing these, check the manufacturer’s specifications regarding glow longevity. Lower-quality phosphorescent plastics may only glow for a few minutes before fading, whereas high-grade strontium aluminate-infused beads can remain visible for hours.
Charms and Pendants Adding a central charm—such as a small plastic toy, a laser-cut acrylic shape, or a metal pendant—instantly elevates your design. You can attach these by threading them directly onto the main cord if they have a large enough bail, or by using a metal jump ring. Be mindful of weight; heavy metal charms will pull down on elastic cord, causing the bracelet to sag awkwardly. Keep heavy charms centered and consider doubling your elastic strand for added support.
Spacer and Accent Beads To break up the repetitive look of plastic pony beads, introduce spacer beads made of alternative materials. Metallic-plated plastic beads, faceted glass beads, and natural wooden beads add rich textures and visual depth. Glass beads catch and refract light beautifully, while wooden beads bring an organic, earthy feel to your creations.
Verifying Specialty Hole Sizes Novelty charms and handmade accents often have smaller or irregularly shaped holes compared to standardized pony beads. Before planning a complex pattern around a specific charm, physically verify that your elastic cord can pass through its mounting hole. Many molded plastic charms also contain rough manufacturing debris (flashing) inside their channels; run a small needle or paperclip through the hole first to clear out any sharp obstructions that could slice your elastic.
Matching Materials and Calculating Supply Quantities
To avoid running out of materials mid-project or wasting valuable supplies, use systematic planning and proper storage techniques.
The Thread-Through Test Before cutting your cord, perform a quick physical compatibility check. If your design requires the elastic to pass through a bead multiple times—such as when securing a knot or weaving a multi-row cuff—ensure the bead’s inner diameter is wide enough. For example, if you are using a 0.8mm cord doubled over, the bead hole must comfortably accommodate at least 1.6mm of material without forcing, which can damage the elastic fibers.
Calculating Bead Counts To estimate how many beads you need for a single-strand bracelet, use this simple formula:
- Step 1: Measure your wrist circumference in millimeters (e.g., a standard adult wrist is roughly 160mm to 180mm).
- Step 2: Divide your wrist measurement by the outer diameter of your chosen bead (e.g., 8mm for standard pony beads). For a 160mm wrist: 160 / 8 = 20 beads.
- Step 3: Add 2 to 3 extra beads to this total. This provides comfortable slack so the bracelet rests naturally on your skin without stretching the elastic permanently while worn.
Estimating Cord Length Never cut your cord to the exact length of the finished bracelet. Always allow for a generous amount of excess on both ends to give your fingers room to tie a secure knot. For a standard single-strand bracelet measuring 18 cm, cut a cord length of at least 30 cm to 35 cm. This leaves roughly 7 cm to 8 cm of excess on each side, ensuring you can maintain proper tension while tying your finishing knots.
Storage and Care in Tropical Climates Environmental factors play a massive role in the lifespan of your crafting supplies. In hot, humid tropical climates like the Philippines, prolonged exposure to moisture and ambient heat can accelerate the degradation of elastic polymer chains, leading to dry rot where the cord loses its stretch and snaps easily. Store your raw elastic cords and finished bracelets in airtight plastic containers away from direct sunlight. Adding a few silica gel packets to your storage boxes will absorb excess moisture, protecting your metallic-finished beads from peeling and keeping your elastic cords in peak condition.
Frequently Asked Questions (FAQ)
Can I use regular sewing thread for kandi bracelets?
No, regular sewing thread is not suitable for traditional kandi bracelets. Sewing thread lacks the elasticity required for slip-on jewelry, meaning you would need to install a metal clasp on every piece. Furthermore, sewing thread is thin and has low tensile strength; the friction of heavy plastic pony beads sliding against the thread will quickly wear it down, causing the bracelet to snap under minimal tension. For durable, long-lasting creations, always use dedicated elastic cord or thick nylon beading thread.
How do I keep white or clear beads from yellowing over time?
Yellowing is primarily caused by ultraviolet (UV) light degradation and chemical exposure. To preserve the crisp color of white and clear plastic beads, store your finished jewelry in a dark, cool drawer or opaque storage box when not in use. Additionally, sunscreen, sweat, and body lotions contain oils and chemicals that can react with cheap plastics. After wearing your kandi to an outdoor festival, gently wipe the beads down with a damp cloth dipped in mild soapy water, rinse them with clean water, and let them air dry completely before storing.
What is the best knot to use with elastic cord?
The most secure knot for elastic cord is the surgeon’s knot, which is essentially a standard square knot with an extra loop wrapped through the first throw to create friction. This extra twist prevents the slick elastic from slipping out of place while you tie the second half of the knot. For maximum security, apply a tiny drop of flexible, waterproof jewelry glue (such as E6000 or specialized bead cement) directly to the completed knot. Allow the adhesive to cure completely according to the manufacturer’s instructions before trimming the excess cord tails close to the knot, leaving about 2mm of slack to prevent unraveling.
Community discussion
Share your experience or ask a question. Comments are reviewed before publication.