
Starting your first scrapbook does not require a massive collection of high-end crafting gadgets or expensive paper collections. To begin preserving your memories beautifully, you only need a few fundamental tools: a reliable cutting instrument, a secure adhesive, some sturdy base paper, and a safe surface to work on. Focusing on these essentials allows you to master the basics of layout design and paper crafting without feeling overwhelmed by clutter or excessive costs.
By prioritizing versatile, multi-use items, you can complete your first project successfully while discovering your personal style. Over time, you can gradually expand your toolkit as your projects become more complex. This guide breaks down the practical scrapbooking materials you actually need to start your creative journey today.
Core Cutting and Adhesive Tools You Actually Need
Precision is the foundation of any clean scrapbook layout, making your cutting tools some of the most critical items in your starter kit. A basic pair of craft scissors is indispensable for cutting out organic shapes, trimming photos, and handling detailed embellishments. However, achieving perfectly straight edges over long distances with scissors can be challenging. For clean, straight borders and quick page sizing, a precision paper trimmer with a sliding blade is highly recommended. When selecting a trimmer, look for models with built-in grid lines and a swing-out ruler to ensure accurate measurements.
Products mentioned in this guide
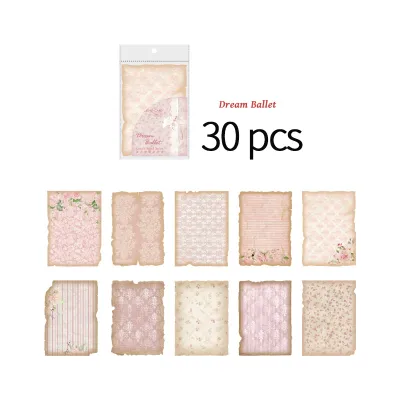
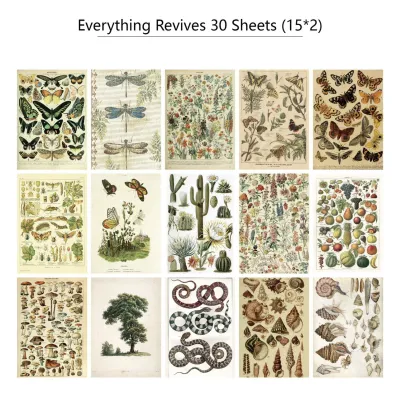
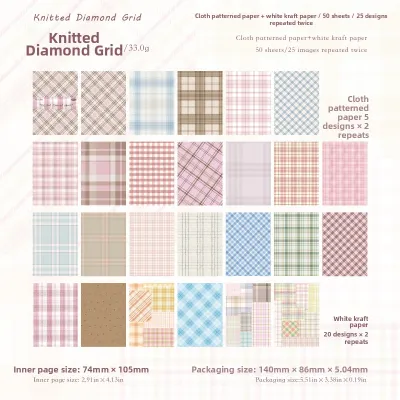
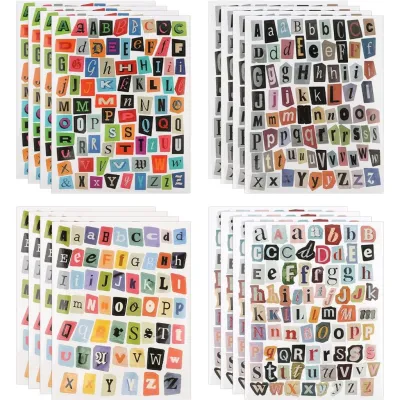
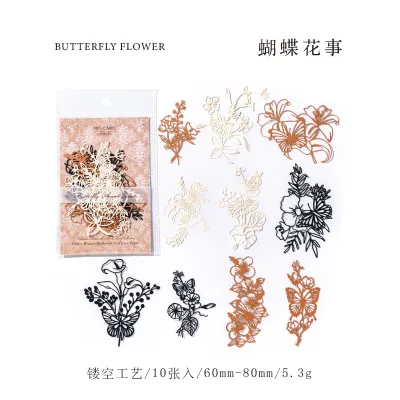
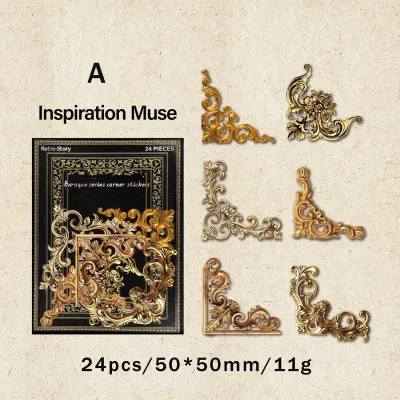
Prices are valid at publication and may change. Please refer to the product page for the latest price.
Adhesives hold your memories together, but choosing the wrong type can lead to warped paper or peeling elements, especially in warm, humid climates. Standard glue sticks are excellent for lightweight paper ephemera and temporary positioning because they dry relatively flat and are easy to apply. For heavier cardstock and secure photo mounting, double-sided tape or adhesive rollers provide a strong, dry bond that resists lifting over time. Liquid craft glue is useful for small, intricate die-cuts, but it must be applied sparingly to prevent the paper from wrinkling as it dries.
Accurate alignment prevents your layouts from looking crooked or disorganized. A clear acrylic grid ruler is a simple yet invaluable tool that allows you to see the elements underneath while measuring margins and aligning text. To achieve crisp, professional folds on cards or interactive page flaps, a basic bone folder is highly effective. This smooth, hand-held tool allows you to crease paper cleanly without leaving shiny marks or oil from your fingers on the delicate paper fibers.
Selecting Base Papers and Simple Embellishments
The paper you choose serves as both the structural foundation and the visual backdrop of your scrapbook pages. Cardstock is a heavy, sturdy paper that provides the necessary support for heavy photos, layers of adhesive, and dimensional embellishments. It is typically available in solid colors and various textures, making it ideal for page bases and photo matting. Patterned paper, which is usually lighter in weight, adds visual interest, themes, and color schemes to your layouts. When layering, always place lighter patterned papers on top of a sturdy cardstock base to prevent the page from sagging.

Before purchasing any paper packs or loose sheets, it is essential to verify the sizing standards of your scrapbook album. The most common standard sizes are 12×12 inches and 8×8 inches, though smaller formats like A5 or 6×6 inches are increasingly popular for quick projects. Buying paper that matches your album size saves time and reduces waste, as you will not need to trim every sheet to fit. If you are undecided, starting with an 8×8 inch format is often more manageable for beginners because it requires less space to fill cohesively.
It is easy to get carried away by the vast array of decorations available, but minimal embellishments often create the most elegant designs. Washi tape is a versatile, low-tack paper tape that can be used to create borders, secure photos temporarily, or add subtle pops of color. Die-cuts and stickers are pre-cut designs that offer an easy way to add themed illustrations or titles without needing advanced drawing skills. When arranging these elements, focus on creating a balanced visual triangle around your photos to draw the viewer’s eye to the main subject.
Advanced Tools You Can Wait to Buy
As you browse scrapbooking communities, you will encounter highly specialized equipment that promises to elevate your crafts. Electronic cutting machines and manual die-cutting presses are incredibly popular for creating intricate shapes and custom lettering. While these machines offer immense creative freedom, they require a significant financial investment and a steep learning curve. Beginners should hold off on these purchases until they are certain they will commit to the hobby long-term and have established a clear design style.
Advanced journaling pens and specialized archival ink pads are another category where you can safely delay your spending. While professional pigment inks and fade-resistant markers are excellent for long-term preservation, a high-quality, water-resistant gel pen or fine-liner from your local stationery shop is perfectly adequate for starting out. Before using any pen on your layout, perform a quick scribble test on a scrap piece of your chosen paper to check for drying speed and bleed-through.
Specialized storage carts, modular drawer systems, and acid-free paper racks are beautiful but unnecessary when you are just starting. A growing collection can easily be managed using basic household items like plastic storage bins, shoe boxes, or clean document folders. Grouping your papers by color and keeping your tools in a portable pencil case makes it easy to set up and pack away your supplies. Transition to dedicated craft furniture only when your inventory outgrows your temporary storage and begins to clutter your living space.
Building Your First Starter Kit on a Budget
Assembling your first scrapbooking kit does not have to break the bank if you approach your purchases strategically. Focus on acquiring multi-use tools that serve several functions rather than single-purpose gadgets like specialized corner rounders or decorative edge scissors. For example, a high-quality utility knife paired with a metal-edged ruler can handle straight cuts, scoring, and trimming just as well as several separate tools. This minimalist approach keeps your workspace clean and saves your budget for high-quality papers.
When shopping for paper, purchasing coordinated paper pads is generally much more cost-effective than buying individual loose sheets. These pads are curated by designers to ensure that all the colors, patterns, and themes complement each other perfectly. This eliminates the guesswork of matching colors and ensures your layouts look cohesive. Look for paper pads that offer a mix of busy patterns and subtle, solid-like designs to maximize your layout options.
For crafters in the Philippines, sourcing affordable materials involves exploring both local physical stores and online marketplaces. Many local stationery shops offer budget-friendly starter bundles that include basic cutting tools, a selection of papers, and simple stickers for under ₱500. When shopping online, pay close attention to customer reviews regarding paper thickness and adhesive quality, as high humidity can sometimes affect how products perform. Buying basic supplies locally also allows you to feel the paper weight and inspect the colors in person before committing to a purchase.
Setting Up a Practical Scrapbooking Workspace
Creating a dedicated, organized workspace makes the crafting process much more enjoyable and keeps your tools in prime condition. A self-healing cutting mat is an essential investment for any flat surface you plan to use for crafting. These mats protect your dining table or desk from deep blade cuts and adhesive spills while providing a non-slip surface for precise work. Additionally, the grid lines printed on the mat serve as an excellent quick-reference guide for aligning paper edges and measuring small elements.
Adequate lighting is crucial when working on detailed crafts to prevent eye strain and ensure accurate color matching. Position your workspace near a window for natural daylight, or use a bright, adjustable desk lamp with a cool white bulb to mimic daylight during evening crafting sessions. Proper ergonomics, such as a comfortable chair that supports your posture and keeps your work at a comfortable elbow height, will allow you to craft for longer periods without physical discomfort.
Maintaining your tools between crafting sessions ensures they last longer and perform reliably when you need them. Always wipe down your scissors and paper trimmer blades with a small amount of rubbing alcohol to remove sticky adhesive residue. Keep all liquid glues and markers tightly capped and stored upright to prevent them from drying out or leaking in warm tropical weather. A quick five-minute cleanup at the end of each session keeps your workspace inviting and ready for your next creative project.
Frequently Asked Questions (FAQ)
Do I need acid-free and lignin-free paper for all my scrapbooking projects?
Using acid-free and lignin-free paper is highly recommended if you are preserving original, irreplaceable photographs and historical memorabilia. Over time, the natural acids and lignin found in standard wood-pulp paper can react with light and moisture, causing your photos to yellow, fade, or become brittle. If your scrapbook is designed as a family heirloom to be passed down through generations, investing in archival-quality paper is essential. However, for casual projects like daily journals, travel planners, or digital photo reprints that can easily be printed again, standard decorative papers are perfectly acceptable and often more budget-friendly.
What is the best adhesive for attaching heavy embellishments?
Attaching heavy or three-dimensional embellishments like wooden shapes, thick buttons, or metal charms requires a stronger adhesive than standard glue sticks or thin double-sided tape. Double-sided foam tape is excellent for adding both height and a secure hold to medium-weight cardstock elements. For heavier, non-porous items, high-tack glue dots or a specialized heavy-duty liquid craft glue are ideal because they create a strong, flexible bond that resists humidity. Always check the product label for drying times and weight limits, and allow the adhesive to cure completely flat before closing your scrapbook album.
Community discussion
Share your experience or ask a question. Comments are reviewed before publication.