
Preparing a child for elementary school art class involves more than just grabbing a random assortment of crayons and throwing them into a backpack. A complete, well-organized coloring bag set ensures that young artists have the exact tools they need to express their creativity, complete classroom assignments successfully, and keep their supplies in excellent working condition throughout the school year. In the tropical climate of the Philippines, where high humidity and sudden downpours are common, selecting the right materials and storage solutions is even more critical to prevent melted wax, dried-out ink, and ruined paper.
By focusing on a balance of essential coloring mediums, durable supporting accessories, and a resilient storage bag, parents can assemble a kit that supports fine motor development and stands up to daily classroom wear and tear. This guide breaks down the essential components of a school-ready art kit, helping you choose high-quality, safe, and practical supplies that will last from the first day of school to the final art project.
Core Coloring Tools Every Elementary Art Kit Needs
The foundation of any elementary school art kit lies in its core coloring instruments. For most elementary art curricula, a standard selection of crayons, colored pencils, and water-based markers is required. A baseline quantity of 12 to 24 colors per medium is generally ideal. This range provides all the primary, secondary, and tertiary colors necessary for basic color theory lessons without overwhelming a child’s desk space or adding unnecessary weight to their school bag. Keeping the color count within this range also makes it easier for children to clean up quickly at the end of a class period.
Products mentioned in this guide
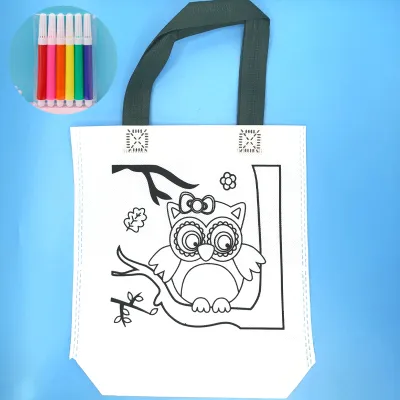
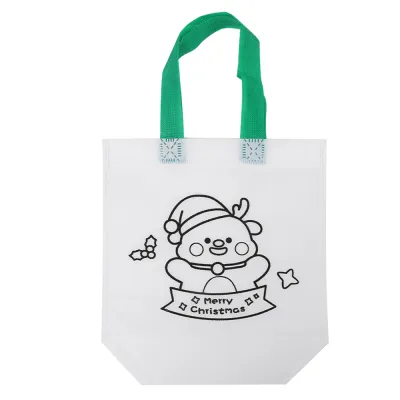
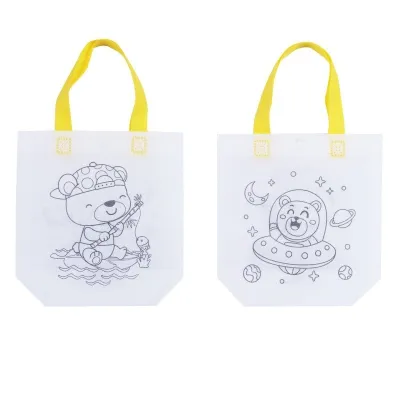
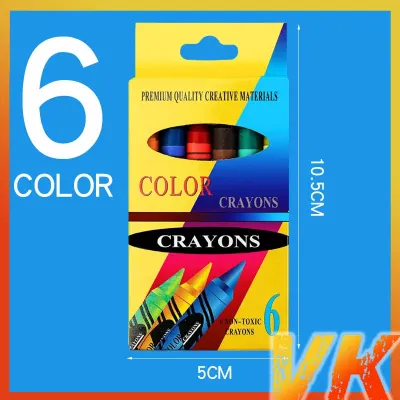
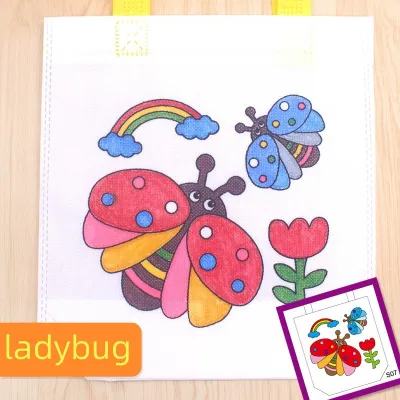
Prices are valid at publication and may change. Please refer to the product page for the latest price.
When selecting these tools, ergonomic design is crucial for supporting developing fine motor skills. For early elementary students in grades 1 to 3, jumbo-sized or triangular-barreled crayons and colored pencils are highly recommended. The triangular shape naturally guides small fingers into a proper tripod grip, reducing hand fatigue during long coloring sessions. Additionally, flat-sided or triangular barrels prevent pencils and crayons from rolling off slanted school desks and breaking on the floor. For older elementary students in grades 4 to 6, standard hexagonal or round barrels are appropriate as their hand-eye coordination and grip strength mature, allowing for more detailed and precise linework.
Safety must always be a primary consideration when purchasing stationery for children. Parents should never assume a product is safe simply because it is marketed for school use. Always inspect the packaging directly for verified non-toxic safety certifications, such as the AP (Approved Product) seal or compliance with international standards like EN71. These certifications guarantee that the materials have been toxicologically evaluated and contain no harmful substances in quantities sufficient to be toxic or injurious to children, which is especially important for younger students who may occasionally bite their pencils or get ink on their skin.
Matching Coloring Mediums to School Paper and Tasks
Different coloring mediums interact uniquely with paper, and understanding these relationships helps prevent frustration during art class. Wax crayons are the traditional choice for broad, textured coverage. However, in warm classrooms, standard wax crayons can soften, smudge easily, or even melt if left in a backpack parked near a sunny window. Plastic-based crayons offer a cleaner, more break-resistant alternative, though they may have a slightly lighter color payoff. Neither type of crayon poses a risk of bleeding through paper, making them highly reliable for double-sided worksheets.

Colored pencils offer excellent control for shading, blending, and detailed drawing. They do not bleed through paper, but their performance depends heavily on the hardness of the lead. Pencils with leads that are too hard will scratch thin paper and deposit very little color, while leads that are too soft will break constantly under the heavy pressure typical of young artists. Water-based markers provide vibrant, saturated colors that children love, but they carry a high risk of bleeding through standard school paper. They also require a brief drying time; in high-humidity environments, wet marker ink can easily smudge across the page or transfer to a student’s hands and sleeves.
To ensure a frustration-free experience, match the coloring medium to the paper weight used in class. Standard school pad paper and cheap drawing pads are typically thin, often around 50 to 70 gsm (grams per square meter). This thin paper handles colored pencils and crayons well but will quickly buckle, pill, or tear under the wet ink of markers. For marker drawings or mixed-media projects, students should use a dedicated sketchpad with a paper weight of at least 100 to 120 gsm. Parents can perform a simple trial at home by having their child color a small patch on a corner of the paper to observe if the ink feathers or bleeds through to the next sheet.
When buying markers, look closely at the washability claims on the packaging. Manufacturers often label markers as “washable,” but this term has practical limitations. Most washable formulas are water-soluble and will easily wash off skin and hard surfaces with simple soap and water. However, they can still leave permanent stains on synthetic fabrics, such as the polyester-blend fabrics commonly used in school uniforms. Always check the manufacturer’s instructions for specific fabric care and cleanup limitations, and treat any accidental stains immediately before they have a chance to dry or go through a hot laundry cycle.
Supporting Accessories and Choosing the Right Bag
A complete coloring bag set requires several auxiliary tools to keep the core coloring mediums functional. A reliable pencil sharpener is essential; choose a dual-hole model with a secure, enclosed canister to collect wood shavings. This prevents messy spills on the classroom floor and protects the sharpener’s blades. For erasing, standard pink rubber erasers often smudge colored pencil pigment and tear thin paper. Instead, include a high-quality white vinyl eraser, which lifts pencil pigment cleanly, or a kneaded eraser for gentle highlighting. Finally, a pair of blunt-tip, stainless-steel safety scissors with comfortable plastic finger loops sized for children’s hands completes the toolset.
The coloring bag itself must be carefully selected to withstand daily school transport. The bag’s dimensions should comfortably accommodate the largest item in the kit, which is typically a standard sketchpad (often A4 or 9×12 inches), without bending the corners of the paper. Look for a bag with internal compartments, mesh pockets, or elastic loops. This structured layout keeps individual markers and pencils organized, preventing them from rattling around, which can shatter the internal leads of colored pencils or cause marker caps to pop off and dry out.
Material durability is key, especially in tropical climates. A water-resistant nylon, polyester, or heavy-duty TPU (thermoplastic polyurethane) exterior is ideal for protecting paper and supplies from sudden rain showers during the school commute. Clear PVC pockets are helpful because they allow both the teacher and the student to quickly see what is inside, but ensure the plastic is thick enough to resist punctures from sharp pencil tips or scissors. Zipper quality is another common failure point; look for thick, nylon-toothed zippers with large, easy-to-grip pulls that small hands can operate without snagging.
To extend the overall lifespan of the coloring bag set, plan ahead for consumables. Instead of replacing an entire set when a few items wear out, keep a small stash of replacement supplies at home. Black and dark blue markers almost always run out of ink first, while white, yellow, and peach colored pencils tend to wear down quickly. Purchasing individual open-stock pencils and markers to replenish the school bag as needed is far more economical than buying brand-new multi-packs mid-semester.
Pre-Made Art Kits vs. DIY Sets: Which Should You Choose?
When preparing for the school year, parents generally face two choices: purchasing a pre-made, commercially bundled art kit or assembling a custom DIY coloring bag set from individual supplies. Each approach has distinct trade-offs regarding cost-efficiency, component quality, and classroom usability.
Pre-made art kits are highly convenient and often come in visually appealing, character-themed plastic cases. They are widely available in department stores and online marketplaces, making them an easy, one-click purchase. However, these bundles frequently contain low-quality “filler” items to inflate the piece count. For example, a 50-piece kit might include hard, waxy crayons that scratch the paper instead of coloring, markers with very little ink that dry out after a few uses, and flimsy plastic sharpeners that break colored pencil leads rather than sharpening them. Furthermore, the bulky plastic cases can be brittle, cracking easily when dropped on concrete classroom floors, and they rarely fit neatly inside a standard school backpack.
Assembling a DIY coloring bag set allows you to select reliable, high-quality brands for each specific tool. You can pair break-resistant colored pencils with vibrant, truly washable markers and house them in a durable, flexible fabric pouch. While a DIY set may require a slightly higher initial investment—typically ranging from ₱300 to ₱600 depending on the brands and bag chosen—it is almost always more cost-effective in the long run. High-quality individual components last longer, perform better on school assignments, and can be replaced selectively when lost or depleted, reducing overall waste.
To help you decide which path is best for your child’s needs, consider the following decision framework:
- Choose a Pre-Made Kit if:
- You are on a tight timeline and need an immediate, all-in-one solution.
- The school's art curriculum is very basic and does not require specific tool performance.
- The kit is intended for light, occasional home use rather than daily school transport.
- Choose a DIY Set if:
- The school has provided a specific, detailed art supply list with strict requirements.
- You want to avoid plastic waste and the frustration of low-quality filler items.
- Your child is highly interested in art and would benefit from tools with better pigment and smoother application.
- You want a compact, flexible bag that fits easily alongside heavy textbooks in a standard school backpack.
Frequently Asked Questions (FAQ)
How often should coloring supplies in a school bag be replaced?
Rather than relying on a fixed calendar schedule, parents should perform a visual and physical inspection of the coloring bag every few weeks. Replace markers when the tips become frayed or split, or when the ink visibly fades and streaks on the page. Crayons should be replaced or melted down for home crafts when they become too short for a child to hold comfortably with a proper grip. Colored pencils need replacement when repeated sharpening leaves them shorter than the width of the child’s palm, as they become difficult to control and can cause hand cramping.
Are washable markers completely stain-proof on school uniforms?
No, washable markers are not completely stain-proof under all conditions. While they are formulated to wash cleanly from skin and most cotton fabrics, synthetic fibers like polyester blends—which are common in school uniforms—can trap the pigments. To prevent permanent staining, always read the manufacturer’s care label on the marker packaging. If ink gets on a uniform, treat the stain while it is still wet by rinsing it from the back of the fabric with cold water, applying a mild liquid detergent, and washing the garment before putting it in a hot dryer, as heat will permanently set the stain.
Community discussion
Share your experience or ask a question. Comments are reviewed before publication.