
Starting a new hobby should not require a massive financial commitment. To begin your adult coloring journey, you only need a few basic, affordable tools. A simple starter kit consists of a single adult coloring book, a basic set of colored pencils or gel pens, a reliable manual sharpener, and a protective sheet of scrap paper or cardstock. This minimal setup allows you to experience the relaxing benefits of coloring without overspending on professional-grade art supplies. By focusing on how your chosen medium interacts with the paper, you can achieve beautiful results on a very modest budget.
Choosing Your Primary Coloring Medium
Selecting your first coloring tool depends heavily on your personal style and the type of paper in your book. Colored pencils are the most popular and forgiving medium for beginners. They are generally divided into wax-based and oil-based varieties. Wax-based pencils are soft, creamy, and easy to blend, making them highly popular for creating smooth gradients. However, in warm, humid tropical climates, they can sometimes develop a cloudy white film known as wax bloom, and the soft cores may break more easily if dropped. Oil-based pencils have a harder core, hold a sharp point longer, and resist humidity well, though they require slightly more pressure to lay down intense color. To test your pencils, find a blank corner of your book and observe how the pigment transfers. If the lead feels scratchy or leaves faint color, it may have a high binder-to-pigment ratio, requiring a lighter, layered touch.
Gel pens and fine liners are excellent alternatives if you prefer vibrant, solid colors and sharp details. Gel pens offer smooth, opaque ink flow, including metallic and glitter options that add unique highlights to your pages. However, their heavy ink flow increases drying time. In humid conditions, this drying process slows down further, making it easy to accidentally smudge your work with your hand. Fine liners use water-based ink and have precise felt tips, making them perfect for tight spaces, but they can bleed through thin paper if you hold the tip in one spot for too long.
Products mentioned in this guide
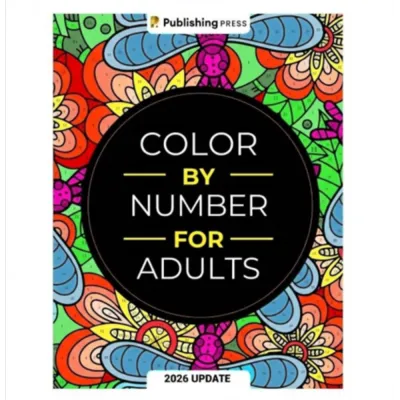

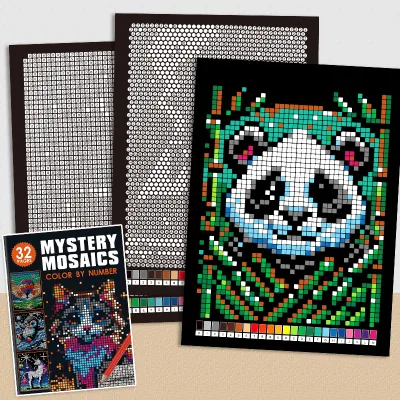
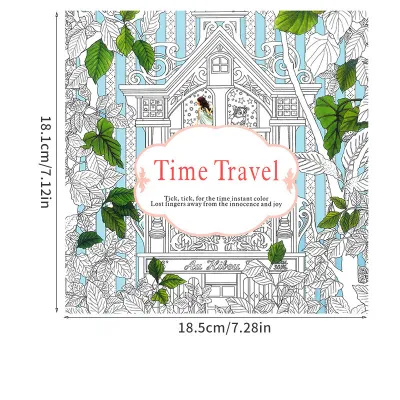
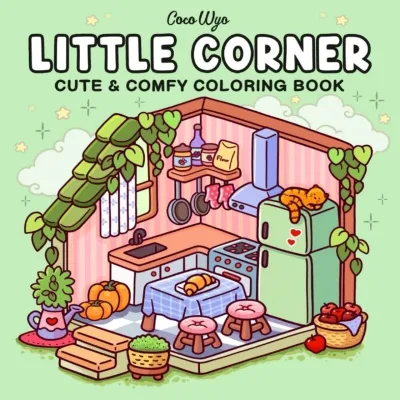
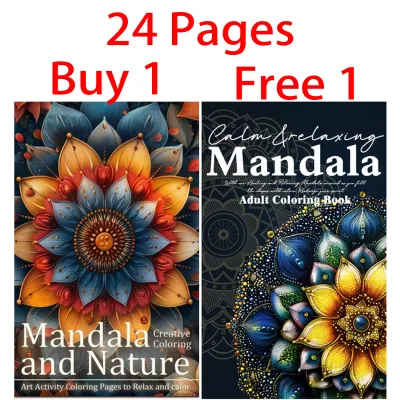
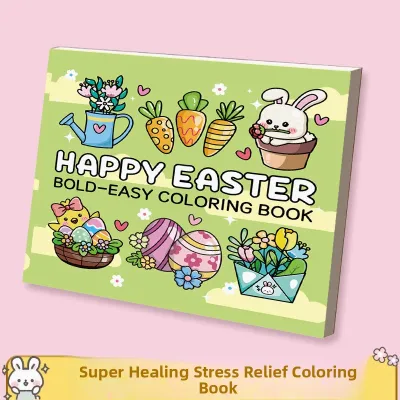
Prices are valid at publication and may change. Please refer to the product page for the latest price.
Markers provide bold, streak-free coverage but require careful handling. Alcohol-based markers are beloved by artists for their seamless blending, but they are highly prone to bleeding through almost any standard paper, often ruining the design on the reverse side. Water-based markers, such as standard school markers or dual-brush pens, are much gentler on paper and less likely to bleed, though repeated layering can cause the paper fibers to pill and tear. If you choose markers, you must pair them with thick paper or accept that you will only color single-sided designs.
Selecting the Right Adult Coloring Book for Beginners
The paper is just as important as the coloring tool you choose. Paper texture, often called “tooth,” refers to how rough or smooth the surface is. Smooth paper has very little tooth; while gel pens glide effortlessly across it, colored pencils struggle to grip the surface, limiting your ability to layer colors. Textured paper has more tooth, which shaves off pencil pigment efficiently but can wear down felt-tip markers quickly. Look for books that specify a heavier paper weight, ideally above 90 gsm. You can verify the quality by gently feeling the page; it should feel substantial, not thin or flimsy like standard newspaper print.

Design complexity is another crucial factor for beginners. It is tempting to buy the most intricate, detailed book on the shelf, but highly complex designs can quickly lead to hand fatigue and frustration. Start with books featuring larger, open patterns, bold lines, or simple mandalas. These designs allow you to practice basic coloring techniques, such as shading and color transitions, without feeling overwhelmed by microscopic details. As your hand strength and confidence grow, you can gradually transition to more complex illustrations.
Binding type also affects your physical comfort while coloring. Coloring books generally come in two binding styles: spiral-bound and perfect-bound (glued spine). Spiral-bound books are highly recommended for beginners because they lie completely flat on your desk, allowing you to color comfortably right up to the inner margins. Perfect-bound books are more common and often less expensive, but they require you to constantly press the spine down to keep the book open. This can make coloring near the center crease difficult and may eventually cause the pages to pull loose from the glue.
Essential Accessories and Workspace Setup
You do not need expensive gadgets to protect your work and improve your coloring experience. The simplest and most effective accessory is a blotter sheet. Place a sheet of thick scrap paper, an index card, or a piece of 200 gsm cardstock directly behind the page you are currently working on. This physical barrier catches any ink bleed-through from markers or gel pens, preventing ruinous stains on the subsequent designs.
If you choose colored pencils, a few low-cost maintenance tools will prolong the life of your supplies. A cheap plastic sharpener can chew through your pencils, breaking the leads internally and wasting your budget. Invest in a sturdy, dual-hole metal sharpener, which shaves the wood cleanly and preserves the core. When your pencils wear down to short stubs, do not throw them away. A budget-friendly pencil extender holds the short stub securely, giving you a full-length grip and allowing you to use every millimeter of your pencil.
Proper physical setup prevents strain during long coloring sessions. Position your workspace near a natural light source or use a bright, cool-toned LED desk lamp to reduce eye strain and help you see colors accurately. Because tropical climates can cause hands to sweat, place a small desk fan nearby to maintain comfortable airflow. To prevent sweat from transferring to your paper and causing ink to smear, place a clean sheet of scrap paper under your coloring hand as you work. Use a chair that supports upright posture to avoid neck and shoulder tension.
How to Test and Organize Your New Supplies
Before coloring your first major design, create a swatch sheet. Use the blank test pages often found at the back of coloring books, or use a separate piece of paper of similar quality. Draw small blocks of each color to see how they look when dry. Paper color shifts how pigments appear; off-white or cream-colored paper will make blues look slightly greenish and yellows warmer. This test page is also the perfect place to check how much pressure your pencils can handle and whether your markers bleed through the sheet.
Keeping your tools organized makes the coloring process much more relaxing. Group your pencils or pens by color family—such as warm reds and oranges, cool blues and greens, and neutral earth tones. You do not need expensive storage cases; simple glass jars, mugs, or a basic pencil wrap work perfectly. Having your colors visible and accessible prevents you from constantly rummaging through a box, which can disrupt your creative flow.
High humidity can soften paper fibers, making pages wavy and more susceptible to tearing under pencil pressure. It can also cause the wood of your pencils to swell slightly. To prolong the life of your supplies, store your coloring books and pencils in a dry drawer or a sealable plastic container. Adding a few silica gel packets to your storage container will absorb excess moisture, keeping your paper crisp and your pencil leads dry and strong.
Frequently Asked Questions (FAQ)
Do I need expensive artist-grade colored pencils to start?
No, beginners do not need professional-grade pencils to enjoy adult coloring. Student-grade pencils are highly affordable, often costing under ₱300 for a decent starter set, and they offer good color payoff for learning basic techniques. The primary difference lies in the pigment concentration and blendability. Professional pencils contain more pigment and less binder, allowing for seamless blending and richer colors with less effort. However, they are also much softer and wear down quickly. Start with a budget-friendly student set to practice your grip and shading; you can upgrade to individual professional pencils later as you identify your favorite colors.
How can I prevent my markers from ruining the next page?
To protect your book from marker bleed-through, always place a thick sheet of cardstock or several layers of scrap paper directly behind the page you are coloring. This acts as a blotter to absorb excess ink. Additionally, look for coloring books that feature single-sided printing, where the back of each page is left blank. If you are working with a double-sided book, opt for water-based markers or colored pencils instead of alcohol-based markers, as water-based formulas are far less likely to penetrate the paper fibers and ruin the design on the reverse side.
Community discussion
Share your experience or ask a question. Comments are reviewed before publication.