
Creating memorable party favors starts with the presentation. Transforming plain paper or plastic sacks into personalized loot bags for birthday celebrations is an excellent way to match your party theme and make each guest feel valued. By selecting the right combination of structural elements, decorative accents, and secure fasteners, you can elevate simple packaging into a bespoke keepsake.
To achieve this, you do not need expensive custom-printed bags. Instead, a thoughtful curation of basic stationery and wrapping supplies—such as ribbons, twines, custom tags, stamps, and dimensional embellishments—will allow you to design unique packaging. The process requires understanding how different materials interact, especially when assembling multiple favors under varying environmental conditions.
Quick Guide: Must-Have Supplies for Personalized Loot Bags
To successfully personalize plain bags, you must coordinate several layers of materials. The foundation begins with your base bag, which is typically made of uncoated kraft paper, white cardstock, or smooth cellophane. To transform these simple bases, your toolkit should include elements from four primary categories: tying materials, personalization tags, surface decorations, and reliable adhesives. Balancing these components ensures that your bags are both visually appealing and structurally sound.
Products mentioned in this guide
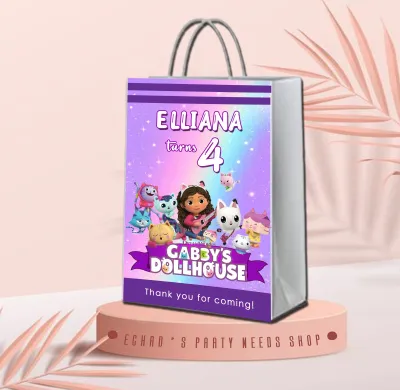
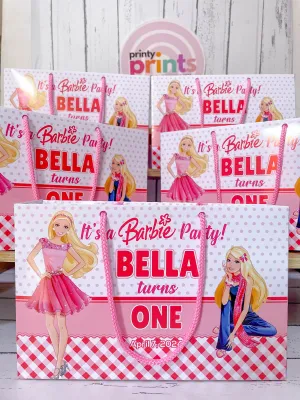
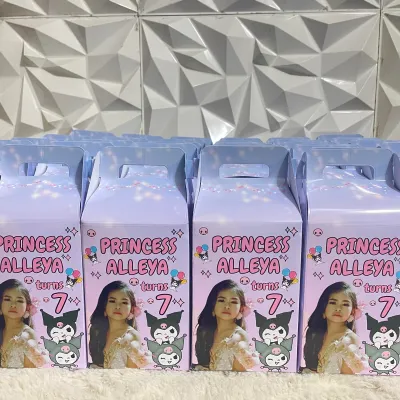
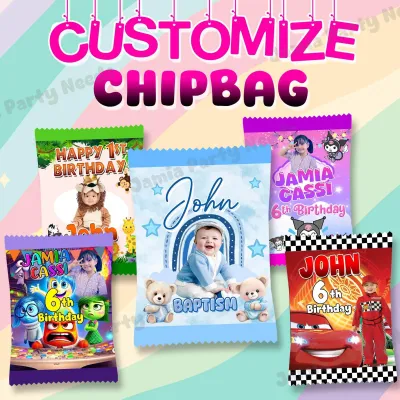
Prices are valid at publication and may change. Please refer to the product page for the latest price.
Achieving a cohesive design relies on combining at least one item from the tying, tagging, and surface decor categories. For example, a plain brown kraft bag becomes an elegant favor when paired with a forest green satin ribbon (tying), a customized name card (tagging), and a subtle botanical stamp (surface decor). Mixing too many busy patterns can overwhelm the design, while omitting one of these layers can leave the bag looking incomplete.
When planning your assembly, it is helpful to categorize your supplies by their physical properties and application methods. Paper-based bags pair beautifully with water-based inks and standard adhesives, whereas plastic or high-gloss bags require specialized non-porous markers and high-tack tapes. The following sections break down each supply category by material type, physical specifications, and practical application tips to help you choose the best options for your upcoming event.
Ribbons, Twines, and Bows: Tying the Look Together
Securing the top of your loot bag is both a functional necessity and a primary design opportunity. The material you choose to tie your bags sets the stylistic tone for the entire favor. Satin ribbons offer a smooth, glossy surface that reflects light elegantly, making them ideal for classic or formal birthday themes. Organza ribbons, with their sheer and airy weave, provide a delicate, whimsical aesthetic that works well for fantasy or floral themes without adding visual weight.

For a more playful and energetic look, curling ribbons are the traditional choice for children’s parties. These thin synthetic ribbons can be easily spiraled using the edge of a pair of scissors, creating a bouncy, festive cascade. If you are aiming for a rustic, vintage, or eco-friendly aesthetic, natural jute twine is the ideal partner for plain kraft paper bags. Jute offers a textured, matte finish that pairs exceptionally well with organic colors and minimalist designs.
Selecting the correct ribbon width is crucial for maintaining visual balance. For small to medium loot bags (approximately 10 to 15 centimeters wide), ribbon widths between 6mm (1/4 inch) and 12mm (1/2 inch) are easiest to manage and tie into neat bows. Larger bags can accommodate wider ribbons up to 25mm (1 inch) to create a bold focal point. Ensure you measure and pre-cut your ribbon segments; a standard bow typically requires 30 to 40 centimeters of ribbon to allow enough room for comfortable tying and clean tail cuts.
When preparing for a large guest list, time management is a major factor. Making dozens of identical DIY bows by hand can be incredibly time-consuming and can lead to inconsistent shapes. Pre-made bows with adhesive backings or twist-ties offer a convenient, uniform alternative that dramatically speeds up assembly. However, if you prefer the look of hand-curled ribbon, investing in a dedicated ribbon-curling tool can save your hands from fatigue and ensure consistent curls across all your favors.
Environmental factors also play a significant role in how your tying materials behave. In tropical climates like the Philippines, high relative humidity can cause standard paper-based or low-grade synthetic curling ribbons to lose their tension and droop over time. To prevent your beautifully curled ribbons from flattening before the party starts, it is highly recommended to test a small batch in your venue’s environment. Alternatively, opt for polyester-based satin ribbons or wired-edge ribbons, which contain thin structural wires that maintain their shape regardless of humidity levels.
Tags, Labels, and Name Cards: Adding the Personal Touch
At the heart of any personalized favor is the identification element. Tags and labels are the primary vehicle for displaying guest names, custom thank-you messages, or the birthday child’s name. Kraft paper tags are highly versatile, offering a sturdy, matte surface that accepts a wide variety of writing mediums. For themed events, pre-printed die-cut tags shaped like stars, animals, or crowns add instant character, while adhesive-backed labels provide a clean, modern look that can be applied directly to the face of the bag.
Choosing the right writing instrument is essential to prevent smudging and ensure legibility. The ink type must match the coating of your tag material. Glossy or coated paper tags repel water-based inks, which leads to slow drying times and high risk of smearing. For these glossy surfaces, use fine-tip permanent markers or oil-based paint pens, as they dry quickly and adhere permanently to non-porous coatings. For uncoated kraft or cardstock tags, pigment-based gel pens or fine-liner felt pens offer excellent precision, deep color payoff, and high bleed resistance.
How you attach your tags to the loot bags can also enhance the overall presentation. Threading the tag directly onto the main ribbon before tying the bow is the most seamless method. If you want a more dimensional or interactive look, you can use mini wooden clothespins to clip the tag to the folded rim of a paper bag. For a highly polished finish, consider setting metal eyelets into the punch holes of your paper tags; this reinforcement prevents the paper from tearing when pulled tight by heavy twine or thick ribbon.
To ensure your tags look intentional, align their design with the overall birthday theme. If you are hosting a space-themed party, star-shaped or rocket-shaped die-cut tags in deep blue and silver tones work perfectly. For a clean, contemporary aesthetic, opt for minimalist rectangular tags featuring elegant, simple typography. Always maintain a consistent color palette across your tags, ribbons, and bags to create a unified visual experience.
Stickers, Stamps, and Washi Tape: Surface Embellishments
Decorating the flat surfaces of plain loot bags allows you to customize the packaging even before the guest looks at the tag. Stickers are an incredibly popular and accessible choice for this task. You can utilize sheets of themed stickers featuring popular characters, or order custom-printed name stickers that highlight the event details. When using stickers, keep in mind that adhesive strength varies significantly by brand and material. Standard paper stickers adhere well to matte paper bags, but they frequently peel or lift at the edges when applied to smooth, glossy plastic or cellophane surfaces. Always check the bag’s texture and select high-tack vinyl stickers for non-porous materials.
Custom rubber or polymer stamps offer an elegant, old-school charm and are highly cost-effective for large-volume personalization. You can order a custom stamp featuring the birthday child’s name, age, and a simple icon, then stamp it repeatedly across dozens of uncoated kraft bags. When stamping, ink selection is critical. Pigment-based ink pads provide rich, opaque coverage but require longer drying times on semi-glossy papers. Dye-based inks dry almost instantly on uncoated paper but may bleed if they come into contact with moisture. Always perform a test stamp on a spare bag to verify the drying speed and check for ink feathering.
Washi tape—a decorative, semi-translucent paper tape originating from Japan—is another excellent tool for adding quick geometric patterns or colorful borders. You can run a strip of patterned washi tape along the bottom edge of a plain bag to ground the design, or use it to seal the top flap of a folded paper favor. Because washi tape is made with a low-tack, pressure-sensitive adhesive, it is easily repositionable. This makes it incredibly forgiving to work with during assembly, as you can peel and realign it without ripping delicate paper bags.
Embellishments and Charms: 3D Accents for Extra Flair
If you want to elevate your loot bags from standard party favors to premium gifts, incorporating three-dimensional embellishments is highly effective. Adding physical depth catches the eye and makes the packaging feel substantial. Popular 3D options include lightweight wooden cutouts (such as initials or animal shapes), acrylic charms, small yarn pom-poms, and artificial floral sprigs or paper flowers. These small additions provide a tactile element that guests will appreciate.
Attaching dimensional items to paper packaging requires care to avoid damaging the base bag. Liquid craft glues contain high water content, which can saturate paper fibers, causing the bag to warp, wrinkle, or weaken structurally as it dries. To avoid this, use double-sided foam glue dots. These pre-cut adhesive dots provide an instant, high-tack bond without any moisture, and their slight thickness adds a pleasing drop-shadow effect beneath your embellishments, enhancing the 3D look.
While 3D accents are visually impressive, you must consider the weight and balance of the completed bag. Heavy acrylic charms or large wooden shapes can easily overload small or thin paper bags. If a bag is top-heavy, the handles may tear when lifted, or the bag may tip over when displayed on the party table. Keep your 3D embellishments lightweight and position them lower on the bag’s surface to maintain a low center of gravity, ensuring the favors stand upright throughout the event.
Adhesives and Tools: Assembling Your Personalized Bags
Having the right tools and adhesives on hand makes the assembly process smooth, clean, and frustration-free. For flat paper-to-paper applications, double-sided tape runners are highly recommended over traditional liquid glue. They apply a thin, consistent strip of dry adhesive instantly, leaving no mess and requiring zero drying time. For securing heavier items or uneven surfaces, pressure-sensitive glue dots are indispensable. If you must use liquid glue for specific materials, apply it sparingly with a fine-tip applicator to minimize paper warping.
Safety Note: When using scissors, paper cutters, hole punches, or specialized adhesives, always work on a stable surface. If children are assisting with the assembly, ensure they use age-appropriate, blunt-tip safety scissors, and keep strong chemical adhesives or sharp tools out of their reach.
In addition to adhesives, a few basic stationery tools will dramatically improve your efficiency and the quality of your finish:
- Curling Scissors or Ribbon Curlers: Essential for creating smooth, uniform spirals on synthetic curling ribbons without fraying the edges.
- Standard Hole Punch: A single-hole punch (typically creating a 6mm hole) is necessary for puncturing clean attachment points in custom-made tags.
- Bone Folder: This plastic or bone tool allows you to score and fold paper bag flaps or cardstock inserts with crisp, professional creases.
To manage a large volume of party favors without feeling overwhelmed, set up an organized, assembly-line workflow. Clear a large table and arrange your supplies in sequential order: first, place your flat bags, followed by your stamping or stickering station, then your pre-filled favor treats, followed by your tags and ribbons, and finally your sealing tools. Working in batches—such as stamping all bags first, then stuffing them all, and finally tying them—prevents repetitive tool switching, minimizes errors, and ensures a highly consistent, professional finish for every single guest.
Frequently Asked Questions (FAQ)
How far in advance should I prepare personalized loot bags?
It is best to assemble and decorate your personalized loot bags 2 to 3 days before the birthday party. This timeline gives any liquid adhesives or stamping inks ample time to fully cure and dry, while providing a comfortable buffer for any last-minute changes to your guest list. Once assembled, store the completed bags upright in a clean, dry, and dust-free container—ideally in an air-conditioned room—to protect the paper and ribbons from moisture, humidity, and dust.
Can I use regular printer paper to make my own loot bag tags?
While standard printer paper (typically 70 to 80 gsm) can technically be used, it is not recommended for making loot bag tags. Standard paper is too thin and fragile; it will easily bend, curl, or tear at the punch hole when threaded with ribbon or twine. For durable, professional-looking DIY tags, use a heavier cardstock of at least 160 gsm (ideally 220 gsm or higher). Heavier cardstock remains rigid, holds its shape, resists ink bleeding, and withstands handling during the party.
Community discussion
Share your experience or ask a question. Comments are reviewed before publication.