
Fusible interfacing is a hidden champion in the world of needlework, acting as a supportive backing that stabilizes fabric before you begin stitching. By bonding a thin, structured layer to your base material, this material prevents delicate fabrics from stretching, puckering, or distorting under the weight of dense embroidery threads. Whether you are working on a lightweight cotton blouse or a custom tote bag, understanding how to select and apply this backing ensures your stitches remain crisp, even, and perfectly aligned over time.
What Is Fusible Interfacing and How Does It Work?
Fusible interfacing is a specialized utility fabric featuring a heat-activated adhesive on one side. Unlike traditional sew-in stabilizers that must be basted or held in place manually, this iron-on alternative bonds directly to the wrong side of your base fabric. The adhesive side is typically textured with tiny, raised dots of glue, while the non-adhesive side remains smooth to the touch.
When you apply heat and pressure with a household iron, the adhesive dots melt and fuse into the fibers of the base fabric. This process creates a temporary or permanent laminate layer that restricts the natural stretch of the textile. By locking the weave of the fabric in place, the interfacing absorbs the tension of your embroidery hoop and needle penetrations, preventing the fabric from collapsing inward.
Products mentioned in this guide
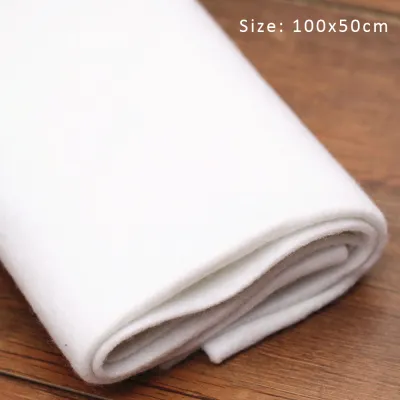
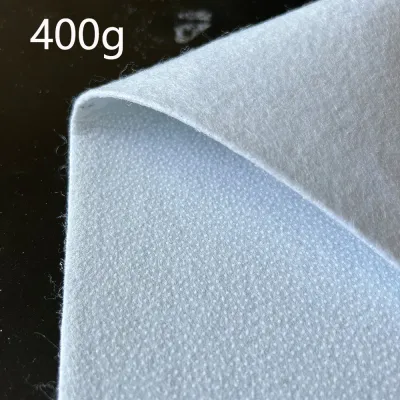
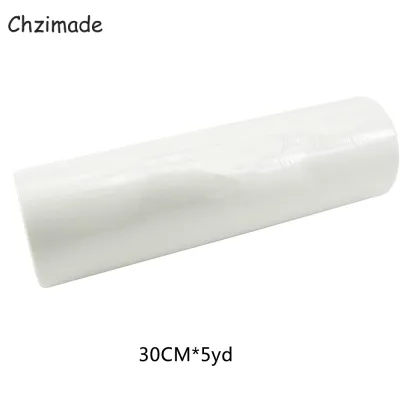
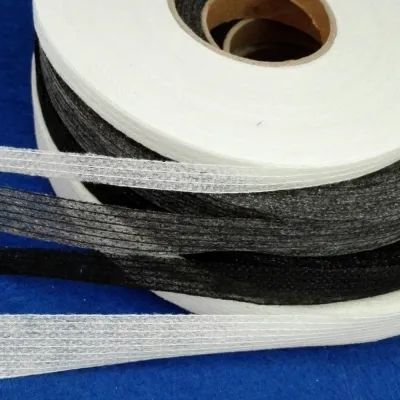
Prices are valid at publication and may change. Please refer to the product page for the latest price.
While sew-in stabilizers remain loose behind the fabric and only offer support where they are caught by stitches, fusible interfacing provides uniform, edge-to-edge stability. This makes it particularly effective for detailed hand embroidery, machine embroidery, and projects that undergo frequent handling or washing.
Choosing the Right Weight and Texture for Your Fabric
Selecting the correct weight of fusible interfacing is essential to preserve the natural drape of your project. Interfacing generally comes in lightweight, medium-weight, and heavyweight varieties. A common rule of thumb is to match the weight of the interfacing to the weight of your fabric, or to choose one step lighter.

Lightweight fusible interfacing is ideal for delicate fabrics such as silk, voile, batiste, and thin cotton lawn. It provides just enough support to prevent stitches from pulling the fabric fibers without making the finished piece stiff or cardboard-like. Medium-weight interfacing works beautifully with standard quilting cotton, linen, and light canvas, offering robust support for more complex, multi-colored embroidery designs. Heavyweight interfacing is reserved for structured items like bags, hats, or heavy denim where maximum rigidity is desired.
The texture of the interfacing—woven versus non-woven—also plays a critical role in the final feel of your embroidery. Woven interfacing behaves like regular fabric, possessing a grainline and a natural drape that moves with your garment. Non-woven interfacing, which resembles compressed paper fibers, has no grain and offers equal stability in all directions, making it highly effective for stabilizing stretchy knit fabrics. When shopping, always check the manufacturer’s label for stretch specifications, washability, and drape to ensure the backing matches your project’s care requirements.
Do You Really Need It for Cross-Stitch and Embroidery?
Not every needlework project requires the addition of fusible interfacing, and knowing when to use it can save you time and material. The decision depends heavily on the natural stability of your base fabric and the density of your planned embroidery design.
You should definitely consider using fusible interfacing when working on stretchy, knit fabrics like jersey t-shirts, or thin, loosely woven cottons. These materials easily distort when pulled tight in an embroidery hoop, leading to puckered designs once the hoop is removed. Interfacing is also highly beneficial for dense embroidery patterns that feature heavy satin stitches, fill stitches, or intricate linework, as these designs exert significant tension on the fabric fibers.
Conversely, you should generally avoid fusible interfacing when working on traditional cross-stitch fabrics like structured Aida cloth or high-count evenweave. These fabrics are already stiffened with sizing and feature a highly structured, open grid designed to support even stitching without extra backing. Applying an iron-on stabilizer to Aida can clog the natural holes of the fabric, making it difficult to pass your needle through and potentially distorting the grid. Additionally, avoid using fusible interfacing on heat-sensitive fabrics like acetate, faux leather, or highly textured materials like velvet, which can be crushed or melted by the heat of an iron.
Before starting, evaluate your base fabric by gently pulling it diagonally. If it stretches significantly or feels flimsy, a lightweight fusible backing will likely improve your stitching experience. If the fabric is already rigid and your design consists of light, simple outlines, the base fabric alone is usually sufficient.
Step-by-Step Application and Safe Removal
Applying fusible interfacing correctly requires careful attention to heat, moisture, and pressure to ensure a secure bond without damaging your fabric. In warm, humid climates like the Philippines, pre-washing both your base fabric and your interfacing is especially important, as humidity can cause fabrics to shrink or warp unevenly after the project is completed.
Set your iron to the temperature recommended on the interfacing packaging, ensuring the steam setting is turned off unless the instructions specifically call for a damp press. Lay your base fabric wrong-side up on your ironing board, and place the interfacing on top with the rough, adhesive side facing down against the fabric. To protect both your embroidery fabric and your iron from stray adhesive, place a clean, dry pressing cloth over the interfacing layer.
Press the iron down firmly on one section for several seconds, then lift and move to the next section rather than sliding the iron back and forth, which can distort the fabric. Allow the fabric to cool completely before moving it; this allows the adhesive to set and form a permanent bond.
If you accidentally apply the interfacing to the wrong side of the fabric or notice wrinkles after fusing, you can often remove it with gentle heat. Place a pressing cloth over the area and apply a warm iron for a few seconds to soften the adhesive, then carefully peel the interfacing away while it is still warm. Any remaining sticky residue can often be cleaned using a specialized fabric adhesive remover or by gently dabbing the area with a scrap piece of warm, damp cotton cloth.
What to Check Before Buying Embroidery Stabilizers
When browsing online marketplaces or local craft shops, reading the product specifications carefully will prevent project failures. Look for clear labeling regarding the interfacing’s weight, fiber content, and care instructions, ensuring it is compatible with your project’s washing requirements, especially if you plan to wash your finished pieces frequently to combat tropical dust and humidity.
Verify the heat tolerance of the interfacing to ensure it matches the fiber content of your base fabric. For example, a low-temperature fusible interfacing is necessary for delicate synthetics, while cotton fabrics can handle the higher heat required for standard adhesives.
Before committing to your main project, always perform a quick test on a small scrap of your base fabric and interfacing. Fuse a small square, let it cool, and check for any unwanted stiffness, fabric shrinkage, or adhesive bleeding through to the right side of the fabric. This simple trial ensures that the drape and texture of your finished embroidery will turn out exactly as planned.
Frequently Asked Questions (FAQ)
Should I use fusible interfacing on standard Aida cloth?
No, you should generally avoid using fusible interfacing on standard Aida cloth. Aida is a highly structured, stiffened fabric designed specifically to hold its shape during cross-stitching without any additional backing. Adding an iron-on stabilizer can clog the fabric’s natural holes, making it difficult to pass your needle through, and the heat of the iron may warp the precise grid pattern of the weave.
How do I protect my finished stitches when ironing?
To protect your finished embroidery stitches from being flattened or melted, always press your project from the wrong side of the fabric. Place a thick, soft towel on your ironing board to act as a cushion, and lay your embroidered piece face down on top of it. This setup allows the raised stitches to sink into the soft surface of the towel, preserving their texture and volume while you apply heat to the backing.

Community discussion
Share your experience or ask a question. Comments are reviewed before publication.