
Selecting the ideal finish for double-sided A4 photo paper is a balancing act between visual appeal, handling durability, and printer compatibility. Unlike single-sided prints that sit protected in frames, double-sided prints are designed to be held, flipped, and viewed from multiple angles. The choice between glossy, matte, and satin finishes directly impacts how colors pop, how light reflects off the surface, and how well the paper resists the oils from your fingertips.
In tropical environments like the Philippines, high relative humidity introduces additional challenges for double-sided printing. Moisture in the air can prolong ink drying times and cause paper fibers to swell or curl, making the physical properties of your chosen paper finish even more critical. Understanding how each coating interacts with ink and ambient humidity is the first step toward achieving professional-grade prints that last.
Ultimately, there is no single superior finish for every project. A glossy finish offers unmatched color depth but demands careful handling, while a matte finish provides a glare-free, sophisticated texture at the cost of some color vibrancy. Satin serves as a versatile middle ground, blending the best of both worlds. By evaluating your specific project requirements, handling needs, and printer capabilities, you can select the perfect double-sided paper to bring your images to life.
Products mentioned in this guide
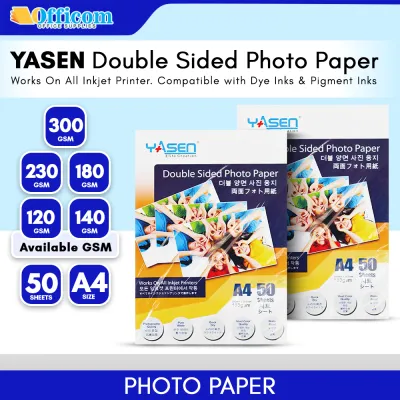
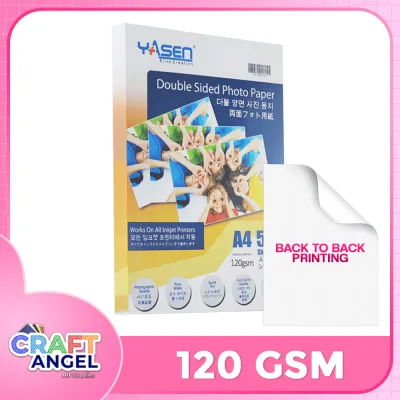
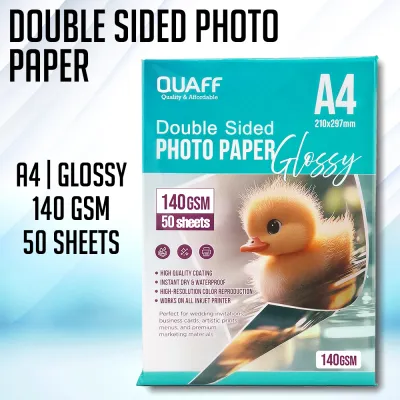
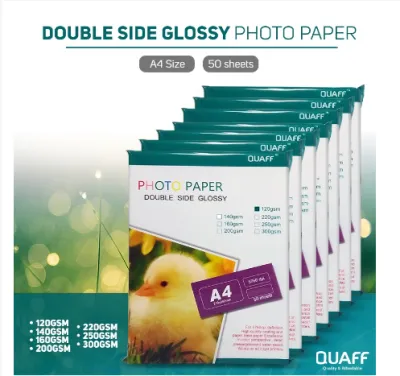
Prices are valid at publication and may change. Please refer to the product page for the latest price.
Visual and Physical Differences Between Photo Paper Finishes
Glossy double-sided photo paper is characterized by a highly reflective, mirror-like surface coating. This ultra-smooth polymer layer allows light to reflect directly back to the viewer, which maximizes perceived color saturation, contrast, and black density. Images printed on glossy paper appear exceptionally vibrant and sharp, making it a popular choice for high-impact photography. However, this reflective surface is highly sensitive to physical contact; even clean hands can leave noticeable fingerprint oils, smudges, and micro-scratches that disrupt the glossy sheen.
Matte double-sided photo paper features a completely different surface structure, often utilizing a microscopic, uneven coating that scatters light in multiple directions. This eliminates glare entirely, allowing the print to be viewed comfortably under harsh overhead office lights or bright natural sunlight. Tactilely, matte paper has a slightly textured, premium feel reminiscent of fine art paper. While it excels at displaying fine details and crisp text, the light-scattering effect means that blacks appear slightly softer (more charcoal than deep black) and colors are more muted compared to glossy alternatives.
Satin photo paper, sometimes referred to as luster or semi-gloss, is engineered to strike a balance between the two extremes. It features a subtle, low-glare sheen and a fine, pebbled texture that diffuses light without completely flattening the image. This finish delivers rich color saturation and deep contrast that closely rival glossy paper, yet its textured surface is remarkably resilient against fingerprints, dust, and minor abrasions. This makes satin an exceptionally practical choice for double-sided documents that will be handled frequently without protective sleeves.
Managing Ink and Show-Through on Double-Sided A4 Paper
Printing on both sides of a single sheet of A4 photo paper requires careful management of ink application and drying times. When the printer applies ink to the first side, the liquid carrier must evaporate or penetrate the coating completely before the sheet is flipped. In humid conditions, this drying process takes significantly longer. If you attempt to print the second side too quickly, the wet ink on the first side can transfer onto the printer’s feed rollers, leading to unsightly track marks, smudges, and potential ink buildup inside your equipment.

Show-through, or opacity, is another critical factor when working with double-sided media. Because light passes through paper, heavy ink coverage on one side can become visible on the reverse side, muddying the highlights of the opposite image. To prevent this, double-sided photo papers are manufactured with higher base weights—typically measured in grams per square meter (GSM)—and specialized opaque barrier layers. Choosing a paper with a higher GSM rating, such as 220 GSM or above, provides the physical density needed to block light and keep your two distinct layouts visually isolated.
Furthermore, the physical thickness of double-sided photo paper can challenge your printer’s paper path. Standard office printers are designed to feed lightweight copy paper through tight, curved paths. Heavyweight double-sided photo paper is much stiffer and may fail to feed properly through automatic duplexing units, resulting in paper jams or roller damage. For thicker photo papers, it is often necessary to feed sheets individually through a manual bypass tray and flip them manually, ensuring the ink has dried completely between passes.
Which Finish Should You Choose for Your Project?
Your choice of finish should align directly with the intended use case, display environment, and handling frequency of your printed project.
Choose glossy double-sided paper if you are creating high-end photo books, wedding albums, or landscape portfolios where visual impact is the absolute priority. This finish is ideal when the final pages will be housed in protective plastic sleeves or bound in a professional album where viewers will not touch the printed surface directly. The high contrast and vivid colors of glossy paper will make your images stand out, provided they are shielded from direct handling and viewed away from direct, harsh light sources that cause distracting reflections.
Choose matte double-sided paper if your project involves graphic-heavy layouts, art reproductions, calendars, or documents containing a mix of high-resolution photos and text. Matte paper is the preferred choice for portfolios that will be viewed under bright, direct lighting, as the lack of glare ensures readability from any angle. It is also highly suited for vintage-style photography, black-and-white prints, and projects where a tactile, organic, or artistic feel is desired.
Choose satin double-sided paper if you are producing family photo albums, school yearbooks, restaurant menus, or promotional brochures that will be passed around and handled frequently. Satin provides the professional color pop of a glossy finish while offering the rugged, fingerprint-resistant durability of a matte surface. It is the most forgiving finish for everyday handling, maintaining its clean appearance even after multiple viewings.
Before making your final selection, verify the type of ink your printer uses. Pigment-based inks consist of solid color particles suspended in liquid, which sit on top of the paper fibers. Some glossy coatings are formulated specifically for dye-based inks, which absorb deeper into the paper. If you use pigment inks on incompatible glossy paper, the ink may pool on the surface, take days to dry, or suffer from “bronzing,” where the printed areas exhibit an uneven metallic sheen. Matte and satin finishes are generally more receptive to both dye and pigment inks, but checking manufacturer compatibility is always recommended.
What to Verify Before Buying Double-Sided Photo Paper
To ensure a successful printing experience and avoid wasting expensive media, always perform a thorough specification check before purchasing double-sided A4 photo paper.
First, confirm that the packaging explicitly states “double-sided,” “dual-coated,” or “printable on both sides.” Standard photo paper is only coated on one side; the reverse side is typically a plain paper backing or a plastic barrier layer that cannot absorb ink, leading to severe pooling and smearing if printed on.
Next, match the paper’s GSM rating against your printer’s maximum supported paper weight specifications. While many home inkjet printers can easily handle up to 200 GSM, heavier papers like 260 GSM or 300 GSM may require a straight-through manual feed slot rather than a standard bottom paper tray.
Additionally, verify the ink compatibility listed on the paper packaging. Look for clear indications of whether the paper is optimized for dye inks, pigment inks, or both, to ensure proper adhesion and rapid drying.
Finally, ensure the physical dimensions of the paper are exactly A4 (210 mm x 297 mm). While similar to US Letter size, A4 is slightly longer and narrower; selecting the correct size in both your printer’s physical paper guides and your software’s print settings is essential to prevent misaligned margins and clipped images.
Frequently Asked Questions (FAQ)
Can I use single-sided photo paper for double-sided printing?
No, you should not attempt to print on the reverse side of single-sided photo paper. The back of single-sided paper lacks the specialized inkjet-receptive coating required to bind and dry the ink. If you attempt to print on this uncoated side, the ink will pool, feather, and run off the page. This wet ink can easily transfer to your printer’s internal rollers, causing smudges on future print jobs and potentially damaging the sensitive internal mechanisms of your printer. Always stop the print job and switch to explicitly dual-coated paper.
How should I store unused double-sided A4 photo paper?
To preserve the quality of the dual coatings, store unused double-sided photo paper flat in a cool, dry environment away from direct sunlight and heat sources. High humidity and temperature fluctuations can cause the paper to warp, curl, or even stick together inside the package. Keep the paper sealed in its original packaging, preferably with a silica gel desiccant packet, until you are ready to print. Only load the specific number of sheets you need into the printer tray, and return any unused sheets to the sealed bag immediately to prevent moisture absorption.
Community discussion
Share your experience or ask a question. Comments are reviewed before publication.