
Choosing the right Gundam Marker depends entirely on the specific detailing, panel lining, or painting task you are tackling. These popular hobby tools are not mutually exclusive alternatives; rather, they are highly specialized instruments designed to work in tandem at different stages of your Gunpla building process. Selecting the wrong marker type for a specific plastic surface or detail level can lead to messy paint runs, ruined panel lines, or even cracked plastic parts.
To achieve clean, professional-looking results on your scale models, you can use this simple conditional framework: choose the Pour Type when you need to quickly fill deep, recessed panel lines using fluid capillary action; select the Brush Type when you want to paint larger armor surfaces, change the base color of a part, or cover wide areas without leaving harsh streak marks; and rely on the Fine Type when you are executing micro-detail work, touching up tiny gate marks, or drawing precise custom lines on small-scale kits. Understanding how these three mechanisms function, how their inks interact with plastic, and how they behave in different environmental conditions will elevate your model building from a basic out-of-box assembly to a highly detailed masterpiece.
Understanding the Three Gundam Marker Mechanisms
Gundam Markers, manufactured by GSI Creos, are formulated specifically to adhere to the polystyrene (PS) and acrylonitrile butadiene styrene (ABS) plastics commonly used in model kits. However, their physical designs, ink viscosities, and delivery systems vary drastically. In tropical climates like the Philippines, where high relative humidity can alter ink drying rates and flow characteristics, understanding these mechanical differences is essential before you press a marker tip to your expensive model kit.
Products mentioned in this guide
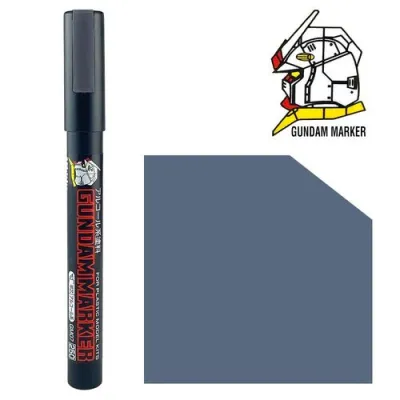
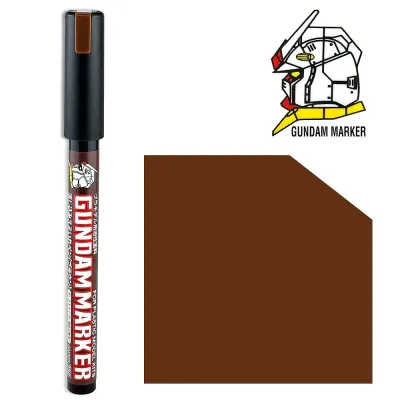
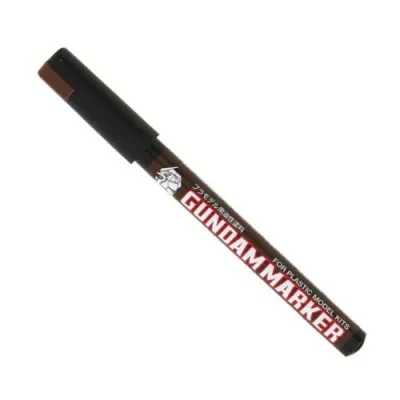
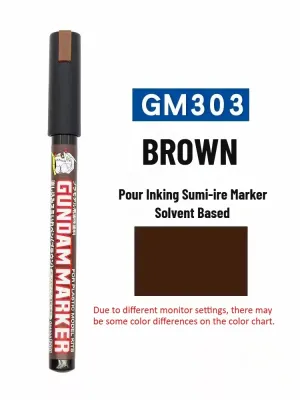
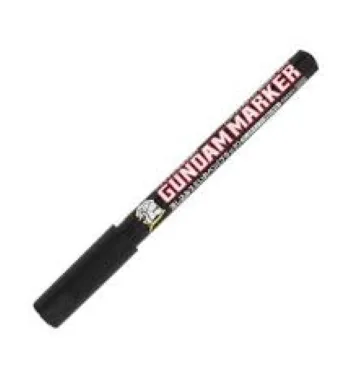
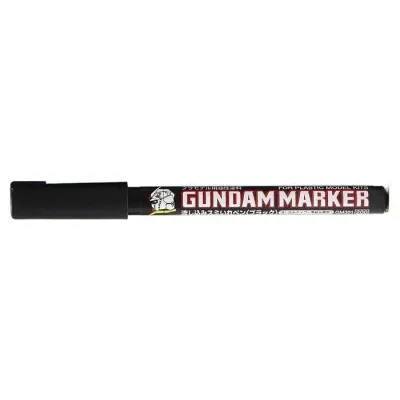
Prices are valid at publication and may change. Please refer to the product page for the latest price.
Gundam Marker Pour Type (Flow and Wash)
The Gundam Marker Pour Type utilizes a specialized low-viscosity, oil-based ink designed to flow effortlessly through capillary action. Capillary action is the physical phenomenon where liquid spontaneously flows into narrow spaces—such as the recessed panel lines on a model kit’s armor—without relying on gravity or manual drawing strokes. The marker features a spring-loaded, blunt felt tip that acts as a valve; when you press the tip down on a hard surface, it releases a controlled pool of fluid ink into the nib.
When you touch this saturated nib to a panel line, the thin ink immediately rushes along the groove, filling the channel automatically. This makes the Pour Type incredibly efficient for highlighting panel lines on large armor plates. However, because the ink is highly fluid and contains organic solvents to keep the pigment suspended, it behaves differently than standard acrylic paint. The solvent must evaporate for the ink to cure. If the ink pools excessively in areas where the plastic is under mechanical stress—such as around tight snap-fit pegs or joint connections—the solvent can seep into micro-fissures and cause the plastic to become brittle and crack. This risk is particularly high on bare ABS plastic parts, meaning the Pour Type should primarily be used on polystyrene or over a protective clear coat.
Gundam Marker Brush Type (Broad Coverage)
The Gundam Marker Brush Type is designed to function like a traditional paintbrush, utilizing a flexible, wedge-shaped or soft felt nib that can lay down broad, continuous strokes of paint. Unlike the watery ink of the Pour Type, the Brush Type contains a much thicker, high-viscosity, alcohol-based acrylic paint. This paint is formulated to provide high opacity and coverage, allowing you to change the color of an entire plastic part or paint large custom patterns without needing an airbrush or traditional paint jars.
Using the Brush Type effectively requires a steady hand and a specific stroke technique. Because the paint is alcohol-based, it dries relatively quickly. If you paint back and forth over the same spot repeatedly, the wet marker tip will drag through the semi-dry paint film, tearing it and leaving highly visible brush strokes and uneven layers. Instead, builders must apply the paint in single, unidirectional, overlapping strokes, allowing each layer to dry completely before applying a second coat perpendicular to the first. This “wet edge” technique helps the paint self-level, resulting in a remarkably smooth, flat finish that mimics a sprayed application.
Gundam Marker Fine Type (Precision and Details)
The Gundam Marker Fine Type features a rigid, needle-like plastic or hard felt nib, typically measuring between 0.05mm and 0.1mm in width. The ink inside these markers is generally water-based or alcohol-based pigment ink, designed to flow in highly controlled, ultra-thin lines. Unlike the Pour Type, which relies on fluid dynamics to spread paint, the Fine Type requires you to manually draw every line, giving you absolute control over where the pigment is deposited.
This high level of manual control makes the Fine Type the go-to tool for micro-detailing. It is the ideal instrument for painting tiny molded details, such as the circular rivets on armor plates, the intricate mechanical wiring inside inner frames, or the small eyes and head sensors of 1/144 scale High Grade (HG) or Real Grade (RG) kits. It is also highly effective for touching up “gate marks”—the small, discolored white spots left behind on the plastic after you cut a part from the runner. However, the hard, narrow tip is entirely unsuitable for large surfaces. Attempting to color a broad area with a Fine Type marker will result in severe streaking, uneven coverage, and can easily damage or clog the delicate nib from repeated friction against the hard plastic.
Key Comparison Dimensions for Gunpla Builders
To choose the best marker for your specific modeling workflow, it is helpful to analyze how these three marker types compare across practical, hands-on dimensions.

Control and Learning Curve
The physical handling of each marker dictates how quickly a beginner can achieve clean results. The Fine Type has the shallowest learning curve; it behaves exactly like a high-quality technical drawing pen or fine liner, making it highly intuitive for anyone who has drawn on paper. The Brush Type occupies a middle ground, requiring you to learn how to control your hand pressure and manage the wetness of the nib to prevent pooling or dry-brushing.
In contrast, the Pour Type requires you to surrender direct manual control and instead guide the fluid dynamics of the ink. You must learn precisely how much ink to prime into the nib and exactly where to touch the tip so that the ink flows smoothly without flooding the surrounding details. While it can feel intimidating at first, mastering the Pour Type ultimately saves immense time during assembly.
Cleanup and Correction
No matter your skill level, paint run-offs and mistakes will happen. How you correct those mistakes depends heavily on the chemical composition of the marker’s ink.
- Pour Type Cleanup: Because the Pour Type ink is designed to sit deep within recessed panel lines, cleaning up excess ink that spills onto the flat surface of the armor is remarkably straightforward. You simply let the ink dry for a few minutes until it is slightly tacky, then wipe a clean cotton swab (cotton bud) or a specialized Gundam Marker Eraser (GM300) across the surface. The swab easily lifts the excess ink from the flat outer surfaces while leaving the ink inside the deep grooves untouched.
- Brush and Fine Type Cleanup: These markers dry into a solid, cohesive acrylic paint film on the surface of the plastic. If you make a mistake, you must act quickly. While the paint is still wet, it can be wiped away with an alcohol-moistened swab. Once fully cured, however, removing it requires careful scraping with a hobby knife, gentle sanding with high-grit abrasive paper, or the application of stronger solvents like isopropyl alcohol, which must be done cautiously to avoid melting or clouding the underlying plastic.
Surface Interaction and Environmental Factors
The texture and preparation of your plastic surface play a massive role in how these markers perform. Bare, unpainted polystyrene is highly glossed and non-porous. This is the ideal surface for the Pour Type, as the smooth plastic allows the fluid ink to slide effortlessly along the channels. However, if you apply a matte topcoat or sand your parts beforehand, the plastic surface becomes micro-textured and porous. If you attempt to use a Pour Type marker on a matte surface, capillary action will cause the thin ink to bleed outward into the micro-textures, resulting in a messy, blurred, spiderweb-like effect.
Conversely, the Brush Type and Fine Type markers actually benefit from a slightly textured or primed surface, as the paint film adheres much better to a matte or primed surface than to slick, bare plastic, reducing the risk of the paint peeling or chipping during posing.
Furthermore, environmental factors like humidity—which regularly exceeds 80% in the Philippines—directly impact your application. High humidity slows down the evaporation of solvents in the Pour Type and the alcohol carrier in the Brush Type. This extended drying time means you must wait longer before attempting to clean up panel lines or apply secondary paint coats. Working in a dry, air-conditioned room or utilizing a simple DIY dry box can help mitigate these tropical climate challenges.
Comparative Summary of Gundam Marker Types
| Marker Type | Tip/Mechanism | Best Application | Control Difficulty | Primary Cleanup Method |
|---|---|---|---|---|
| Pour Type | Spring-loaded blunt valve; capillary flow | Recessed panel lines, deep armor grooves, and shadow washes | Moderate (requires managing fluid flow) | Wipe excess with a cotton swab or eraser marker |
| Brush Type | Flexible felt wedge or soft brush tip | Broad surface painting, custom color schemes, and large parts | Moderate to High (requires smooth, even strokes) | Isopropyl alcohol or scraping before full cure |
| Fine Type | Rigid needle-like plastic or hard felt nib | Micro-detailing, eyes/sensors, gate mark touch-ups, and panel lines | Low (intuitive, pen-like control) | Erase immediately with a swab or fine hobby sander |
Decision Framework: Match the Marker to Your Task
To streamline your modeling workflow and budget—especially with individual Gundam markers retailing between ₱150 to ₱300 in local Philippine hobby shops, and sets ranging from ₱900 to ₱1,500—use this structured decision framework to determine exactly which tool to grab.
Choose Pour Type if:
- Your primary goal is clean panel lining: You want to add depth and realistic shadows to the armor plates of a standard High Grade (HG), Master Grade (MG), or Perfect Grade (PG) kit.
- You are working on unpainted, bare polystyrene plastic: You want a fast, efficient panel lining process that does not require priming or extensive hand-painting skills.
- You want easy cleanup: You prefer a forgiving detailing method where mistakes can be cleanly wiped away with a simple cotton swab or rubber eraser.
Choose Brush Type if:
- You want to customize colors: You are looking to paint entire armor panels, change the color of small weapons, or add custom colored stripes to your kit.
- You do not own or want to use an airbrush: You want a cost-effective way to apply solid color coats to medium-to-large surfaces without investing in expensive compressor setups.
- You need high opacity: You are painting dark plastic parts with a lighter color (such as white or yellow) and require a thick, pigmented paint film to block out the underlying color.
- Trial Tip: Always test your paint flow on a piece of cardboard or plastic runner first. Shake the marker vigorously for 10 to 15 seconds, pump the nib on a scrap surface to prime the paint, and verify that the paint flows smoothly without being overly watery or excessively clumpy before touching your model.
Choose Fine Type if:
- You are detailing micro-components: You need to paint tiny details like the vulcan guns on a Gundam's head, the small metallic pipes on the joints, or individual rivets.
- You are building small-scale kits: You are working on 1/144 scale kits where the panel lines are too shallow or narrow for the Pour Type to flow effectively without overflowing.
- You are correcting minor build flaws: You need to quickly touch up white stress marks or discoloration left behind after cutting parts away from the plastic runners.
Neither may fit if:
- You want perfectly seamless, gradient finishes: If your goal is to create smooth color transitions, realistic weathering gradients, or flawless, mirror-like metallic finishes across an entire kit, markers are not the right tool. In these scenarios, you should verify whether an airbrush system, high-quality hobby spray cans, or hand-brushing with specialized acrylic/lacquer model paints (using high-quality sable brushes) is more appropriate for your artistic goals.
- You are painting a massive surface area: Attempting to paint an entire 1/60 scale Perfect Grade kit with markers will result in uneven finishes and will quickly exhaust multiple expensive markers. Large-scale base coating is best accomplished with spray cans or airbrushes.
Verify first if:
- You are applying markers over custom paint: If you have already painted your model kit with custom acrylic, enamel, or lacquer paints, you must verify the solvent compatibility of your markers. Applying a solvent-heavy Pour Type marker directly over a custom acrylic paint job can dissolve or lift the underlying paint. Always check the chemical base of both products. If they conflict, apply a protective gloss acrylic clear coat over your custom paint, let it cure completely, and then perform a small, hidden test on a spare part or runner to ensure the marker does not react with the clear coat.
Best Practices and Safety Boundaries for Marker Application
To protect your model kits from damage and ensure your own personal safety, always adhere to these practical, low-risk application guidelines.
Surface Preparation
Before applying any ink or paint, ensure your plastic parts are thoroughly prepared. During the manufacturing process, a chemical known as a mold release agent is sprayed onto the steel molds to help the plastic parts release easily. Residual traces of this oily agent, along with natural oils from your fingers, often remain on the plastic, which can prevent Gundam Marker ink from adhering smoothly, leading to paint separation or pooling.
To prevent this, wash your plastic runners or cut parts in warm, soapy water using a mild dishwashing liquid. Rinse them thoroughly with clean water and allow them to dry completely. In humid tropical environments, ensure the parts are dried in a dust-free, indoor area away from open windows to prevent moisture from settling back onto the plastic surfaces.
Ink and Solvent Compatibility
Because Gundam Markers use different chemical formulations, mixing them directly can lead to unwanted chemical reactions. For example, applying an alcohol-based Brush Type marker directly over a fresh, uncured water-based Fine Type line will cause the alcohol solvent to dissolve and smudge the line.
Always allow each layer to cure fully before applying another layer on top. If you are unsure how two different markers or paints will interact, always perform a test application on a piece of the plastic runner (the frame that holds the parts) that matches the plastic type of your model. This simple test will reveal whether the paint will adhere, run, or damage the plastic before you risk ruining your actual model kit.
Drying and Curing Times
Drying time is not the same as curing time. While a Gundam Marker line may feel dry to the touch within 10 to 15 minutes, the solvents inside the paint film can take up to 24 hours to fully cure and chemically bond with the surface.
In highly humid conditions, this curing process is significantly slowed. If you apply water-based or acrylic topcoats, panel line washes, or water-slide decals over a marker line that has not fully cured, the trapped solvents can cause the paint to smudge, run, or turn cloudy (a phenomenon known as “frosting”). As a general rule, allow your markered parts to cure for at least 24 hours in a well-ventilated, dry environment before handling them, applying decals, or spraying protective topcoats.
Safe Cleanup and Ventilation
While Gundam Markers are designed for home hobby use, they still contain organic solvents and alcohols that emit fumes. Always work in a well-ventilated room, preferably near an open window or with a fan circulating fresh air. Avoid inhaling the fumes directly from the markers, especially when priming the valve-action tips of the Pour and Brush types.
When cleaning up excess ink, avoid using harsh industrial solvents like acetone or heavy-duty lacquer thinners, as these will instantly melt polystyrene and ABS plastic, causing permanent, irreversible damage. Stick to mild, manufacturer-recommended cleaning agents, such as the Gundam Marker Remover (GM300), low-concentration isopropyl alcohol, or a standard soft white rubber eraser, which can safely rub away excess dry paint from bare plastic without causing scratches or chemical fractures.
Community discussion
Share your experience or ask a question. Comments are reviewed before publication.