
Choosing the right highlighter pen set for calligraphy requires looking beyond standard office supplies. While regular highlighters are designed for broad, uniform text marking, calligraphy demands precise line variation, consistent ink flow, and specific opacity levels. To find a set that supports your lettering goals, you must evaluate key technical specifications such as nib geometry, ink base, and pigment behavior. By focusing on these functional details rather than marketing gimmicks, you can select tools that respond accurately to your hand movements and preserve your work over time.
Understanding how these features interact with your writing surface is the first step toward consistent lettering. Whether you are practicing traditional Gothic scripts or modern brush calligraphy, the physical characteristics of the pen dictate your success. This guide decodes the essential specifications to help you identify which features genuinely impact your lettering performance and which ones you can safely ignore.
Tip Shape and Nib Flexibility
The shape and flexibility of a highlighter’s nib directly determine the style of calligraphy you can produce. Chisel tips and brush tips are the two primary designs available, and each serves a distinct artistic purpose. Chisel tips feature a rigid, angled edge—typically cut at a sharp angle—which is essential for broad-edge calligraphy styles like Gothic, Italic, and Uncial. By maintaining a consistent pen angle relative to the guidelines, you can easily create dramatic contrasts between thick downstrokes and thin hairline crossbars.
Products mentioned in this guide
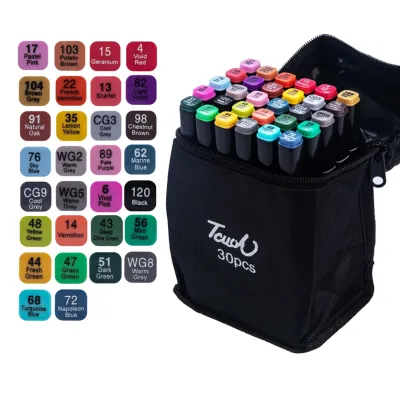
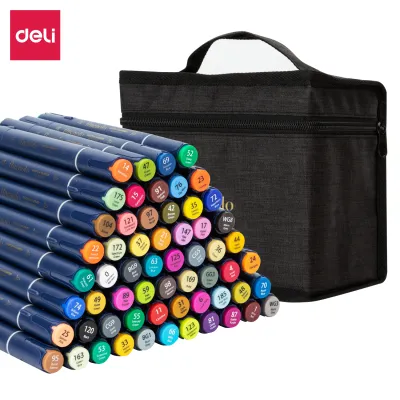
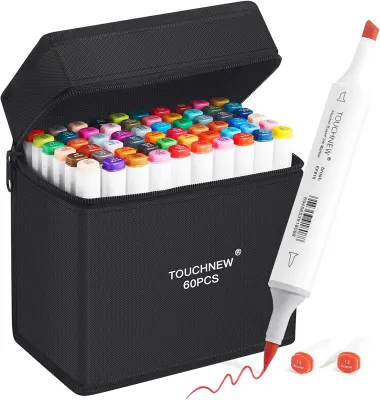
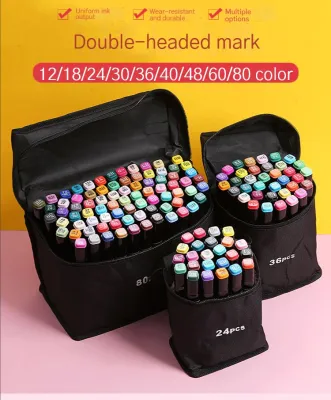
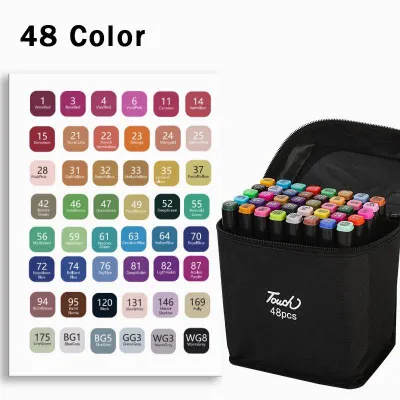
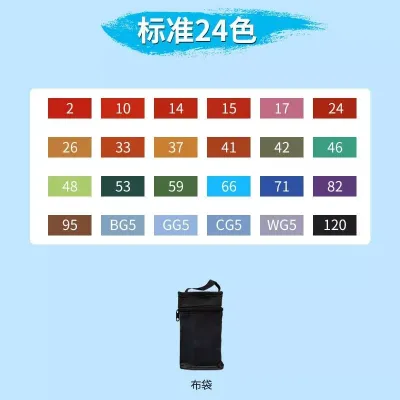
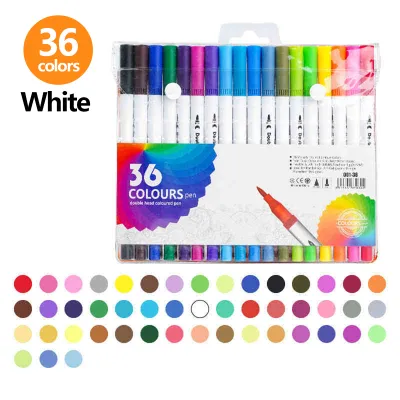
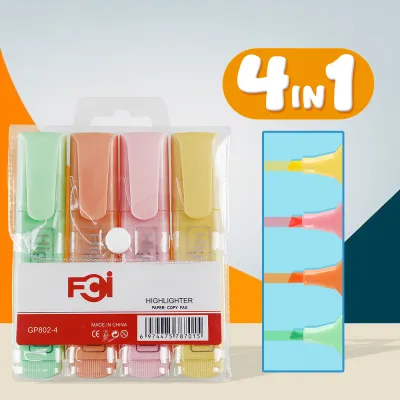
Prices are valid at publication and may change. Please refer to the product page for the latest price.
Brush tips, conversely, are designed for modern script calligraphy. These nibs are long, tapered, and highly flexible, mimicking the behavior of a traditional paint brush. To achieve the characteristic thick-and-thin transitions of brush lettering, you must apply downward pressure on the downstrokes to splay the nib, and release pressure on the upstrokes to draw with just the very tip.
When evaluating a highlighter set, check the durability of the nib material. Synthetic rubber or high-density polyurethane brush tips tend to retain their springiness longer than cheap fiber-based tips, which can quickly fray, split, or permanently deform under pressure. Additionally, consider the tip size in relation to your lettering scale. A broad 4mm chisel tip is excellent for large-scale display pieces, while a finer 1.5mm to 2mm tip is much better suited for delicate journal entries or envelope addressing.
Ink Formulation and Flow Control
The chemical composition of the ink affects how smoothly the pen glides across the page and how the paper reacts to the moisture. Most highlighters use either water-based or alcohol-based formulations. Water-based dye inks are the most common; they glide smoothly and dry relatively slowly. In humid tropical climates, such as in the Philippines, this slower drying time can actually be an advantage, as it allows you to blend different colors directly on the paper to create beautiful gradient effects. However, excessive moisture from water-based inks can cause thin paper fibers to swell and warp.

Alcohol-based inks dry almost instantly, making them highly resistant to smudging. However, they are highly prone to bleeding through standard paper. If you choose alcohol-based highlighters, you must pair them with heavy, bleed-resistant paper or cardstock to prevent the ink from ruining subsequent pages.
Flow rate consistency is another critical factor. A calligraphy pen must deliver a steady stream of ink without skipping during fast strokes or pooling at the end of a line. To verify flow control before committing to a large project, perform an observable trial: draw a slow, continuous spiral on a scrap piece of your chosen paper. Look for any signs of uneven saturation, dry patches, or puddling. For the best results, match your highlighters with smooth, uncoated paper of at least 100 gsm to 120 gsm, which handles the ink volume without feathering.
Color Range and Opacity Levels
The visual appeal of your calligraphy depends heavily on the color palette and opacity of the highlighter ink. Highlighters generally fall into two color categories: vibrant fluorescents and soft pastels. Pastel pigments offer a semi-transparent, muted finish that is excellent for layering lettering or creating subtle background washes. Because they are less saturated, they allow you to write over them with darker inks without obscuring the text. Vibrant fluorescent inks provide high contrast but can sometimes look harsh or pool unevenly on the page.
When selecting a set, prioritize color usability over sheer quantity. A massive set of 50 colors often contains redundant shades that you may never use. Instead, a curated set of 6 to 12 highly blendable, complementary colors is far more practical. This smaller range encourages you to master color transitions and custom color mixing without overwhelming your workspace.
If you intend to display, frame, or sell your finished calligraphy pieces, check the packaging for lightfastness indicators. Standard dye-based highlighter inks are highly susceptible to fading when exposed to natural light over time. For archival work, look for pigment-based highlighters that explicitly state they are fade-resistant or acid-free, ensuring your lettering retains its original color for years to come.
Secondary Specs That Rarely Affect Calligraphy
Many highlighter sets come with premium marketing claims that add to the cost but offer little functional benefit for calligraphy. For instance, highly advertised ergonomic grips and specialized triangular barrel shapes are rarely necessary. While they may offer comfort during hours of rapid textbook highlighting, calligraphy is a slow, deliberate art form. Standard cylindrical or flat rectangular barrels are perfectly comfortable for typical practice sessions.
Refillability and replaceable nib systems are another feature that beginners can safely bypass. While environmentally appealing, maintaining a refillable system can be messy and inconvenient. Sealed, disposable highlighter sets are generally more cost-effective and reliable for those starting out, as they eliminate the risk of ink contamination or improper sealing during refills.
Finally, avoid highlighters with novelty additives like artificial scents or suspended glitter particles. Scented inks often contain chemical solvents that can degrade paper fibers over time or cause the ink to bleed excessively. Glitter and metallic additives can easily clog the delicate pores of fiber nibs, leading to scratchy, uneven ink flow that ruins the smooth lines required for elegant calligraphy.
Frequently Asked Questions (FAQ)
Can I use regular office highlighters for calligraphy practice?
Yes, you can use standard office highlighters for basic practice, but you will face functional limitations. Regular highlighters typically feature very rigid chisel tips designed solely for drawing straight, uniform lines over text. This rigidity makes it difficult to achieve the smooth, gradual line transitions required for calligraphic scripts. Additionally, their ink flow is often optimized for quick absorption on cheap copy paper, which can lead to skipping or dry patches when you attempt slow, deliberate calligraphic strokes.
How should I store highlighter pen sets to prevent the nibs from drying out?
To maximize the lifespan of your calligraphy highlighters, store them horizontally. Horizontal storage ensures that the ink remains evenly distributed throughout the barrel, which is especially important for dual-tipped highlighters featuring both a chisel and a fine tip. Storing them vertically can cause the ink to pool at one end, leaving the upper nib dry and the lower nib oversaturated. Always press the cap firmly until you hear a distinct click to maintain an airtight seal, protecting the nibs from drying out in dry, air-conditioned rooms or humid environments.
Community discussion
Share your experience or ask a question. Comments are reviewed before publication.