
Achieving a brilliant, long-lasting glow with phosphorescent paint requires more than simply brushing a coat onto a surface. To maximize both the brightness and the duration of the glow, you must focus on three critical phases: preparing a highly reflective base, maintaining an even suspension of heavy glow pigments during application, and charging the cured paint with the correct wavelength of light. Because glow-in-the-dark paint is semi-translucent, the color and quality of the surface underneath directly dictate how much light the paint can absorb and reflect back to your eyes. By mastering these application steps, you can transform ordinary craft projects, safety signs, or bedroom decorations into vibrant, light-emitting displays that remain visible for hours.
Gather Your Tools and Materials
Before starting your project, gathering the correct tools ensures a seamless application and prevents the paint from drying or settling prematurely. The most critical component is the glow-in-the-dark paint itself, which typically contains either zinc sulfide or strontium aluminate crystals suspended in a clear medium. Strontium aluminate generally offers a brighter and longer-lasting glow, making it ideal for most detailed craft and utility projects. You will also need a high-quality white primer, which serves as the reflective foundation necessary to bounce light back through the translucent paint layer.
For application tools, select high-quality synthetic bristle brushes or dense foam rollers. Synthetic bristles are preferable for acrylic-based glow paints because they hold their shape well and lay down smooth, even layers without leaving deep brush marks that can cause uneven pigment distribution. If you are working on a larger, flat surface, a foam roller helps distribute the heavy pigments more uniformly than a traditional brush. Additionally, keep a clean stirring stick or a small palette knife on hand, as you will need to agitate the paint constantly. Finally, secure a reliable light source—such as a UV blacklight flashlight or a bright LED lamp—to test the glow quality and charge the finished piece. Always read the manufacturer’s label on your specific paint container to verify surface compatibility, clean-up requirements, and any specialized tool recommendations.
Products mentioned in this guide
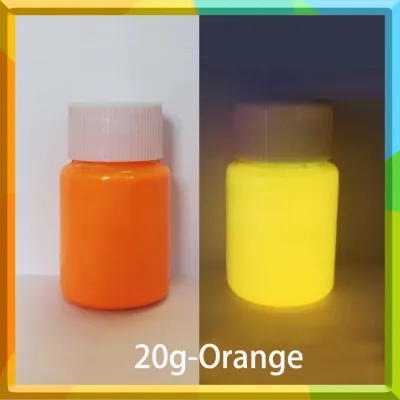
53 Lazada user ratings
Create mesmerizing art with these glow-in-the-dark colors., Quality:Smooth application, Price:Fair price, Color Variety:Many shades, Great s…Read full reviewShow less
Create mesmerizing art with these glow-in-the-dark colors., Quality:Smooth application, Price:Fair price, Color Variety:Many shades, Great selection,
Complete po ang order ko. Mabilis po xang dumating, wala pang 24 hours. Nag-glow in tha dark po talaga xa.. Thank-you, Seller!
Create mesmerizing art with these glow-in-the-dark colors., Perfect for indoor and outdoor art projects.,
Complete po ang order ko. Maganda po xa, nag-glow in the dark po talaga xa. Thank-you, Seller!
goods nman mag reflect pag madilim
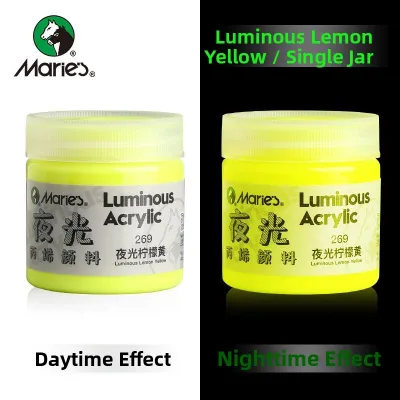
9 Lazada user ratings
very nice. easy to apply. although, need multiple coats for better effect. quick drying also. good buy. will try other colors.
Nag gglow talaga sya. And i can even mix it with other colors that isnt luminous but it still glows.
Recieved in good condition. Wlang tagas and im surprised with the result! Nakaka magic effect lang
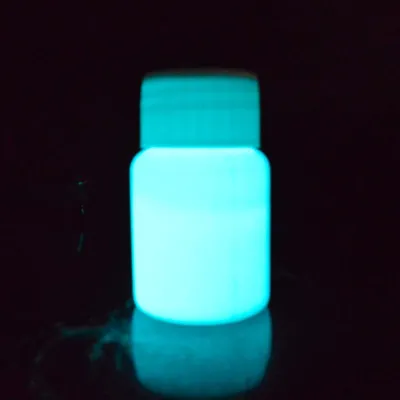
408 Lazada user ratings
Long lasting and vivid colors, luminous colors in the dark, create exciting DIY crafts, make exciting DIY crafts, perfect for adding markers…Read full reviewShow less
Long lasting and vivid colors, luminous colors in the dark, create exciting DIY crafts, make exciting DIY crafts, perfect for adding markers to your artwork,
Very colorful and bright!, colorful, safe and non-toxic, perfect for adding marks to your artwork, fast delivery (from China)
Overall, I like it very much. the color is long, good value for money. the flashlight sent at night. i like it very much.
The product has been received. The product has been received as ordered. haven't tried to apply whether the glow is good
The product has been received. The product is complete as ordered. haven't tried to apply to see if the glow is good
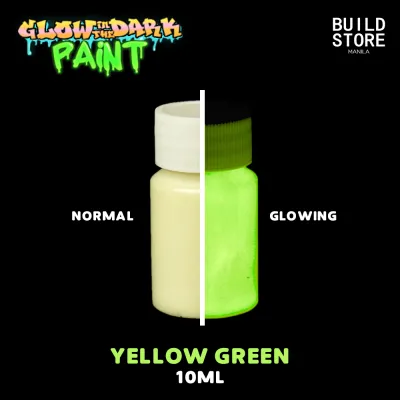
1,467 Lazada user ratings
The glow effect is amazing!, Love the vibrant colors!, Perfect for DIY projects., High-quality acrylic paint., Great for creating a starry n…Read full reviewShow less
The glow effect is amazing!, Love the vibrant colors!, Perfect for DIY projects., High-quality acrylic paint., Great for creating a starry night effect., Easy to apply and dries quickly., The luminous paint is long-lasting., The paint glows brightly in the dark.,
Love the vibrant colors!, The paint glows brightly in the dark., Easy to apply and dries quickly., High-quality acrylic paint., The luminous…Read full reviewShow less
Love the vibrant colors!, The paint glows brightly in the dark., Easy to apply and dries quickly., High-quality acrylic paint., The luminous paint is long-lasting., The luminous paint is long-lasting.,
Easy to apply and dries quickly., Love the vibrant colors!, Great for creating a starry night effect., High-quality acrylic paint., The pain…Read full reviewShow less
Easy to apply and dries quickly., Love the vibrant colors!, Great for creating a starry night effect., High-quality acrylic paint., The paint glows brightly in the dark.
Quality:nice luminous colorSmooth application, Price:just good Color Variety:very good colorMany shades, Beautiful hues,
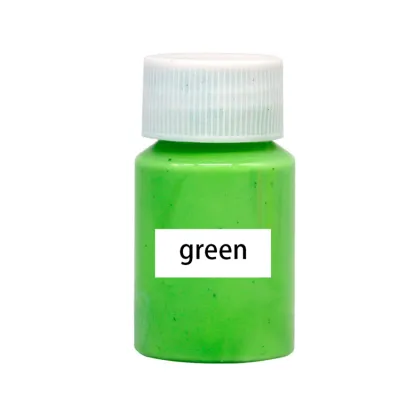
25 Lazada user ratings
Maliit pala yong laman nya. Pero okey na din panggamit as a reflector sa mga exits. Mahal ang presyo pag kasama shipping fee
Safe and non-toxic for all ages, Glows brightly in the dark,
Does not glow bright in the drk.Refund I require
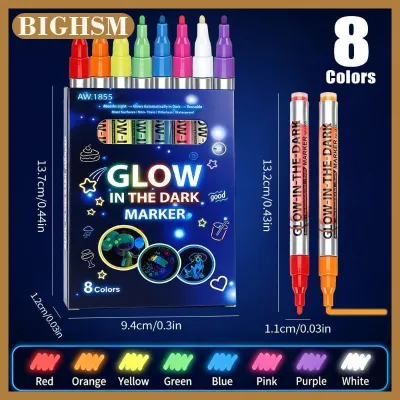
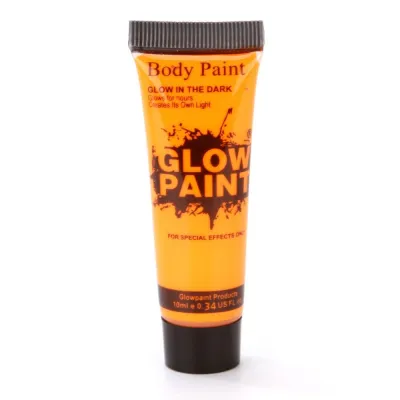
Prices are valid at publication and may change. Please refer to the product page for the latest price.
Prepare and Prime the Surface
The secret to an intense, long-lasting glow lies directly beneath the paint layer. Because phosphorescent pigments are suspended in a clear or semi-translucent binder, light passes through the paint layer and strikes the surface below. If that surface is dark, dusty, or textured, it will absorb the light instead of reflecting it, resulting in a dull, short-lived glow. Therefore, thorough surface preparation and priming are non-negotiable steps for any successful project.

Begin by cleaning the target surface thoroughly to remove dust, grease, fingerprints, and debris. For plastic, metal, or sealed wood, a gentle wipe down with a damp cloth and a mild soap solution is usually sufficient. Allow the surface to dry completely before proceeding. If you are working on smooth plastics or metals, lightly sanding the surface with fine-grit sandpaper can improve mechanical adhesion, preventing the paint from peeling or chipping later.
Once the surface is clean and dry, apply a high-quality white or very light-colored primer. White is the ultimate backing color because it reflects the maximum amount of light back through the phosphorescent crystals, effectively doubling the light exposure of the pigments. Avoid using dark primers, grey primers, or painting directly onto dark surfaces, as these colors absorb the energy needed to charge the paint. Apply the primer evenly, ensuring complete coverage of the underlying material. Allow the primer to dry completely according to the product’s specified drying time before you begin applying the glow paint. Rushing this step can trap moisture or solvents, leading to bubbling or poor adhesion.
Mix and Apply the Paint in Thin Coats
Glow-in-the-dark paint behaves differently than standard decorative acrylics because of the physical properties of its active ingredients. The phosphorescent crystals—whether zinc sulfide or strontium aluminate—are significantly heavier than standard paint pigments. Consequently, these crystals sink to the bottom of the container rapidly. If you do not mix the paint thoroughly, you will end up applying a clear binder with very few glowing particles, leaving the active ingredients trapped at the bottom of the jar.
Before opening the paint, shake the container vigorously, then open it and stir it thoroughly with a stirring stick. Ensure you scrape the bottom and corners of the container to dislodge any settled crystals. Keep the stirring tool handy throughout your painting session; you should stir the paint every few minutes to keep the heavy pigments evenly suspended in the medium.
When applying the paint, the golden rule is to use multiple thin coats rather than one thick layer. Thick coats of glow paint dry slowly and unevenly, which can lead to cracking, sagging, and clumping of the heavy pigments. A thick layer can also trap air bubbles, clouding the clear binder and reducing overall transparency. Instead, load your brush or roller lightly and apply a thin, even coat across the primed surface. Avoid over-brushing or repeatedly dragging your brush over the same area, as this disturbs the settling pigments and creates streaks.
Allow each coat to dry completely according to the manufacturer’s instructions before applying the next. This drying window is crucial because applying a fresh coat over a partially dry layer can pull up the underlying pigments, resulting in patchy spots. For a bright, uniform glow, apply at least two to three thin coats. Each additional layer increases the density of the phosphorescent crystals, creating a richer reservoir of light-storing particles.
Cure the Paint and Charge It with Light
Understanding the distinction between drying and curing is essential for achieving the best performance and durability from your glow-in-the-dark paint. Drying occurs when the solvents or water evaporate from the paint surface, making it dry to the touch. Curing, however, is the chemical process where the paint binder fully bonds and hardens to its maximum strength. While a coat of paint might feel dry within an hour, full curing can take anywhere from 24 hours to several days depending on humidity, temperature, and the specific paint formulation. Avoid exposing the painted object to heavy handling, moisture, or outdoor elements until the curing process is complete.
Once the paint has fully cured, it is ready to be charged. Glow-in-the-dark pigments function like temporary light batteries; they absorb photons, store the energy, and slowly release it as visible light. The efficiency of this charge depends heavily on the type of light source you use. Ultraviolet (UV) light is the most effective charging source because its high-energy wavelengths quickly excite the phosphorescent crystals. Direct sunlight and specialized UV blacklights will charge the paint to its maximum brightness in just a few minutes.
If UV light is unavailable, bright LED bulbs, fluorescent tubes, or incandescent lights can also charge the paint, though they may require longer exposure times to achieve a similar glow intensity. The proximity of the light source also plays a major role: placing the object closer to a bright light bulb will charge it much faster than keeping it across the room. Keep in mind that the initial glow will always be the brightest immediately after charging, gradually fading over several hours as the stored energy dissipates.
Troubleshoot Weak or Uneven Glow
If your finished project does not glow as brightly or as evenly as you hoped, you can easily diagnose and correct the issue by evaluating a few key variables. A weak or dim glow is most commonly caused by insufficient charging light. If you are attempting to charge the paint under a weak, warm-toned incandescent bulb, try switching to a cool-white LED or placing the object in direct sunlight or under a UV blacklight to see if the brightness improves.
Another common culprit for a weak glow is a dark underlying surface showing through the paint. If you skipped the white primer step or applied the glow paint too thinly, the dark base material will absorb the light energy, neutralizing the glow. To fix this, you may need to apply additional thin coats of glow paint to build up the pigment density, or start over with a proper white primer base.
An uneven, patchy, or splotchy glow usually indicates that the phosphorescent pigments settled to the bottom of the container during application. If you did not stir the paint frequently while working, some areas of your project will have a high concentration of crystals while others will have almost none. To resolve an uneven glow, stir your paint thoroughly and apply another thin, even coat over the entire surface, paying close attention to consistent brush strokes and regular agitation of the paint container. Finally, check the manufacturer’s specifications on the label; older paint that has exceeded its shelf life or paint stored in freezing temperatures may suffer from permanent pigment clumping that prevents an even application.
Protect and Maintain the Glow Over Time
To ensure your hard work lasts for years, you must protect the painted surface from physical wear, moisture, and environmental degradation. If your painted object will be handled frequently, placed outdoors, or exposed to high humidity, applying a protective clear topcoat is highly recommended. However, you must select your topcoat carefully. Many standard clear coats contain UV inhibitors designed to prevent yellowing, but these same inhibitors will block the UV wavelengths needed to charge your glow paint. Always verify that the clear coat is labeled as non-UV-blocking or specifically recommended by the glow paint manufacturer.
When cleaning the glowing surface, avoid harsh chemical cleaners, alcohol-based solvents, or abrasive scrubbing pads, as these can strip away the protective topcoat or damage the acrylic binder holding the phosphorescent pigments. Instead, gently wipe the surface with a soft, damp microfiber cloth and mild soapy water if necessary.
Remember that glow-in-the-dark paint does not produce its own light indefinitely; it relies entirely on external light sources for excitation. If you place the painted object in a permanently dark room, closet, or hallway, it will eventually lose its charge and remain dark. To maintain a functional glow in these environments, ensure the object receives periodic exposure to natural light or artificial light fixtures during the day, or install a dedicated UV light source nearby to keep the pigments charged.
Frequently Asked Questions (FAQ)
Can I mix glow in the dark paint with regular acrylic paint?
Mixing glow-in-the-dark paint directly with standard colored acrylic paint is not recommended. Standard paint pigments are opaque and will physically coat and block the phosphorescent crystals, preventing them from absorbing light and emitting a glow. This dilution significantly reduces the overall glow intensity. For the best results, apply your colored acrylic paint first as a base layer, let it dry completely, and then apply the translucent glow-in-the-dark paint as a dedicated top layer.
Does glow in the dark paint work on dark-colored surfaces?
Glow-in-the-dark paint does not perform well when applied directly to dark-colored surfaces. Because the paint medium is semi-translucent, dark backgrounds absorb both the incoming charging light and the outgoing glow, resulting in an extremely weak or invisible effect. To achieve a bright, long-lasting glow, always apply a solid coat of white or very light-colored primer to the dark surface before applying your glow paint.
Is glow in the dark paint safe for children's toys or furniture?
Many water-based acrylic glow-in-the-dark paints are formulated to be non-toxic and safe for general craft use, but safety depends entirely on the specific product formulation. Before applying glow paint to children’s toys, bedroom furniture, or any high-contact items, carefully inspect the product label for safety certifications, such as the AP (Approved Product) seal from the Art and Creative Materials Institute (ACMI). If the item is intended for very young children who might chew on it, or if the surface will experience heavy physical wear, consult the manufacturer’s safety data sheet or choose a specialized, certified non-toxic coating to ensure safety.
Community discussion
Share your experience or ask a question. Comments are reviewed before publication.