
Applying panel liner is one of the most effective ways to elevate a scale model from a simple plastic assembly to a realistic, detailed miniature. By accentuating the recessed panel lines, rivets, and structural joints of a model, you create artificial shadows that define its shape and scale. Tamiya Panel Line Accent Color is a pre-diluted, enamel-based product designed specifically for this purpose, utilizing capillary action to flow effortlessly along molded details. Achieving a clean, professional finish requires understanding how the liner interacts with different paint types, preparing a smooth surface, and mastering the cleanup process.
In tropical climates like the Philippines, high relative humidity and warm temperatures play a significant role in how paints and solvents behave. Humidity can prolong the curing times of base coats and clear varnishes, and it can even cause moisture to become trapped under paint layers, leading to a cloudy finish known as blushing. Managing these environmental factors is just as important as the physical application of the liner itself. By following a systematic approach, you can ensure crisp, clean panel lines without damaging your model’s underlying paint or plastic.
Gathering the Right Tools and Materials
Before opening a bottle of panel liner, you must select the correct shade to complement your model’s color scheme. Using stark black on a light white or light grey surface often creates an unnaturally harsh, cartoonish contrast. Instead, opt for a grey panel liner on white or light grey surfaces, brown or dark brown for yellow, red, and desert camouflage schemes, and reserve black for dark grey, deep blue, or metallic finishes. Choosing a shade that matches the tonal value of your base coat ensures the shadows look natural and scale-appropriate.
Products mentioned in this guide
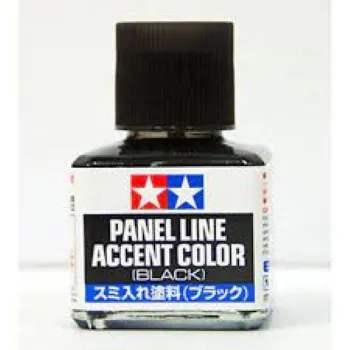
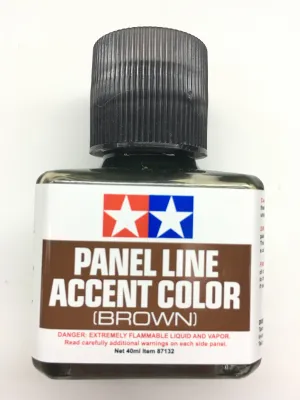
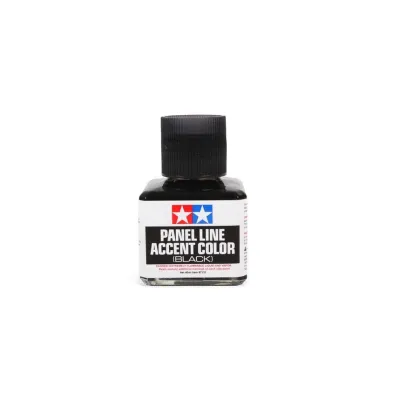
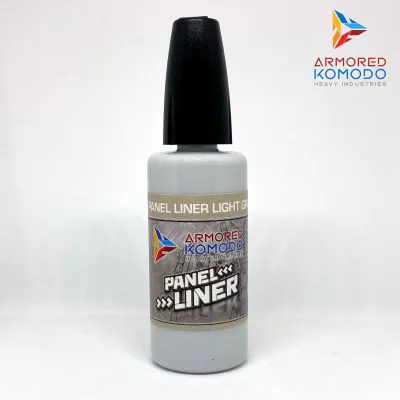
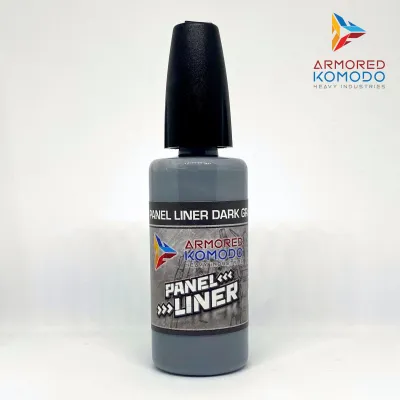
Prices are valid at publication and may change. Please refer to the product page for the latest price.
Next, verify the chemical composition of your cleanup solvent by checking the product label. Because this panel liner is enamel-based, you will need a compatible enamel thinner, mineral spirits, or a mild lighter fluid to clean up the excess. It is vital to ensure that this solvent does not react aggressively with your model’s base paint or the raw polystyrene plastic. Standard lacquer thinners or harsh industrial solvents will quickly dissolve both your paint layers and the plastic underneath, ruining hours of work.
Finally, assemble your precision application and cleanup tools. While the panel liner bottle features a convenient brush built into the cap, having a dedicated ultra-fine detail brush (such as a size 0 or 00 round brush) can provide greater control on intricate parts. For cleanup, gather high-quality, tightly wound cotton swabs—often sold as hobby or industrial swabs—which feature pointed tips that do not shed fibers as easily as standard cosmetic swabs. A clean, lint-free microfiber cloth is also useful for wiping larger, flat surfaces.
Preparing the Model Surface
Proper surface preparation is the single most critical factor in determining how well the panel liner flows and how easily the excess can be cleaned. First, verify that your base coat is fully cured according to the paint manufacturer’s instructions. In humid environments, curing can take twice as long as the standard package estimate. Attempting to apply an enamel-based liner or solvent over a base coat that is still outgassing or soft will result in the solvent biting into the paint, causing permanent smudging or lifting.

Assess the texture of your model’s surface finish before proceeding. If your base paint is matte, flat, or heavily textured, you must apply a clear gloss coat before panel lining. Matte paints have a microscopic roughness that acts like a sponge, drawing the enamel pigment outward from the panel lines and staining the surrounding flat areas permanently. A smooth, glossy clear coat fills these microscopic voids, reducing surface friction and allowing the panel liner to glide smoothly through the recessed grooves while keeping the surrounding flat areas clean.
Once your clear gloss coat has fully cured, inspect the recessed panel lines for any physical obstructions. Dust, sanding debris, or leftover adhesive residue from masking tape can block the flow of the liner or trap pigment in unsightly clumps. Use a dry, clean toothbrush, a soft-bristled paintbrush, or the tip of a fine toothpick to gently clear out the grooves. Ensuring the channels are completely clean guarantees an uninterrupted flow of the fluid.
Applying the Panel Liner
To begin the application, shake the bottle of panel liner thoroughly for at least thirty seconds to redistribute the pigment, which naturally settles to the bottom over time. Unscrew the cap and gently wipe the built-in applicator brush against the inner neck of the bottle. You want the brush to be loaded with a controlled amount of fluid; if the brush is dripping wet, it will flood the surface of the model, creating large pools of excess pigment that are difficult to clean up.
Touch the very tip of the brush to a junction, corner, or edge of a recessed panel line. Do not drag or paint with the brush along the groove. Instead, hold the brush still and let capillary action do the work. You will observe the thin enamel fluid instantly draw itself out of the brush and zip along the recessed line, filling the detail. If the fluid stops flowing before reaching the end of the line, simply touch the brush tip to the point where the flow stopped to continue the process.
Work systematically in small, isolated sections of the model rather than trying to coat the entire kit at once. This localized approach allows you to monitor the flow of the fluid and prevents the liner from drying to an excessively hard state before you begin the cleanup phase. If you encounter deep or complex details, such as raised rivets or circular hatches, touch the brush to the base of the detail and let the fluid wrap around the perimeter naturally.
Cleaning Up Excess Liner
Before attempting to clean up the overflow, observe the drying state of the panel liner. The fluid needs to dry until it is tack-free, which typically takes between ten to fifteen minutes depending on the ambient humidity. You will know it is ready when the glossy wet look of the excess pools turns into a dull, matte finish. Do not leave the liner to dry for several days, as the enamel binder will fully cure and harden, making it incredibly difficult to remove without using excessive solvent that could damage the underlying paint.
Moisten a pointed cotton swab with your verified compatible solvent, such as a mild enamel thinner or lighter fluid. It is absolutely critical that the swab is damp, not dripping wet. Press the wet swab against a clean paper towel or dry cloth to squeeze out any excess liquid. A dripping wet swab will release too much solvent onto the model, flooding the panel lines and washing away the pigment you want to keep inside the recesses.
To remove the excess dried spots, wipe the damp swab gently across the panel line, moving perpendicular to the direction of the groove. Wiping parallel to the line can cause the cotton fibers to dip into the recess and pull the wet pigment out. Use light pressure and let the solvent dissolve the surface smudge. As you wipe, rotate the cotton swab to expose a clean surface, and replace the swab frequently to avoid smearing dissolved pigment back onto the clean areas of the model.
Troubleshooting Common Panel Lining Mistakes
If you notice that the panel liner is staining the surrounding paint and refusing to wipe away cleanly, the culprit is almost always an inadequate clear coat. Applying the liner over a matte finish or a clear coat that was sprayed too thinly allows the pigment to lock into the paint texture. To correct this on your current project, stop wiping immediately to avoid spreading the stain. Let the area dry, apply a fresh, slightly thicker layer of clear gloss coat to seal the mistake, and then attempt a very gentle cleanup with a lightly damp swab. For future builds, ensure your gloss coat is perfectly smooth and fully cured before lining.
Plastic degradation and cracking are serious issues that occur when enamel solvents pool on bare, unpainted polystyrene plastic. This is especially common in snap-fit kits where solvent can seep into tight joints, stress points, or peg connections, causing the plastic to become brittle and crumble. To prevent this, never apply panel liner directly to bare plastic parts that are under mechanical stress. Always apply a protective acrylic or lacquer base coat and a clear coat first to act as a barrier, and avoid letting solvent pool heavily in deep, enclosed joints.
Smeared, uneven, or messy lines can occur if your cleanup swab was too wet or if you wiped too hard. If you accidentally wash out a section of a panel line, do not try to patch it while the area is still wet with solvent. Allow the solvent to evaporate completely so the surface is dry. Once dry, reapply a tiny drop of panel liner to the affected area, let it dry to a matte finish, and clean it up again using a drier swab and a lighter, perpendicular wiping motion.
Frequently Asked Questions (FAQ)
Can I use water or standard acrylic thinners to clean up this type of panel liner?
No, water and standard acrylic thinners will not dissolve or clean up this panel liner. Tamiya Panel Line Accent Color is an enamel-based product, which means its pigments are suspended in an organic binder that is completely resistant to water and acrylic-specific solvents. Attempting to use water will do nothing, while using standard acrylic thinners can smudge the pigment without dissolving it, or worse, soften and ruin your underlying acrylic paint layers. Always check the product label to confirm the chemical base and use a dedicated enamel thinner, mineral spirits, or a mild lighter fluid for cleanup.
Should I apply a protective top coat after panel lining?
Yes, applying a protective top coat is highly recommended once the panel liner has dried completely. A final top coat seals the enamel pigment inside the grooves, protecting it from rubbing off during handling or reacting with subsequent weathering products like oil washes, pigments, or varnishes. Before spraying, ensure the panel liner has cured for at least 24 hours. Verify the compatibility of your top coat; a light, misted coat of acrylic or lacquer clear varnish (matte, satin, or gloss) works best. Avoid spraying heavy, wet coats of lacquer, as aggressive wet solvents can reactivate and bleed the dried enamel lines.
Community discussion
Share your experience or ask a question. Comments are reviewed before publication.