
Arranging paper filler for gifts with ribbons and bows requires a structured layering technique that builds a supportive base before anchoring decorative elements. To achieve a polished, professional look, you must treat the paper filler as a functional foundation rather than mere packing material. When done correctly, the filler acts as a cushion that cradles the gift while elevating the ribbons and bows so they float beautifully on top instead of sinking into the box.
Establishing a clear visual hierarchy is the secret to high-end gift styling. The paper filler provides texture and color contrast, the gift item serves as the main focal point, and the ribbons and bows offer the finishing touch of elegance. Balancing these elements prevents a cluttered, messy appearance and ensures your gift box looks like it was styled by a professional boutique.
Essential Materials for a Polished Gift Presentation
Selecting the right type of paper filler for gifts is crucial for both aesthetic appeal and structural support. Crinkle-cut paper filler is highly recommended for heavier items because its interlocking zig-zag folds resist compression and maintain height. For lighter, delicate gifts, fine-cut shredded paper or crumpled acid-free tissue paper provides a softer, cloud-like texture. Choosing a texture that complements the weight of your gift ensures the items remain stable during transport.
Products mentioned in this guide
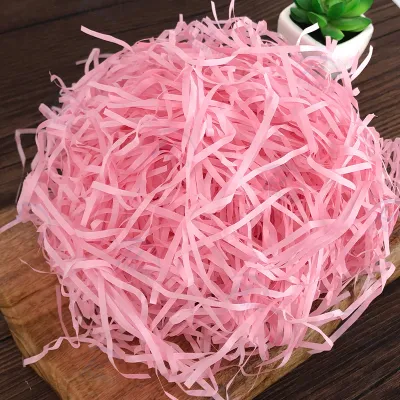
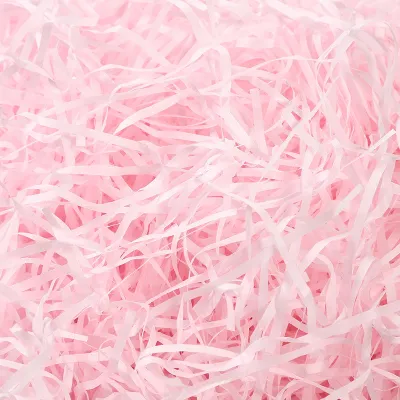
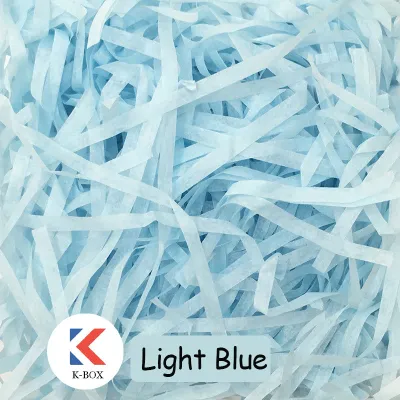
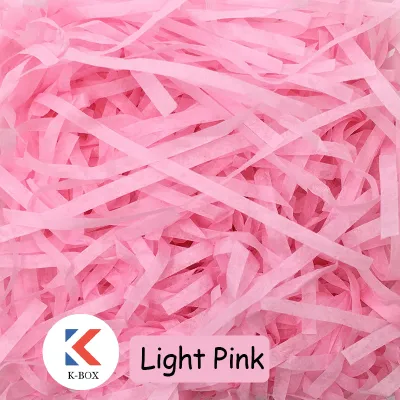


Prices are valid at publication and may change. Please refer to the product page for the latest price.
Next, consider the ribbons and bows that will crown your presentation. Satin, grosgrain, or organza ribbons in widths ranging from 1.5 to 2.5 inches offer a substantial presence that stands out against the textured paper filler. You can opt for pre-tied bows with wire twist-ties for quick application, or high-quality ribbon rolls to tie your own classic bow. Prices for these materials in local specialty shops typically range from ₱50 to ₱150 per roll, making it an affordable way to elevate your packaging.
To secure these decorative elements without leaving visible marks, assemble a toolkit of specialized adhesive and anchoring supplies. Double-sided tape, clear glue dots, and fine floral wire are indispensable for pinning down slippery ribbon tails and securing heavy bows to the box base. These tools prevent your carefully arranged decorations from shifting when the box is moved or tilted.
Finally, when preparing gifts in a tropical climate like the Philippines, managing humidity is essential for preserving the crispness of your paper materials. High humidity can quickly cause paper filler to absorb moisture, making it limp, saggy, and prone to losing its volume. Store your paper filler in airtight plastic bins until the moment of assembly, and consider placing a small silica gel packet at the very bottom of the gift box to keep the interior dry and springy.
How to Layer and Shape the Paper Filler Base
Creating a professional gift presentation starts with preparing the paper filler so it has maximum loft and bounce. When you pull paper filler for gifts out of its packaging, it is often tightly compressed; simply dumping it into the box will result in dense, flat clumps. Take a few moments to vigorously fluff and separate the paper fibers with your hands, pulling the strands apart to trap air between them and double their visible volume.

Once fluffed, you must shape the filler bed according to the physical dimensions of the gift item. For fragile, three-dimensional items like ceramic mugs, perfume bottles, or glassware, use the “nesting” technique. Build a thick border of filler around the inner perimeter of the box, leaving a hollowed-out depression in the center where the item can sit securely cradled and protected from shifting.
Conversely, if you are presenting flat items such as books, leather goods, or apparel, aim for a flat, even bed of filler. Spread the fluffed paper uniformly across the bottom of the box, pressing down lightly with your palm to create a stable, level platform. This ensures the flat item sits parallel to the box opening and does not tilt awkwardly to one side.
Carefully manage the overall height of your paper base to maintain a clean, uncluttered border. The top of the paper filler should sit approximately half an inch below the rim of the gift box. This deliberate gap provides a dedicated buffer zone where your ribbons and bows can rest comfortably, preventing messy overflow and ensuring the box lid can close smoothly without crushing the contents.
Arranging Ribbons and Bows on Top of the Filler
Once your gift is securely nestled in its paper bed, you can begin integrating the ribbons and bows to create a seamless, cohesive design. The goal is to make these decorative accents look like they are floating elegantly on top of the presentation, rather than being swallowed by the paper shreds.
Weaving and Looping Ribbons
To add depth and visual interest, lay your ribbon across the paper filler in deliberate, gentle loops rather than pulling it tight. Start by cutting a length of ribbon that is slightly longer than the box width, allowing you to weave it gently into the top layer of the paper filler. By tucking parts of the ribbon slightly under a few strands of paper and letting other sections rise to the surface, you create an organic, integrated look.
Maintaining the correct ribbon tension is key to preventing the fabric from sinking or curling into the paper crevices. If the ribbon is too loose, it will look messy; if it is too tight, it will compress the filler and ruin the volume. To keep the ribbon flat and perfectly positioned, apply small pieces of double-sided tape or glue dots underneath the ribbon at key contact points, anchoring them to the inner walls of the box or to the gift item itself.
Anchoring the Bow Securely
A beautiful bow can quickly lose its appeal if it shifts, tilts, or sinks into the paper filler during transport. To prevent this, you must anchor the bow directly to a stable point rather than letting it rest freely on the loose paper. If your gift item has a solid surface, you can use a clear, removable glue dot to secure the center of the bow directly to the product packaging.
Alternatively, if you prefer not to attach adhesive to the gift itself, use fine floral wire or a thin ribbon tail to tie the bow directly to the box base or to a structural ribbon band. Thread the wire through the back of the bow knot, pass it down through the paper filler, and secure it to a small cardboard anchor at the bottom of the box.
When positioning the bow, consider the overall balance and shape of your gift box. For square or round boxes, a centrally placed bow creates a classic, symmetrical focal point. For rectangular or asymmetrical boxes, positioning the bow off-center—such as in the top-right corner—adds a modern, dynamic touch that draws the eye across the entire presentation.
Common Arrangement Mistakes to Avoid
Even with high-quality materials, a few common missteps can detract from the polished look of your gift box. One of the most frequent errors is overstuffing the box with too much paper filler. While volume is desirable, excess filler spills over the sides, crowds the gift, and forces the lid to bulge or pop open, which instantly ruins the clean lines of your presentation.
Another mistake is failing to coordinate the colors of your paper filler and ribbon, leading to a distracting visual clash. To maintain an elegant aesthetic, stick to a cohesive color palette; for example, pair neutral kraft paper filler with a rich forest green or deep navy ribbon, or use monochromatic shades of the same color family. Avoid mixing too many bright, contrasting colors unless you are aiming for a specific, vibrant theme.
Stray, wild strands of paper filler hanging over the edges of the box can also make the presentation look unkempt. Always take a moment to tuck in or trim any long, unruly pieces of paper that escape the main bed. This simple step keeps the perimeter of the box clean and highlights the neatness of your ribbons.
Lastly, never place a heavy bow on top of the filler without a secure anchor. Without a physical connection to the box or the gift, the bow will inevitably slide around, flatten the paper filler, or end up wedged in a corner by the time the recipient opens the gift. Taking the extra twenty seconds to secure it with wire or adhesive dots preserves your design exactly as intended.
Final Inspection and Touch-Ups
Before you present your gift, conduct a thorough final inspection to ensure every detail is flawless. Begin by taking a pair of sharp scissors and carefully trimming any uneven, stray paper filler strands that project above your established height limit. This creates a clean, crisp horizon line inside the box and allows the decorative elements to stand out clearly.
Next, inspect the symmetry and fluffiness of your ribbon loops and bow tails. Gently run your fingers through the loops of the bow to restore their round, full shape, and pull the ribbon tails downward so they drape elegantly over the paper filler. If the tails are too long, cut them at a precise 45-degree angle or a classic V-shape to prevent fraying and add a professional touch.
Finally, test the fit of the box lid by gently lowering it onto the base. Verify that the lid closes smoothly and rests completely flat against the bottom rim without compressing the paper filler or flattening your beautifully fluffed bow. If you feel resistance, gently press the filler down or remove a small pinch of paper from the corners until the lid fits perfectly, ensuring a delightful and polished opening experience for the recipient.
Community discussion
Share your experience or ask a question. Comments are reviewed before publication.